Zoho
The myCloudPBX Zoho CRM Integration enhances customer relationship management by integrating your call activities directly with your existing Zoho CRM.
It features call journaling (with optional automatic contact creation) and automated CRM Smart Open where the callers contact page is loaded on your computer.
The integration’s CRM Smart Open functionality opens the appropriate Zoho page based on the caller’s information:
- Contact Page: Opens if the caller ID matches an existing contact.
- Search Page: Opens when the caller ID matches multiple contacts, or if the caller ID is private or unknown.
This integration streamlines workflows, ensuring all interactions are efficiently managed and recorded.
Tip
Note: This guide assumes that you already have a working version of the CRM configured.
Zoho Configuration
Step 1 Sign in to your Zoho account.
Make sure you have logged in to your Zoho account on the computer you are using to connect with myCloudPBX.
Step 2 Click the 'Connect Zoho' button.
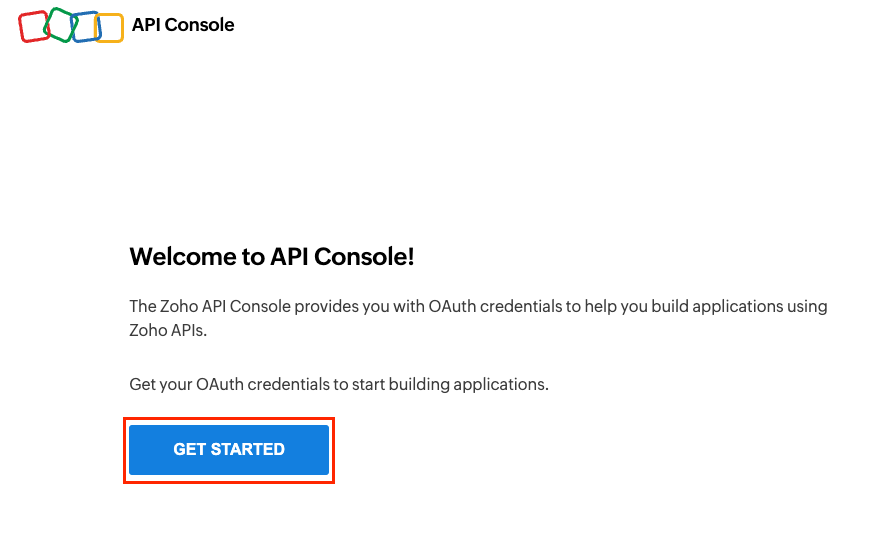
Step 3
A browser tab will open asking you to Connect your myCloudPBX account to your Zoho instance.
Click 'I allow myCloudPBX to access the above data from my Zoho account'.
Click 'Accept'
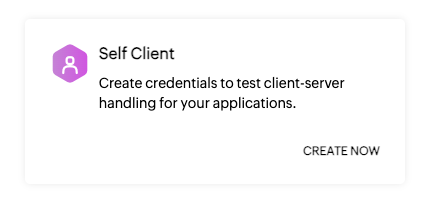
The page will now reload back into the myCloudPBX Configuration page and you'll see the CRM status is now 'Connected'.
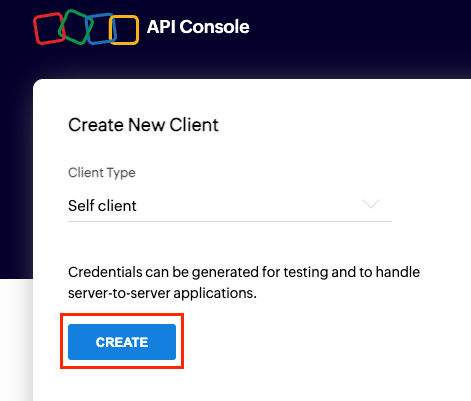
Step 4
Select your number format, then press the 'Test' button
Tip
Number Format: Choose between local (eg 0731051300) and E164 (eg +61731051300).
Once the test has completed you'll see the following message.
Customisation
CRM Smart Open
If you would like to automatically display your CRM Contact page for incoming calls, ensure that you enable the Automatically display your CRMs Contact page for incoming calls option.
Please note that while this is a global setting for the PBX, it can be enabled/disabled on a per user basis within the myCloudPBX App iteself.
Call Journaling and Contact Creation
With the Call Journaling with Contact Creation feature enabled, myCloudPBX will automatically log calls within Zoho for you.

Enter in your preferred call subject for Inbound and Outbound calls, noting that you can use the following variables to generate the subject line.
Possible Variables:
- CallDateTime: This value represents the Date and Time of the call.
- SourceNumber: For an inbound call, this will show the callers full caller ID (eg: 0731051300). For an outbound call, this will show the internal extension number of the user who made the call (eg: 324).
- DestinationNumber: This represents the full national number that was dialled.
- TalkerState: For inbound calls only.
- ConnectedState: For outbound calls only.
Tip
Note: You will need to ensure that each variable is enclosed in square brackets as shown in the image above.
The Create Contact is an optional setting that allows myCloudPBX to automatically create a new contact if the caller ID is not found in your CRM. Enter the preferred first and last name to use for the new contact.
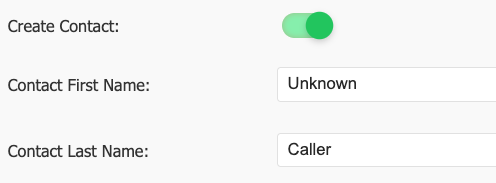
Once you are happy with your configuration, click 'Save', and make sure to Apply PBX Changes if prompted.
Enabling the CRM Integration
Click 'Test'.
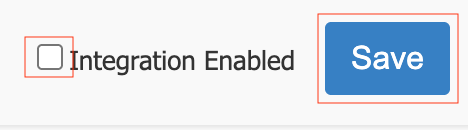
Once the testing succeeds, you can enable the CRM for your PBX by ticking the 'Enable Integration' checkbox.
Once you are happy with your configuration, click 'Save'.
Finally, click 'Apply Changes' if prompted.
Remove CRM integration
Warning
Note: This action cannot be undone.
You can permenantly disable the CRM integration by clicking the Remove Integration button.
You will then be prompted again to confirm the removal of the integration.
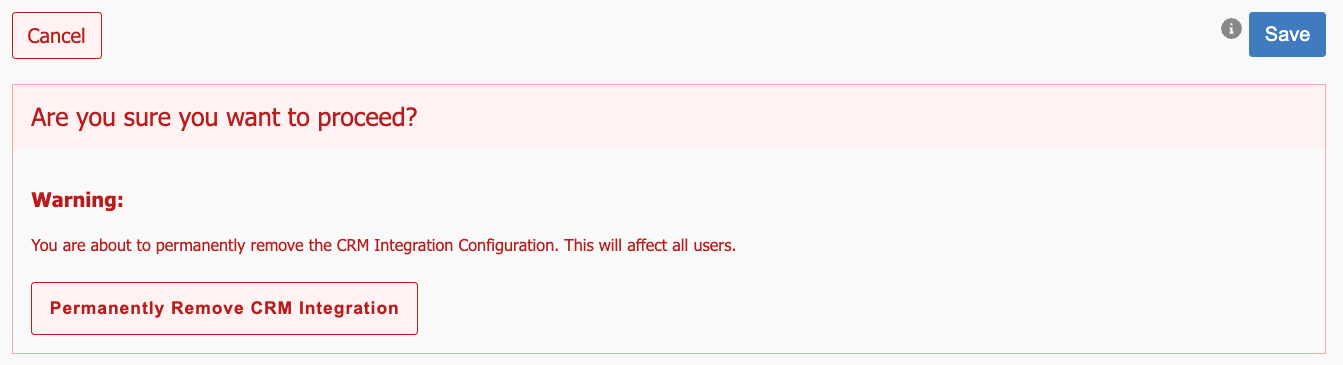
Click 'Permanently Remove CRM Integration'.