Windows Guides
These guides will demonstrate how to install and operate the MyCloudPBX softphone using a Windows PC. You will need a MyCloudPBX Softphone account to follow this guide. If you do not already have one, you will need to contact your administrator.
Installation
-
From the Portal under your user settings or in your activation email, click the link 'Get it from Microsoft' to download the install '.exe' file.

-
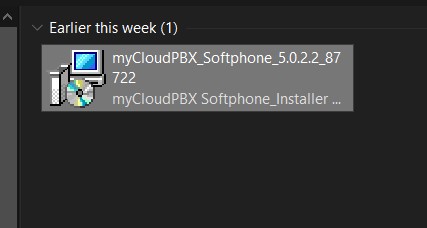
Navigate to the file on your Windows PC and double-click to open and begin the installation process.
-
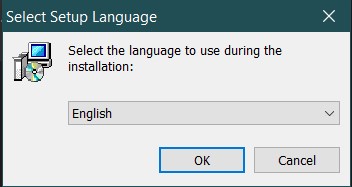
Select your language from the drop-down menu and then click on 'OK'.
-
Click 'Next'.

-
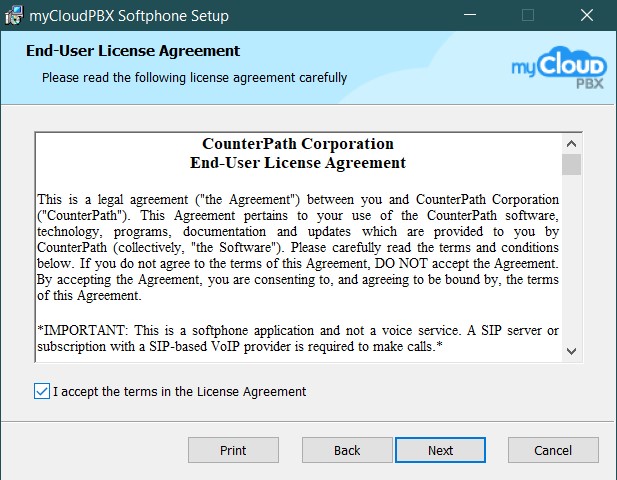
Tick the box for 'I accept the terms in the License Agreement' and then click 'Next'.
-
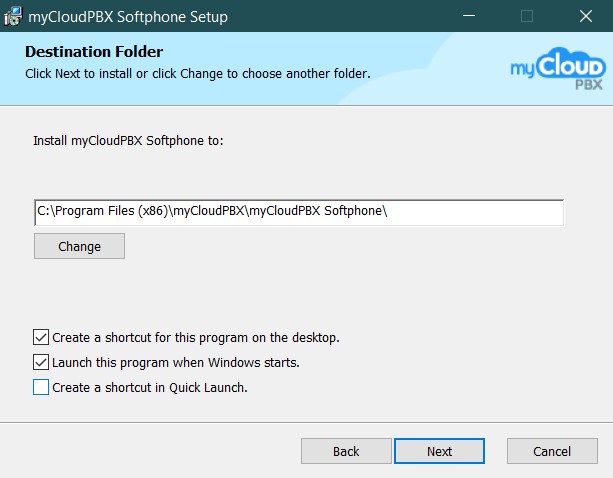
Use the 'Change' button to select your installation location and then click 'Next'.
-
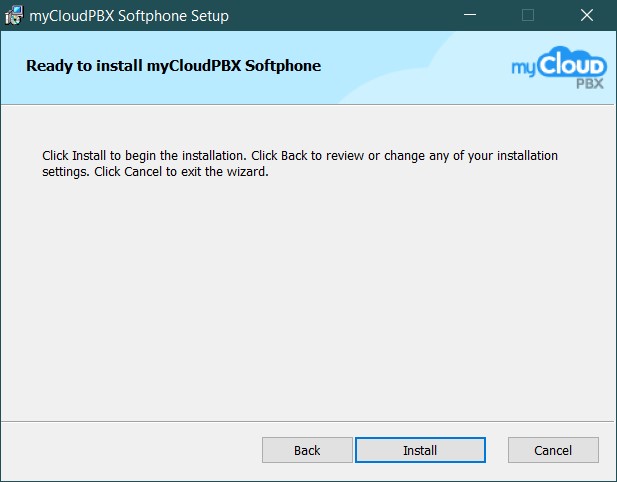
Click 'Install'.
-
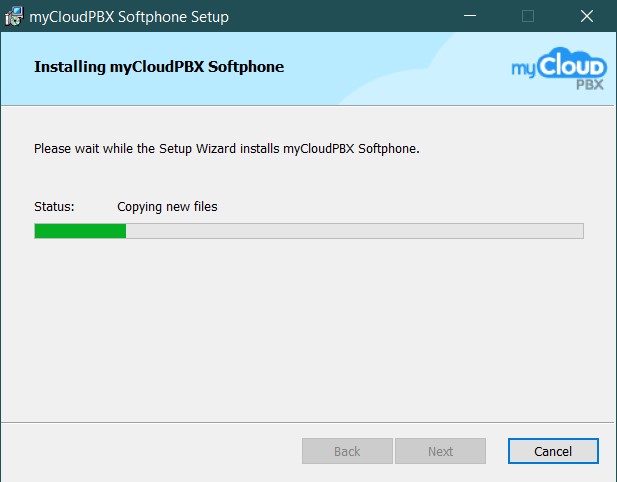
Wait for the installation process to complete.
-
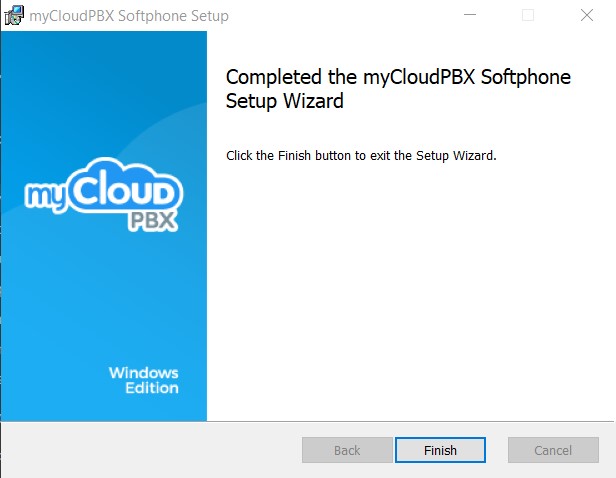
Click 'Finish'.
-
Open the program from your start menu or by double-clicking the desktop icon.
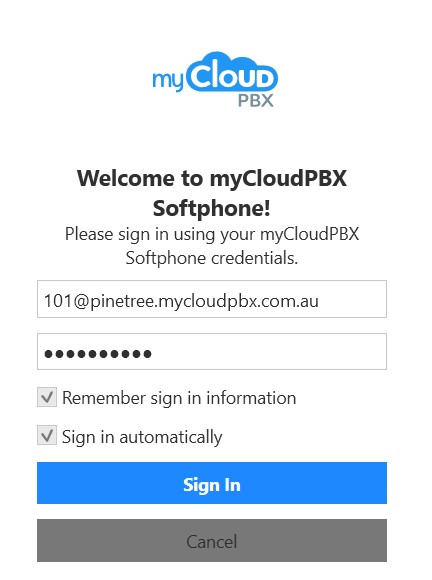
Enter the following information and click 'Sign In':
- Your Username (You will have received this in the welcome email when you activated the softphone.)
- Your Password (You can find this in the myCloudPBX Management Portal. If you are not sure, contact your Administrator).
-
You are now logged in.
Making a Call
You will need a MyCloudPBX Softphone account to follow this guide. If you do not already have one, you will need to contact your administrator.
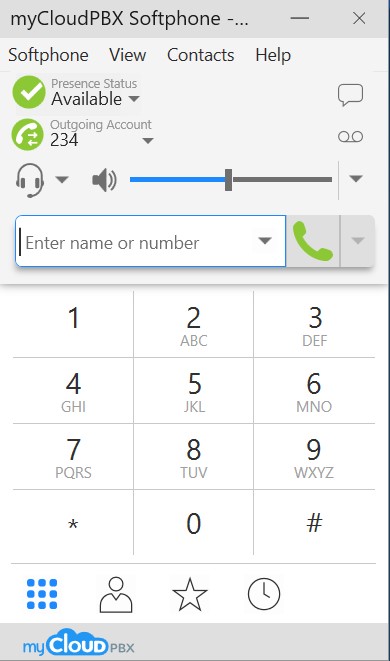
- Open the myCloudPBX app and log in using your username and password.
-
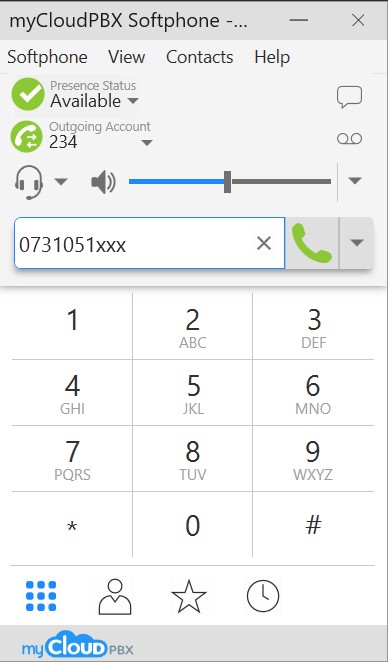
Type the number you wish to call or use the on-screen keyboard and then click
 .
.
Accessing Voicemail
To access Voicemail, press Voicemail or dial 777.
Use the on-screen keyboard to type in your voicemail PIN when prompted.
Managing Contacts
Adding a Contact
-
From the main screen of the softphone, click 'Contacts' and then from the drop-down menu, 'Add Contact'.
-
Enter the following information:
-
For an External Speed Dial:
- The Full National Number of the person you wish to monitor (e.g., 0731051300).
- Select 'Work, Home, or Mobile' from the dropdown.
- Enter a 'Display Name' for your reference.
- Click the 'Add' button.
-
For an Internal Extension:
- The Extension Number of the person you wish to monitor (e.g., 311).
- Select 'Softphone' from the dropdown.
- Enter a 'Display Name' for your reference.
- Click the 'Add' button.
-
-
Click 'OK' once all the data has been entered to finish.
Exporting your Contact List
-
From the main screen of the softphone, click 'Contacts' and then from the drop-down menu, 'Export Contacts'.
-
Specify CSV formatting and click 'Next'.
-
Click 'Browse' and select where you wish to save the file. Click 'Next'.
-
Once the export is completed, click 'Finish'.
### Importing a Contact List
-
From the main screen of the softphone, click 'Contacts' and then from the drop-down menu, 'Import Contacts'.
-
Select 'Comma-separated values (*.csv file)', then click 'Next'.
-
Click 'Browse' and select the file you wish to import. Click 'Next'.
-
Make sure to select 'Subscribe to presence as specified by import source'. Click 'Next'.
-
Once the import is completed, click 'Finish'.
Transferring Calls
Blind Transfer a Call
Description When you 'Blind Transfer' a call, the call will immediately ring on the intended person's phone and will no longer be on yours.
-
While in-call, click on
 to initiate a transfer. This will place your current call on hold.
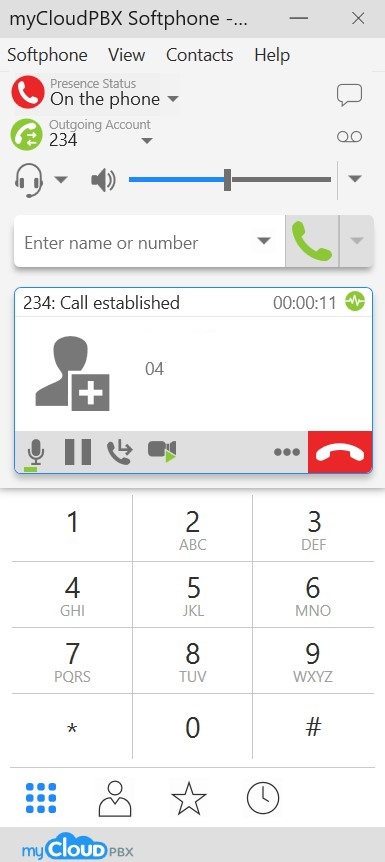
-
Type the number you wish to transfer to and then click
 .
.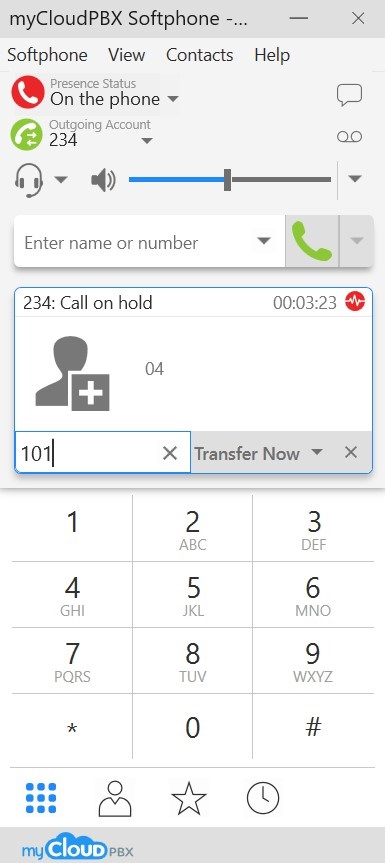
The call has now been transferred to the other person.
Attended Transfer a Call
Description An 'Attended Transfer' allows you to 'introduce' the caller to the callee before handing the call over. This is the preferred method of transferring calls.
-
While in-call, click on
to initiate a transfer. This will place your current call on hold. -
Type the number you wish to transfer to and then click
 followed by clicking 'Call First'.
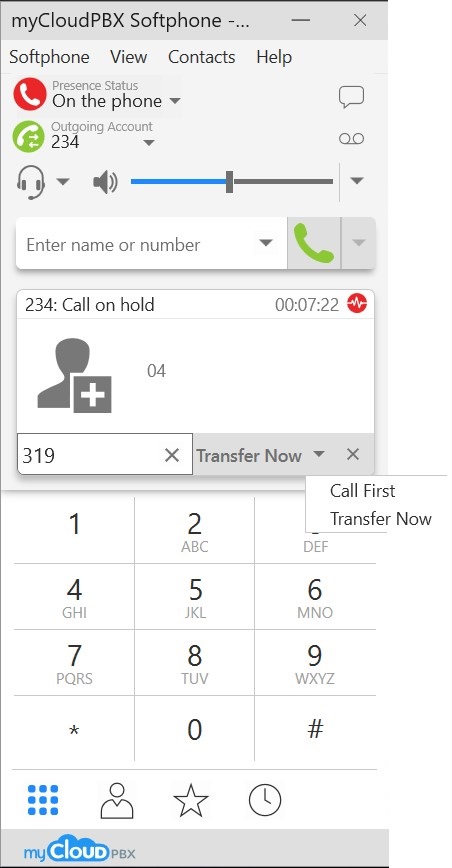
You are now speaking to the callee.
-
When you are ready to hand the call over, click
.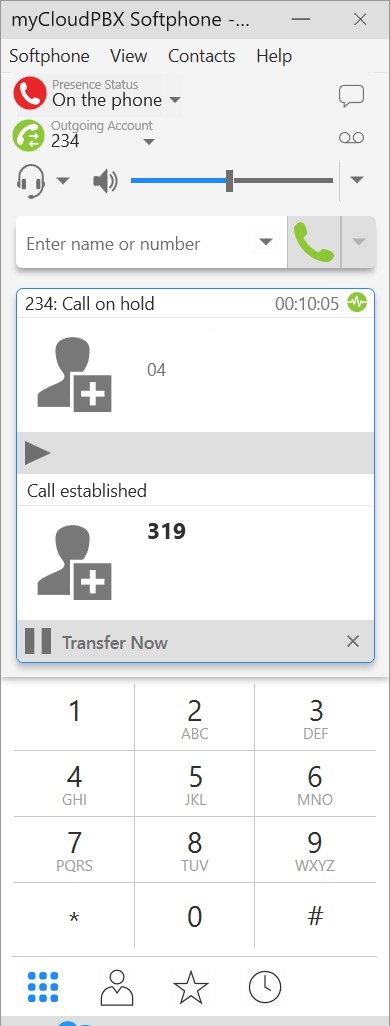
The call has now been transferred to the other person.
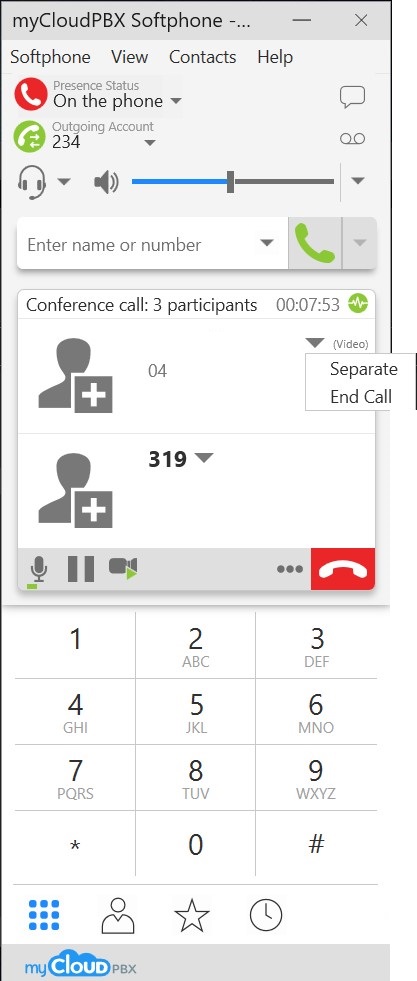
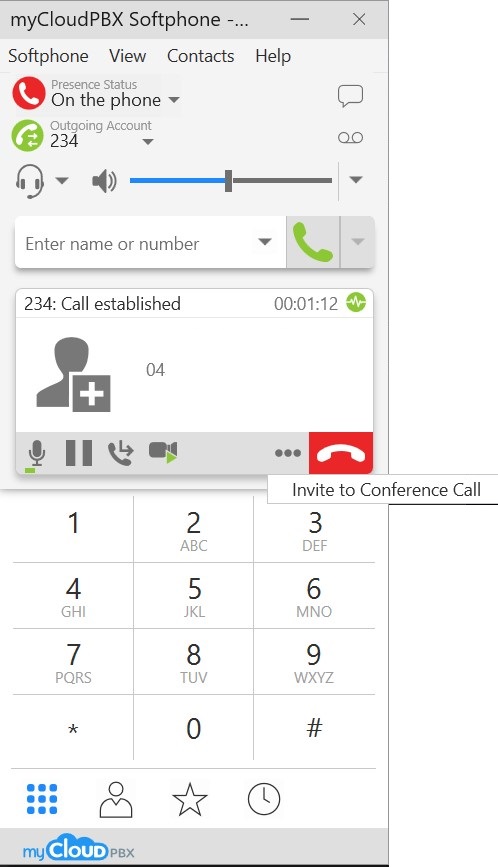
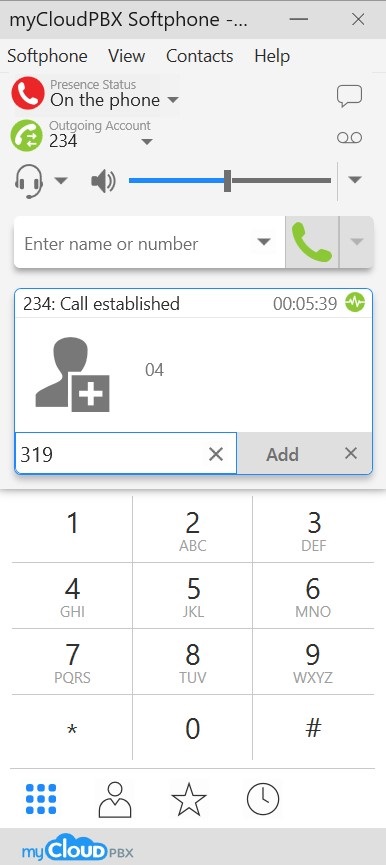
Conference Calls
Description The myCloudPBX Softphone allows you to merge two callers together into a 3-way conference call.
-
While in-call, click on
 to access additional call options.
 -
Click on 'Invite to Conference Call'.
-
Type the number of the person you wish to add to the call and then click
 .
.
-
You are now in a conference call. To separate the calls, click on
 , followed by 'Separate'.