OSX Guides
These guides will demonstrate how to install and operate the MyCloudPBX Softphone on your OSX device.
Installation
-
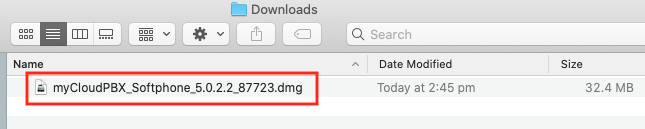
Download the Installer:
- From the Portal under your user settings or in your activation email, click the 'Download from Mac App Store' button to download the OSX installer.

-
Begin Installation:
- Double-click on the downloaded file to begin the installation.
-
Agree to Terms:
- Click 'Agree' when ready to proceed with the installation.

- It may take some time for the next window to show. Please be patient.
-
Install Application:
- Drag the 'myCloudPBX Softphone' icon onto the 'Applications' folder.
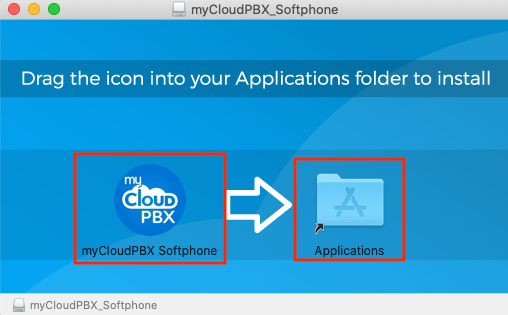
- Allow some time for the application to copy across.

-
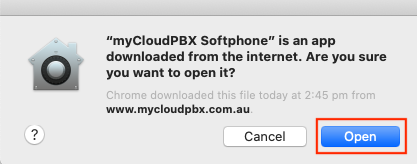
Open the Application:
- Once the copy has completed, you will find the application in the 'Launchpad' with all of your other applications. Open the Softphone.
- When prompted, click 'Open'.
-
Sign In:
- On the following screen, enter your username and password.
- Click 'Sign In'.
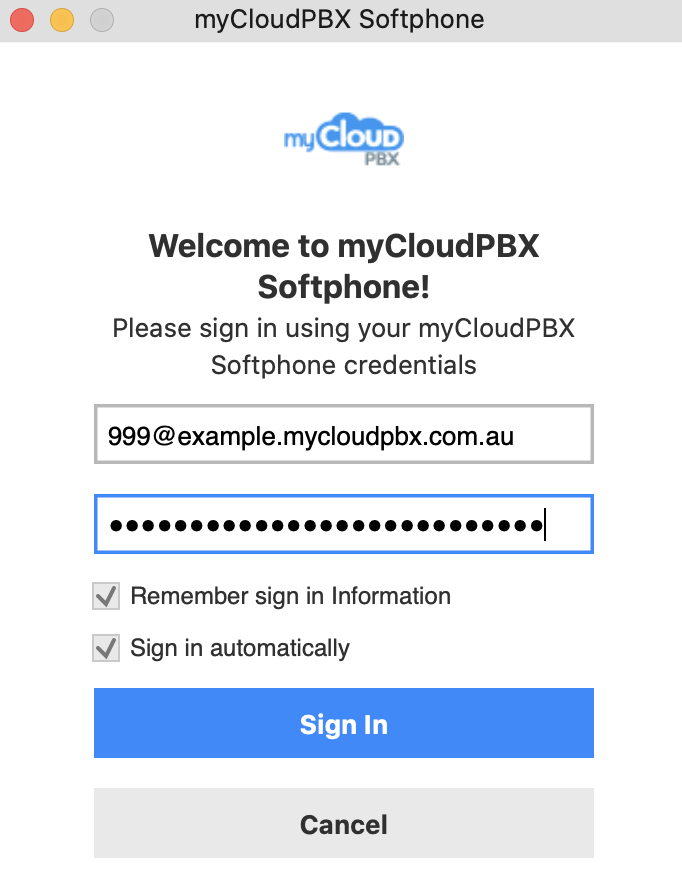
- You are now signed in and ready to make and receive calls.
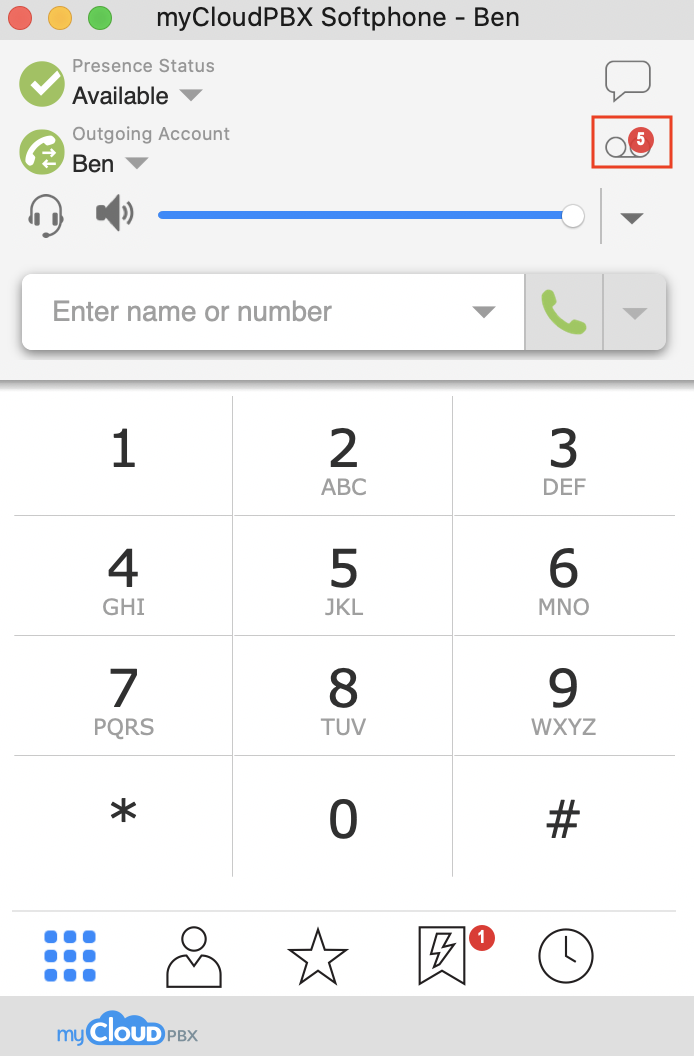
Making a Call
You will need a MyCloudPBX Softphone account to follow this guide. If you do not already have one, you will need to contact your administrator.
-
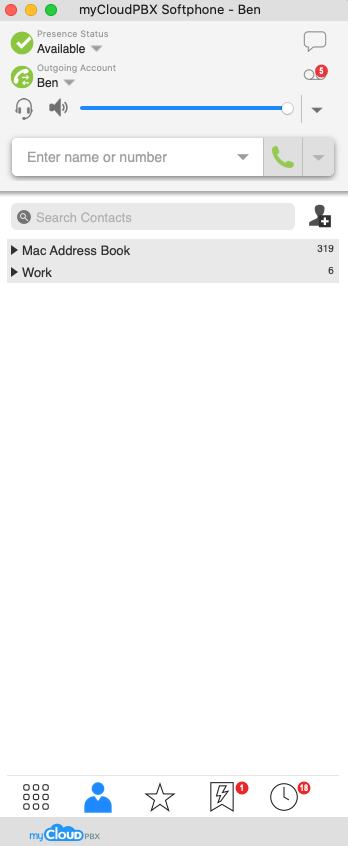
Log In:
- Open the myCloudPBX app and log in using your username and password.
-
Dial a Number:
- Type the number you wish to call or use the on-screen keyboard and then click
 .
.
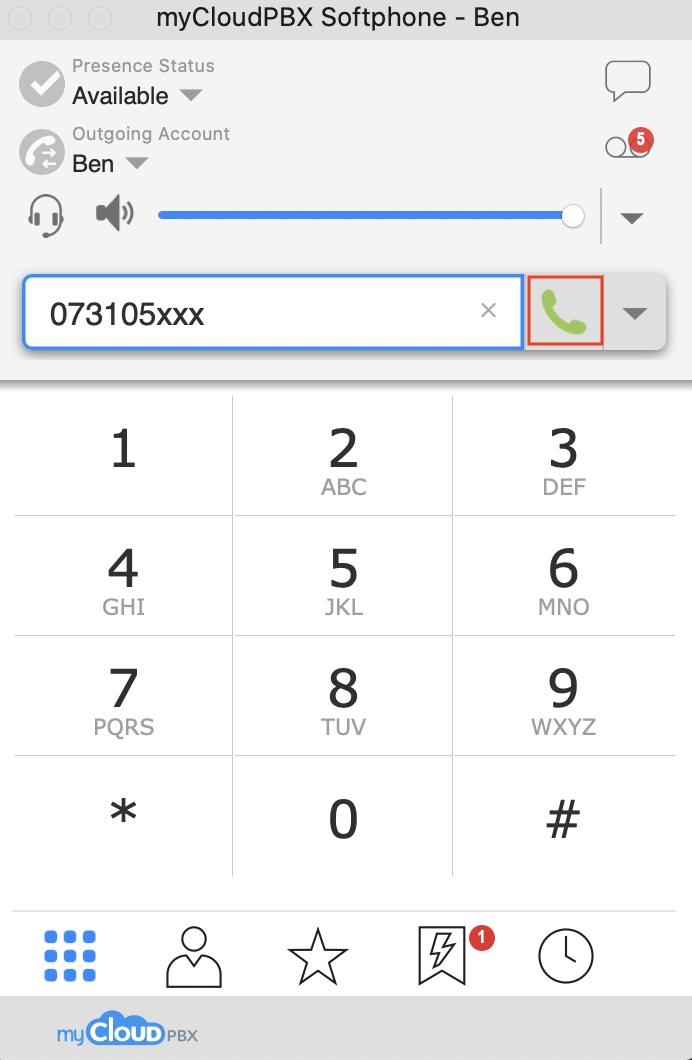
- Type the number you wish to call or use the on-screen keyboard and then click
-
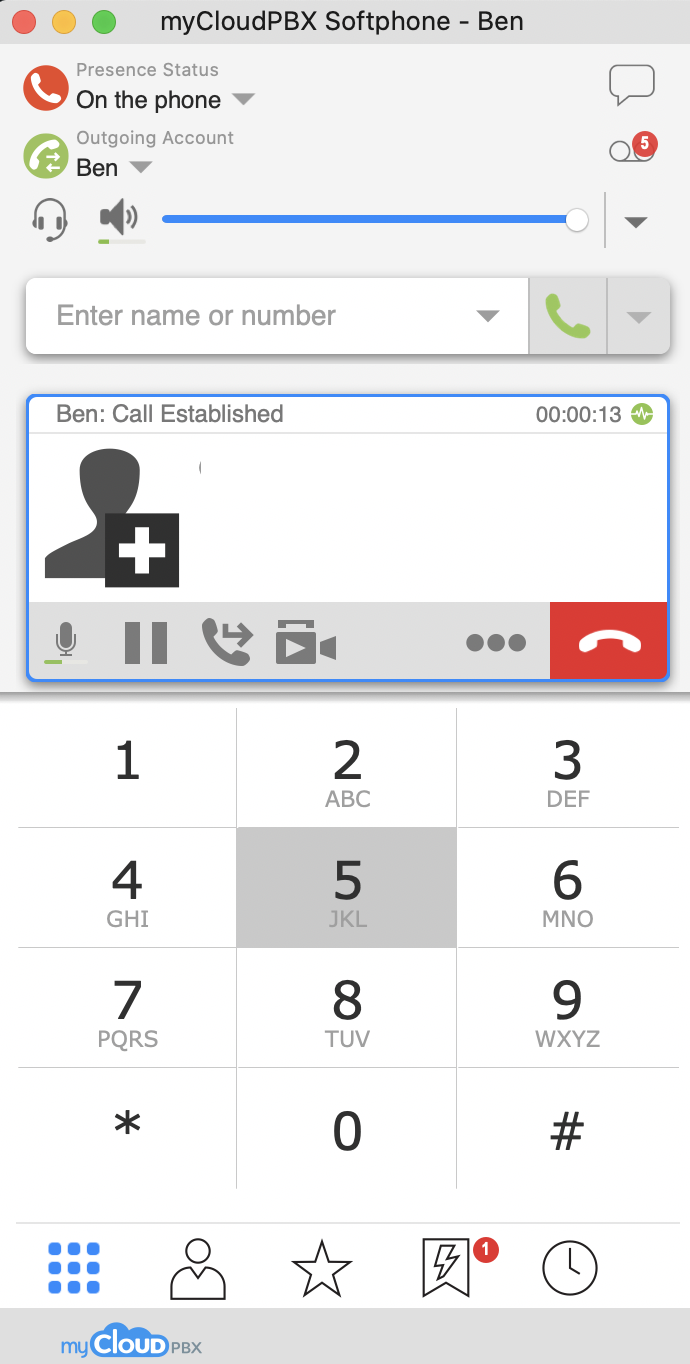
End the Call:
- To end the call, click
 .
.
- To end the call, click
-
Place the Caller on Hold:
- To place the caller on hold, click
 .
. - Press again to resume the call.
- To place the caller on hold, click
Accessing Voicemail
-
Access Voicemail:
- To access Voicemail, press
 or dial 777.
- To access Voicemail, press
-
Enter PIN:
- Use the on-screen keyboard to type in your voicemail PIN when prompted.
Address Book - OSX
The myCloudPBX Softphone allows you to add other users on your PBX as contacts so you can monitor their call status.
Adding a Contact
-
Add Contact:
- Click the 'Add Contact' icon.

-
Enter Contact Information:
- For an External Speed Dial:
- The Full National Number of the person you wish to monitor (e.g., 0731051300).
- Select 'Work, Home, or Mobile' from the dropdown as shown.
- Enter a 'Display Name' for your reference.
- Click the '+' button.

-
For an Internal Extension:
- The Extension Number of the person you wish to monitor (e.g., 311).
- Select 'Softphone' from the dropdown as shown.
- Enter a 'Display Name' for your reference.
- Click the '+' button.

-
Complete Addition:
- Click 'OK' once all the data has been entered to finish.
Exporting your Contact List
-
Open Contacts Menu:
- From the apple menu at the top of your screen, select 'Contacts', then 'Export Contacts'.

-
Specify Export Details:
- Enter the following information:
- Contact List filename.
- Click 'Browse' and then specify where you wish to save the file.
- Click 'Export' when ready.

-
Complete Export:
- When completed, click 'OK' to finish.
Importing a Contact List
-
Open Import Menu:
- From the apple menu at the top of your screen, select 'Contacts', then 'Import Contacts'.

-
Specify Import Details:
- Click 'Browse', and locate the file you wish to import.
- Make sure to select 'Subscribe to presence as specified by import source'.
- Click 'Start Import'.

-
Complete Import:
- When completed, click 'OK' to finish.

Troubleshooting
Device Activation Limit Reached
Each myCloudPBX Softphone license can be used on a total of 2 devices. The 'Device Activation Limit Reached' message will be displayed if you have exceeded the limit of 2 devices.
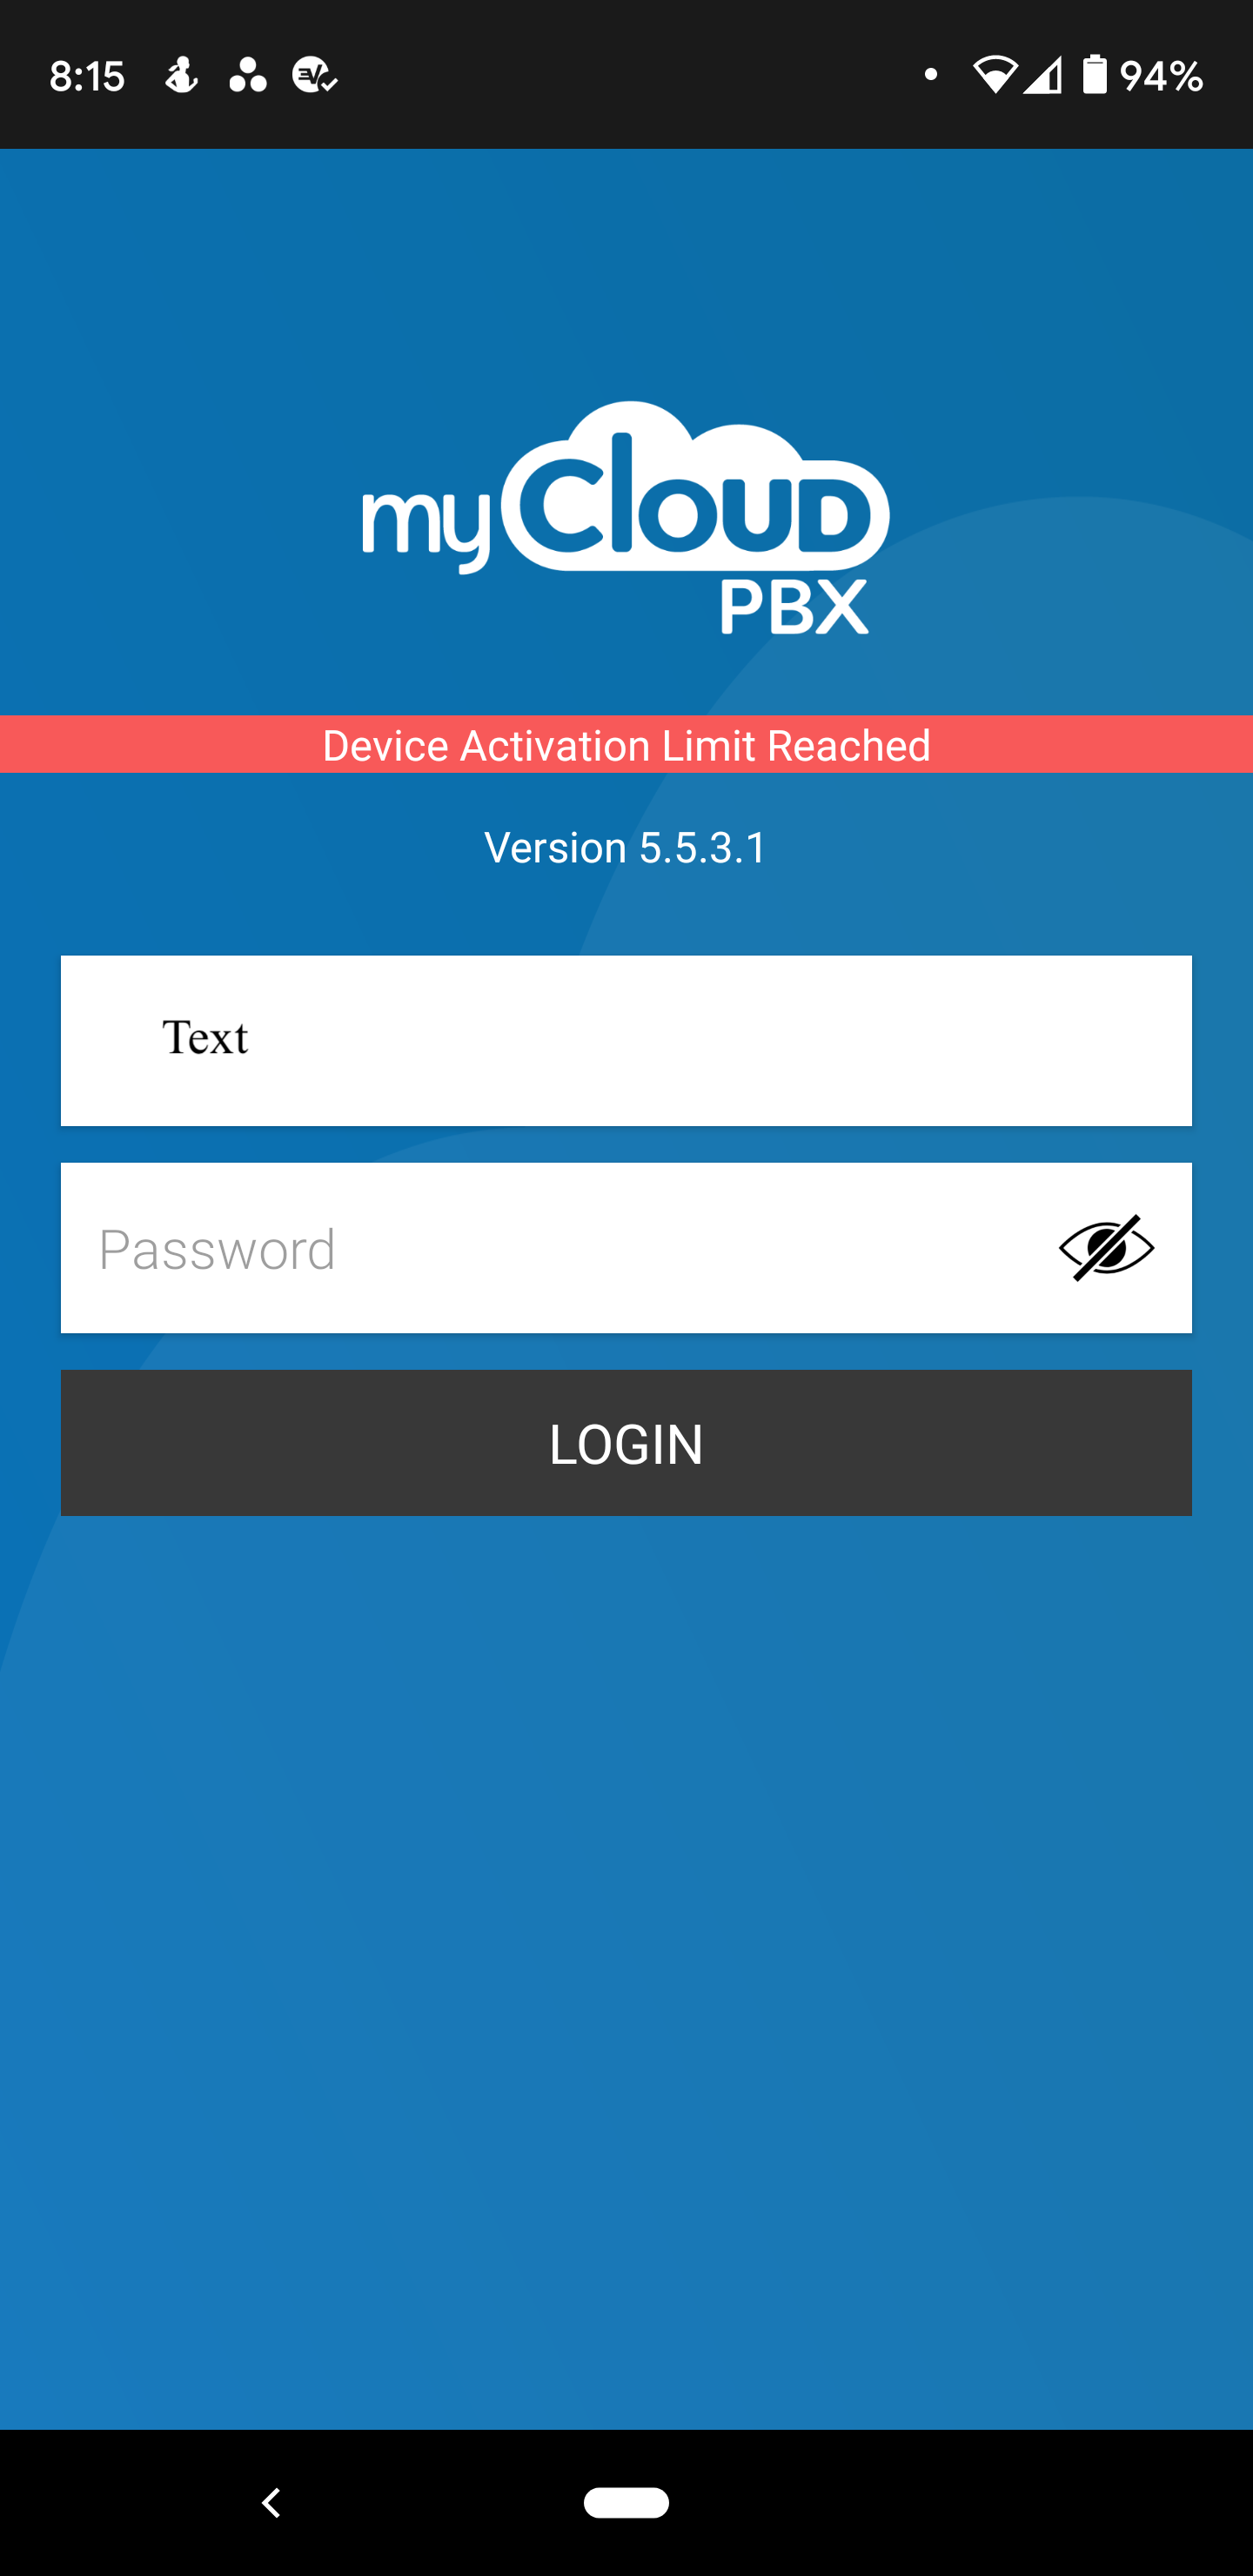
You can clear the licenses (allowing you to register two new devices) from within the PBX Admin Portal. If you do not have access to the portal, please contact your administrator.
-
Access User Settings:
- From the myCloudPBX homepage, click 'Offices & Users'.
-
Select Extension:
- Select the extension you wish to modify from the list. (You may have to expand the 'Offices' to find the correct extension.)
-
Reset Licenses:
- On the right-hand side of the screen, you will see the 'myCloudPBX' configuration settings.
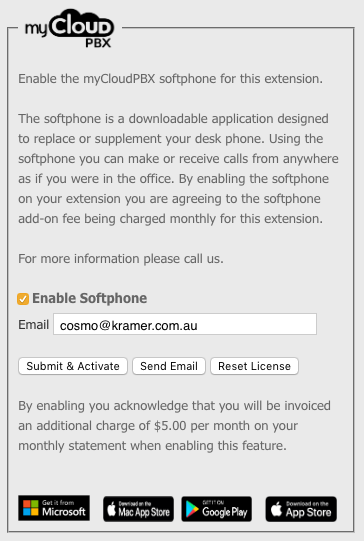
- To reset the licenses, click 'Reset License'.
- Scroll down to the bottom of the page and click 'Save and Close'.
- On the right-hand side of the screen, you will see the 'myCloudPBX' configuration settings.
Forgot Username / Password
If you have forgotten your username or password, you can locate this from within the PBX Admin Portal. If you do not have access to the portal, please contact your administrator.
-
Access User Settings:
- From the myCloudPBX homepage, click 'Offices & Users'.
-
Select Extension:
-
Select the extension you need the login details for from the list. (You may have to expand the 'Offices' to find the correct extension.)
-
The password for the extension is listed on the left-hand side of the screen.
-
-
Obtain Username:
- On the right-hand side of the screen, you will see the 'myCloudPBX' configuration settings.
- To obtain the username, click 'Send Email'. This will send a copy of the username, along with the installation links, to the email address nominated.
- On the right-hand side of the screen, you will see the 'myCloudPBX' configuration settings.