iOS (iPhone)
These guides will demonstrate how to install and operate the MyCloudPBX Softphone on your iOS device. You will need a MyCloudPBX Softphone account to follow this guide. If you do not already have one, you will need to contact your administrator.
Installation
-
Open the App Store:
- Press
 .
.
- Press
-
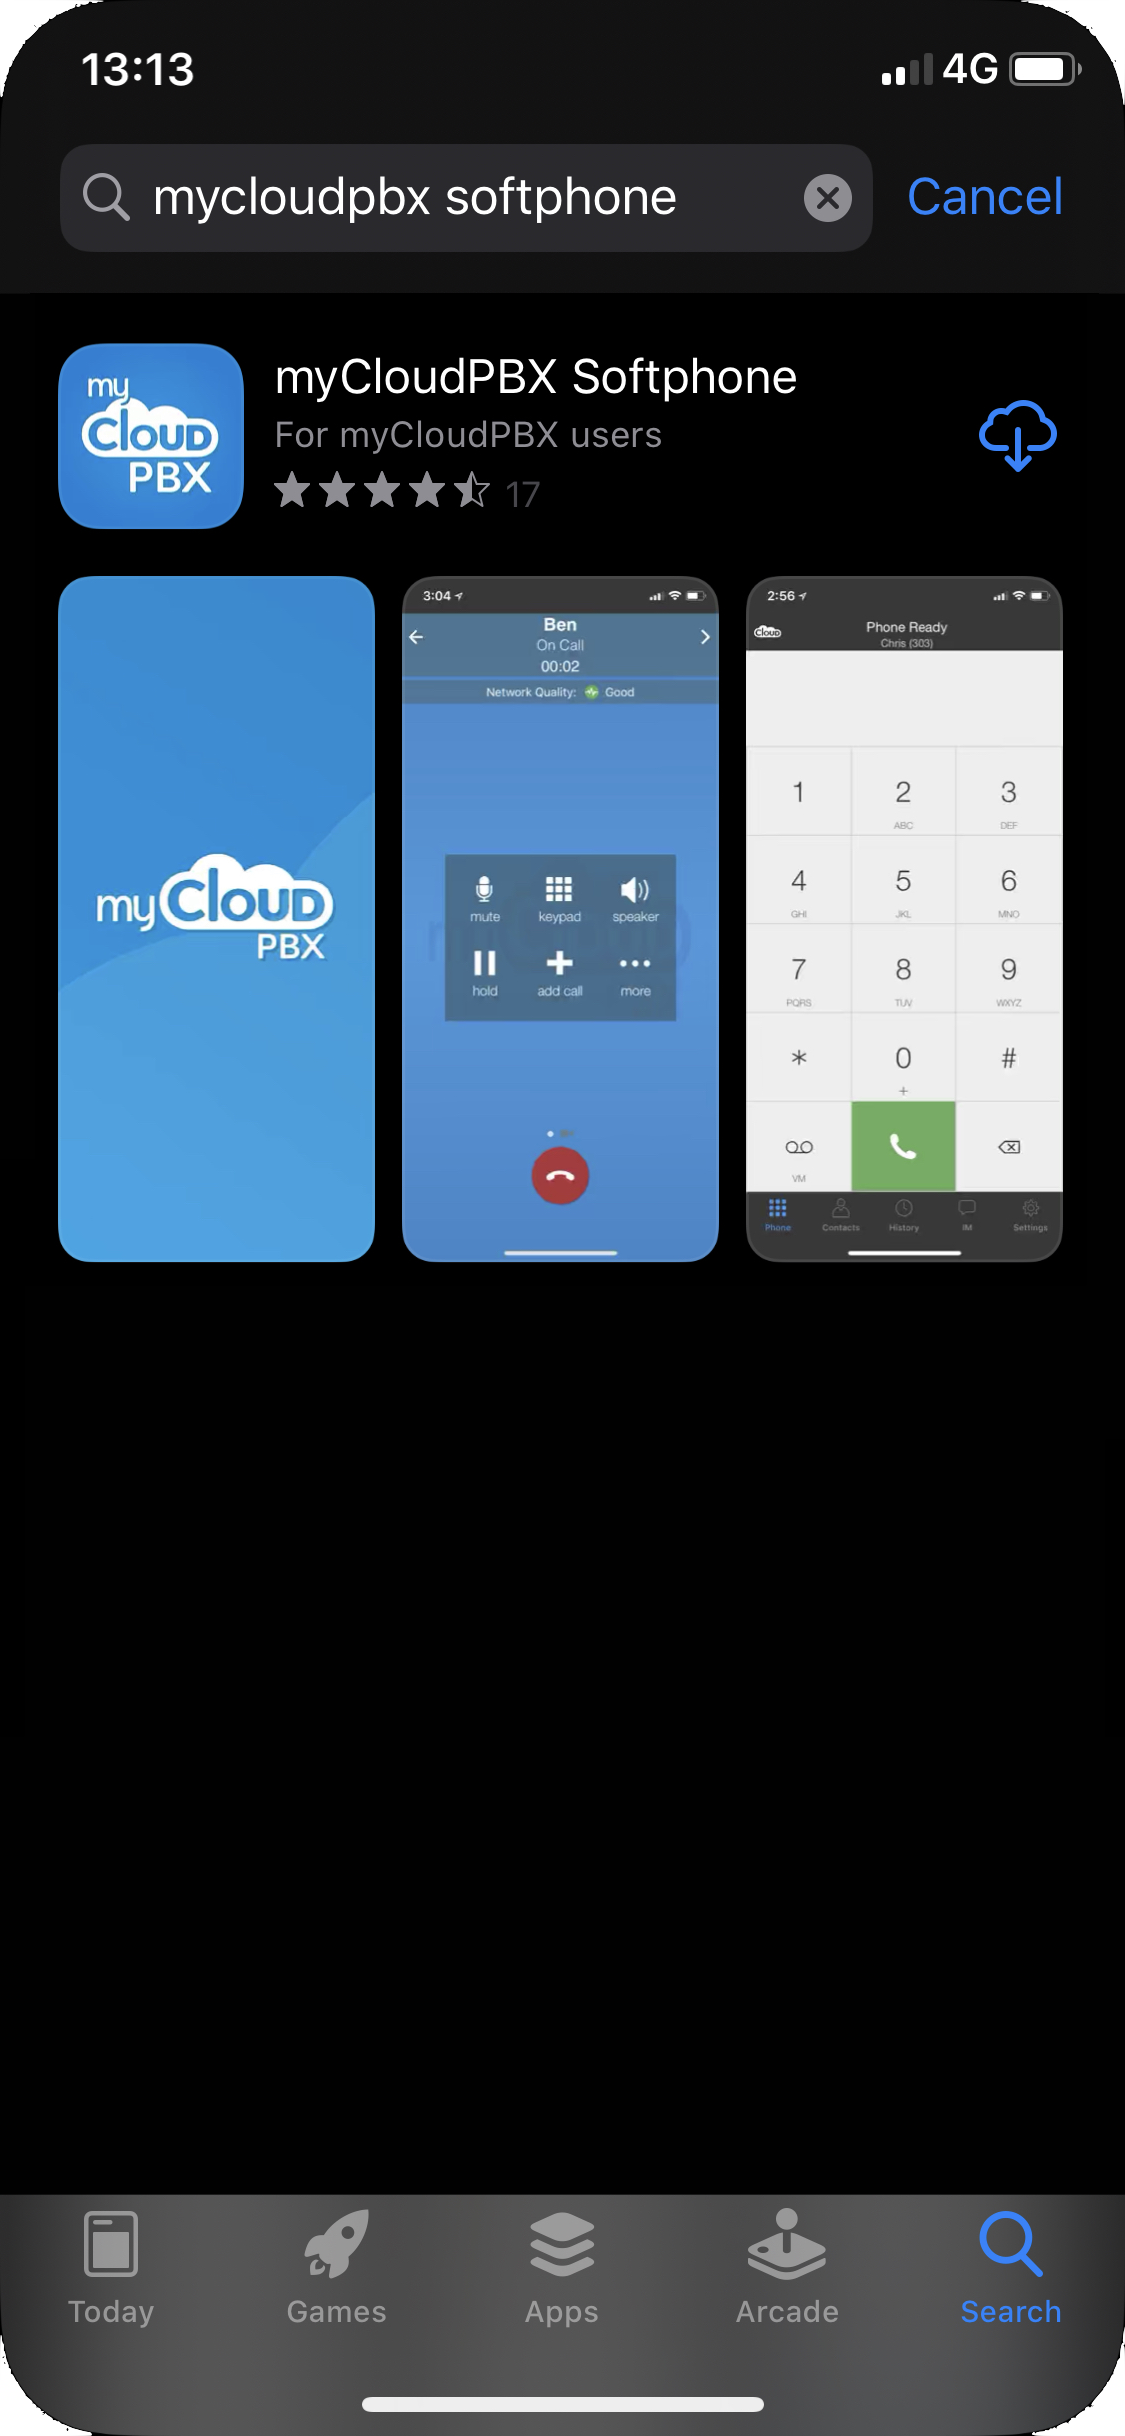
Search and Install:
- Enter the search term 'mycloudpbx softphone'.
- Press
 to begin the installation.
 - Enter your Apple ID / Password if prompted.
- Once the download has finished, press 'Open' to complete the installation.
-
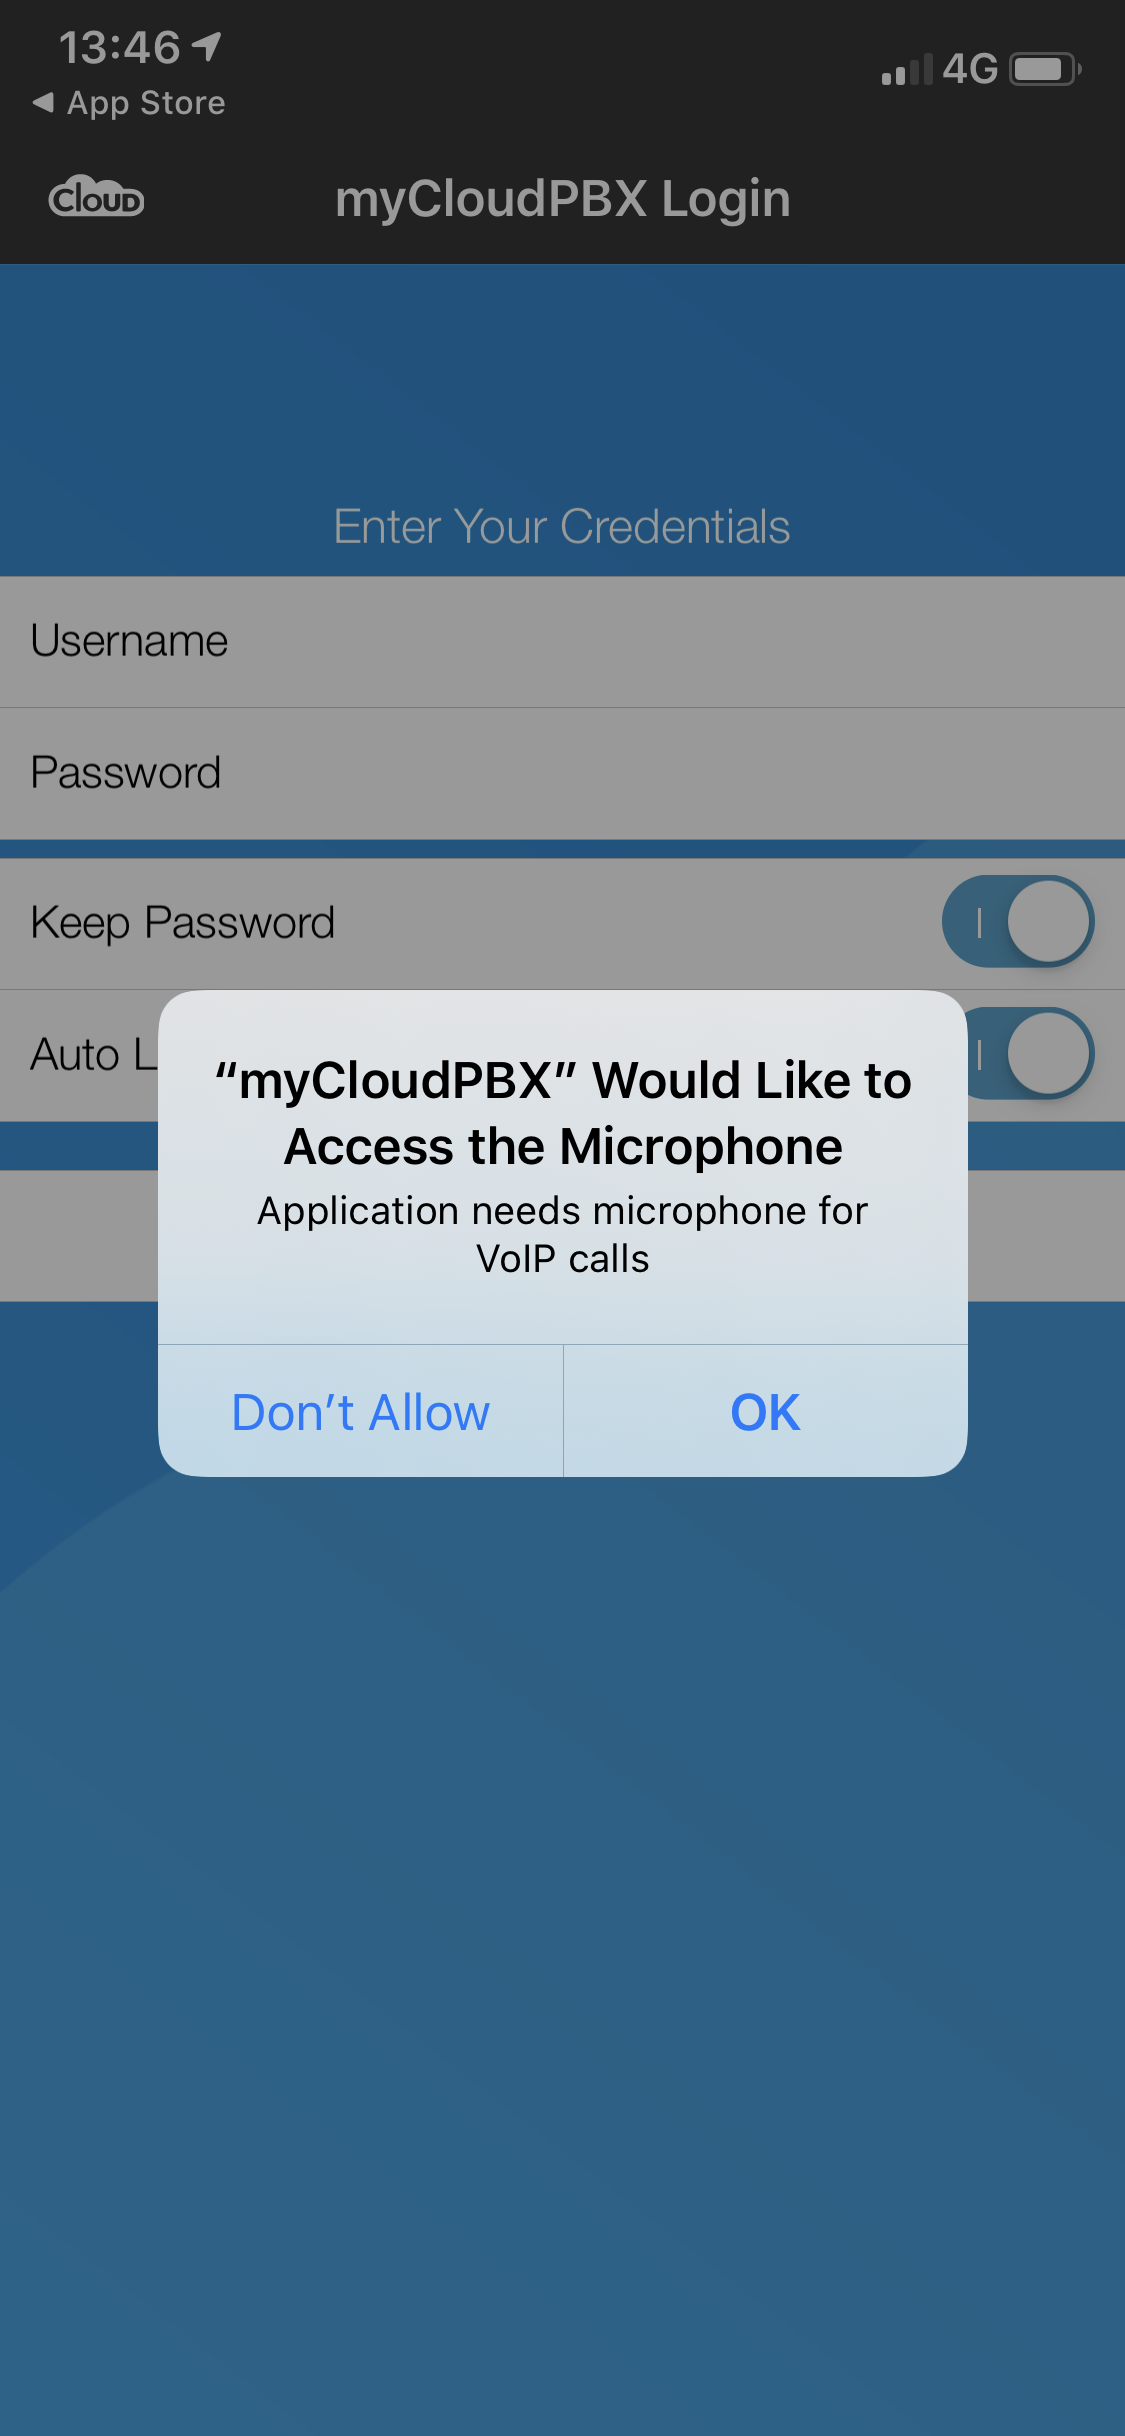
Allow Microphone Access:
- When prompted, press 'OK' to allow the app access to the Microphone.
-
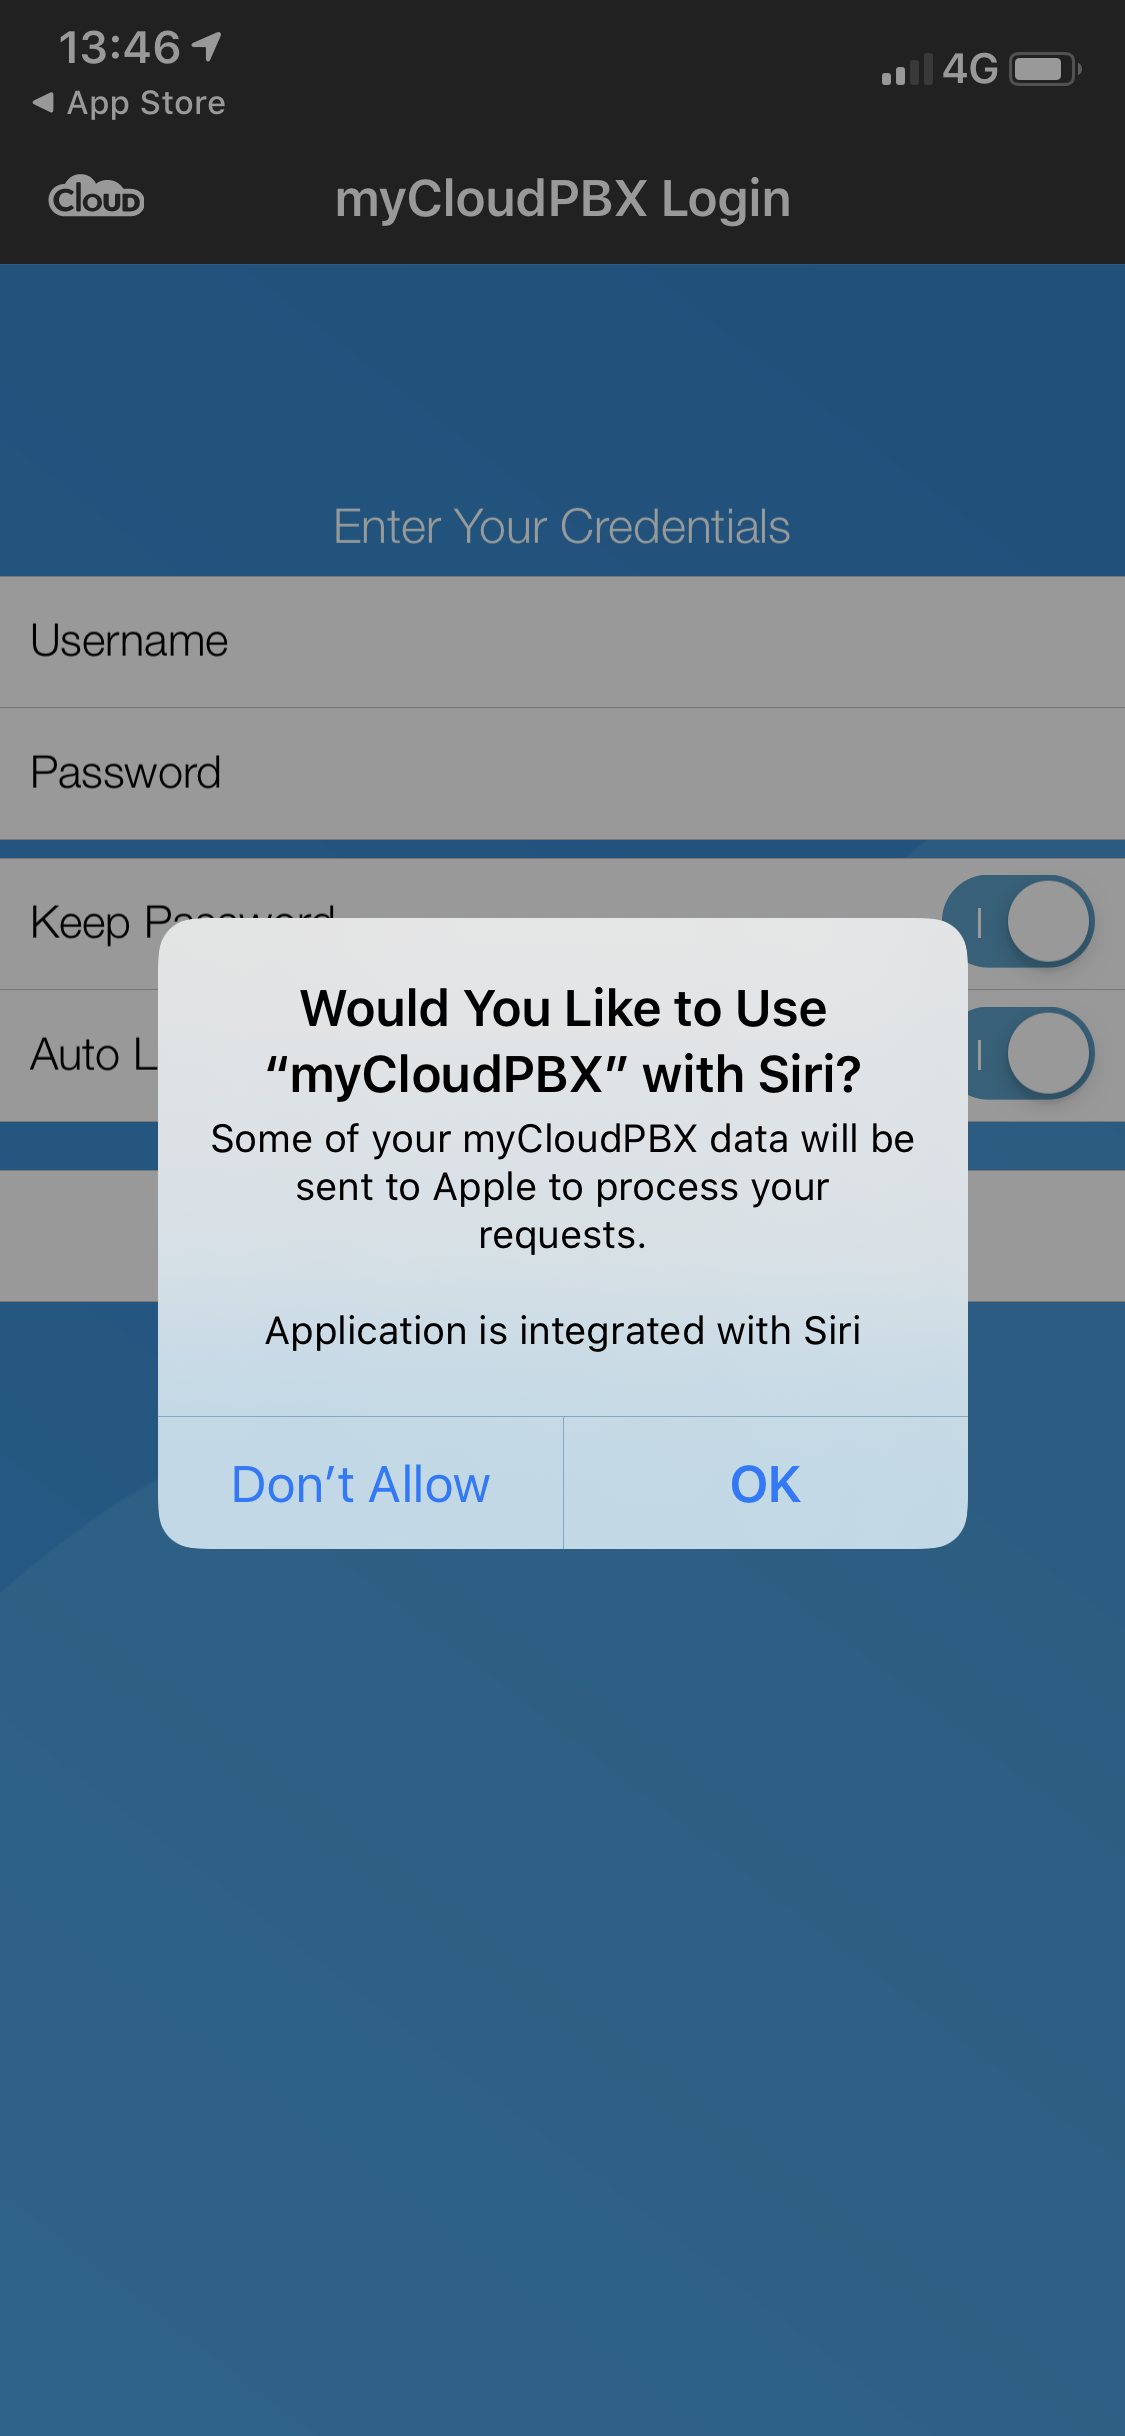
Siri Integration:
- When prompted, choose whether or not to allow Siri integration.
-
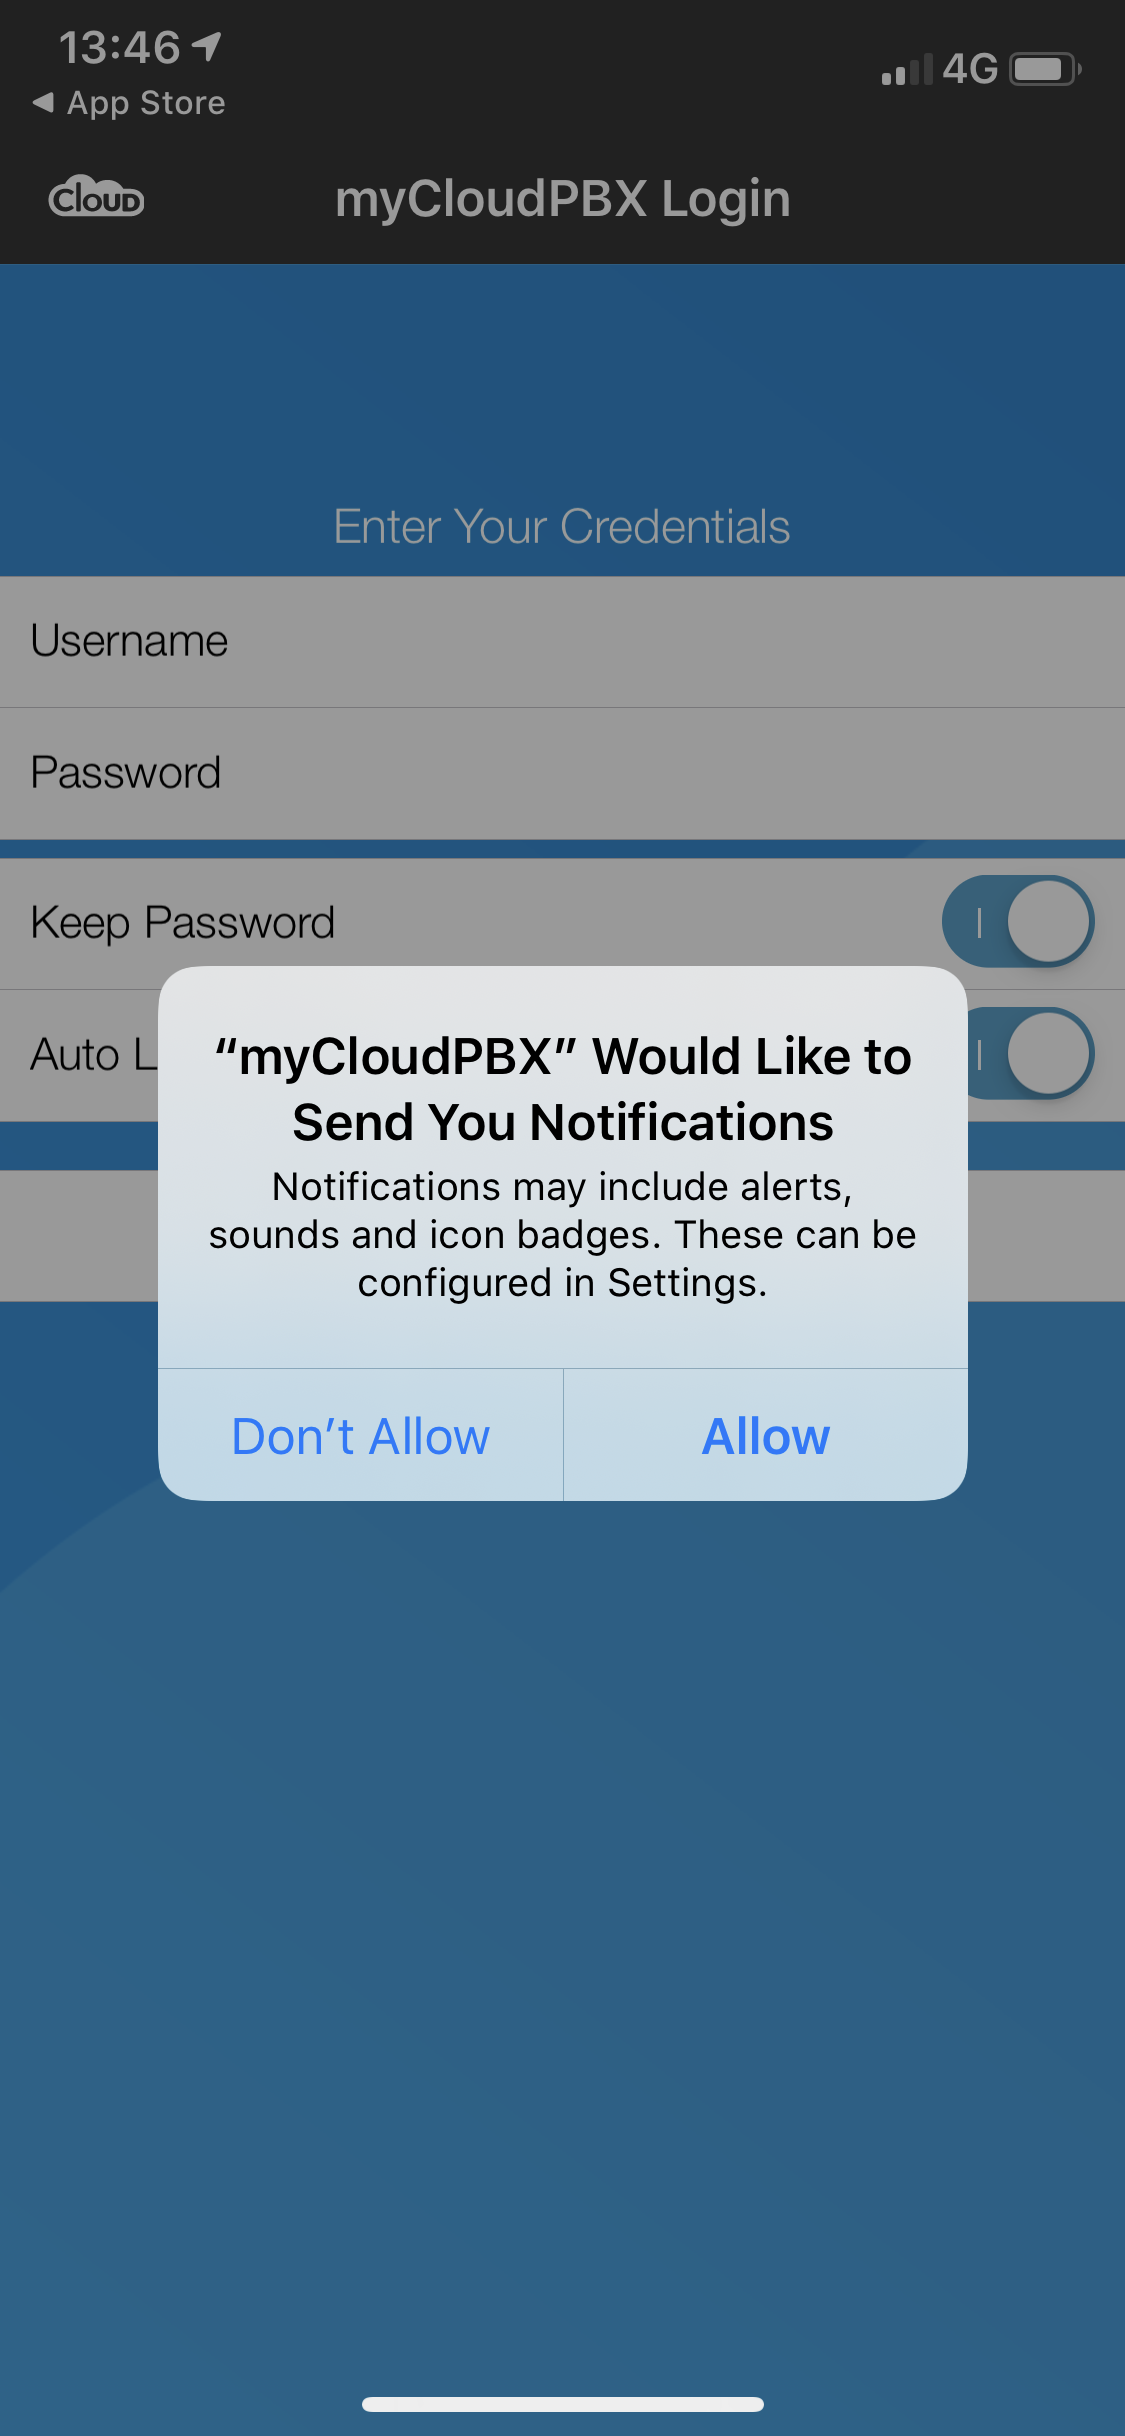
Allow Notifications:
- When prompted, press 'Allow' to allow the app to display missed call notifications.
-
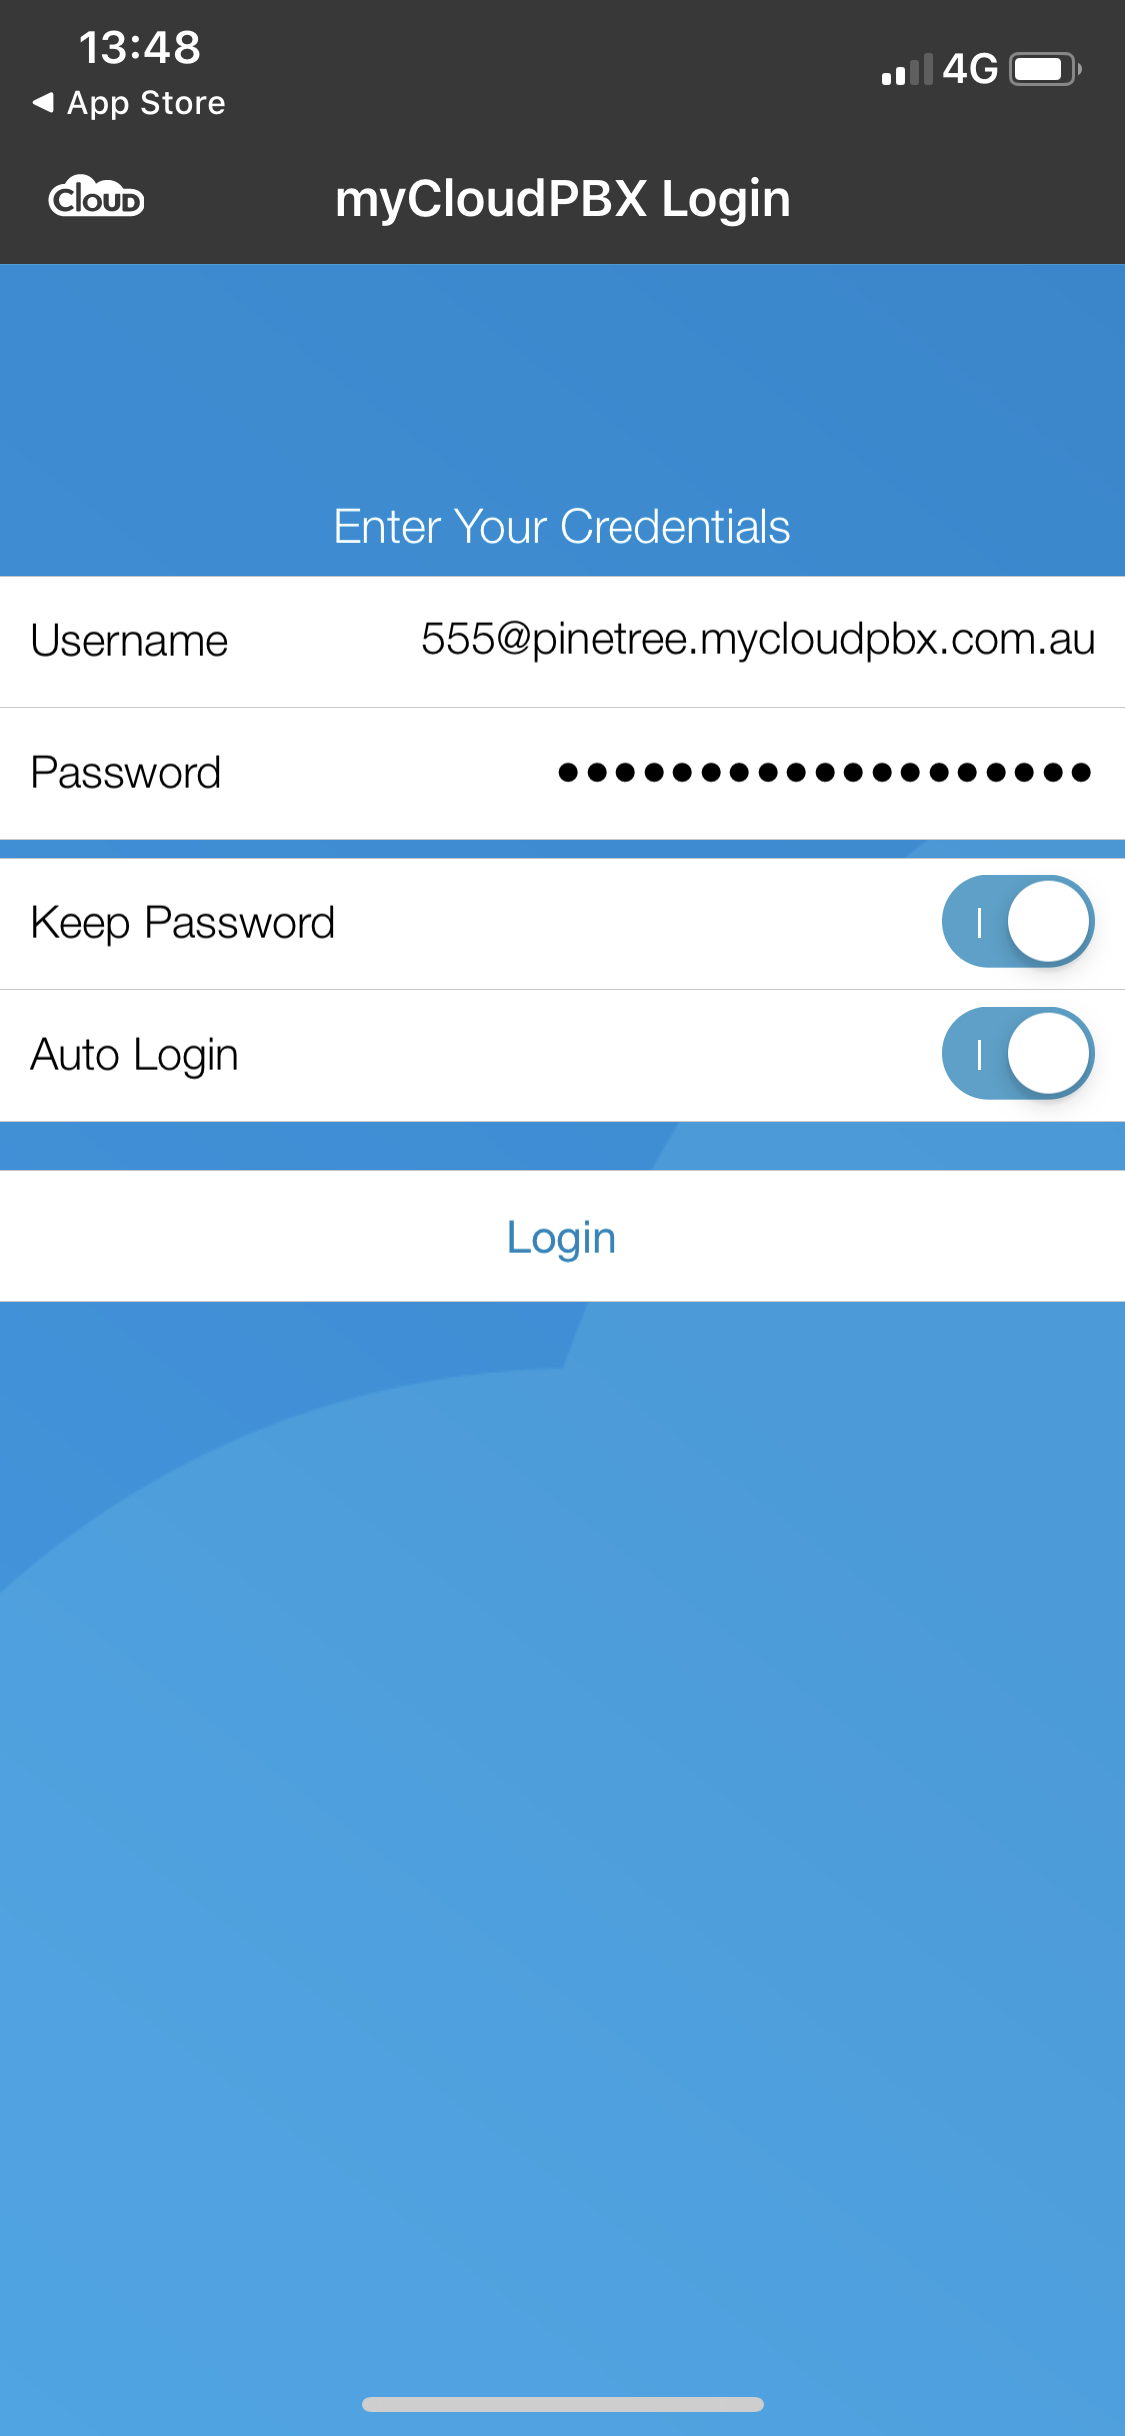
Log In:
- Enter your Username and Password. (You will have received this in the welcome email when you activated the softphone. You can find the password in the myCloudPBX Management Portal. If you are not sure, contact your Administrator).
-
When finished, click 'Login'.
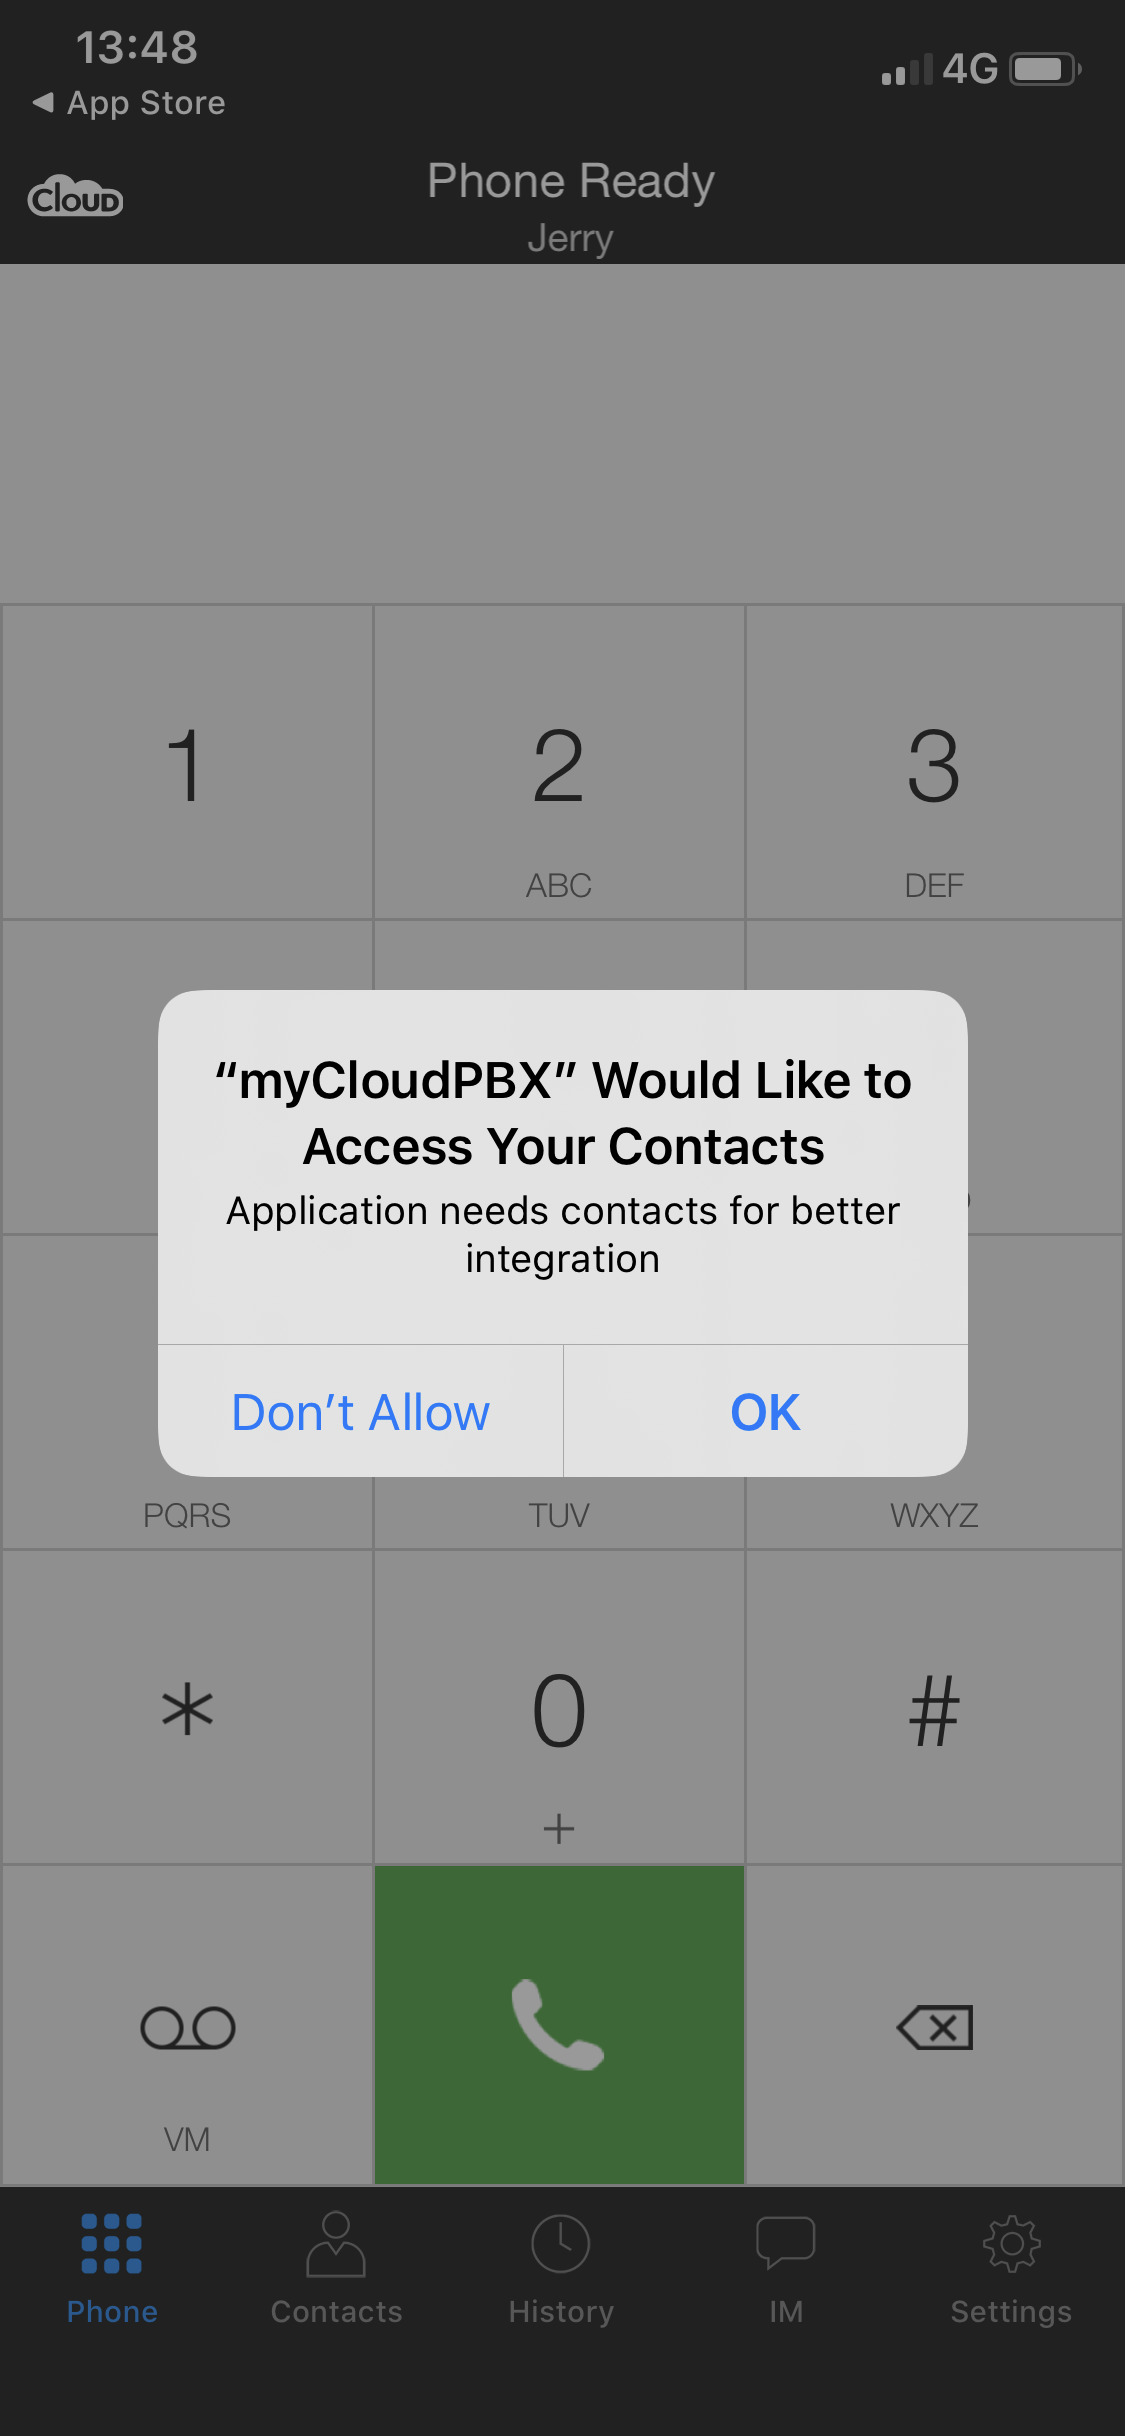
-
Allow Contacts Access:
- When prompted, click 'OK' to allow the app to access your Contacts.
The myCloudPBX Softphone is now fully installed and ready for use.
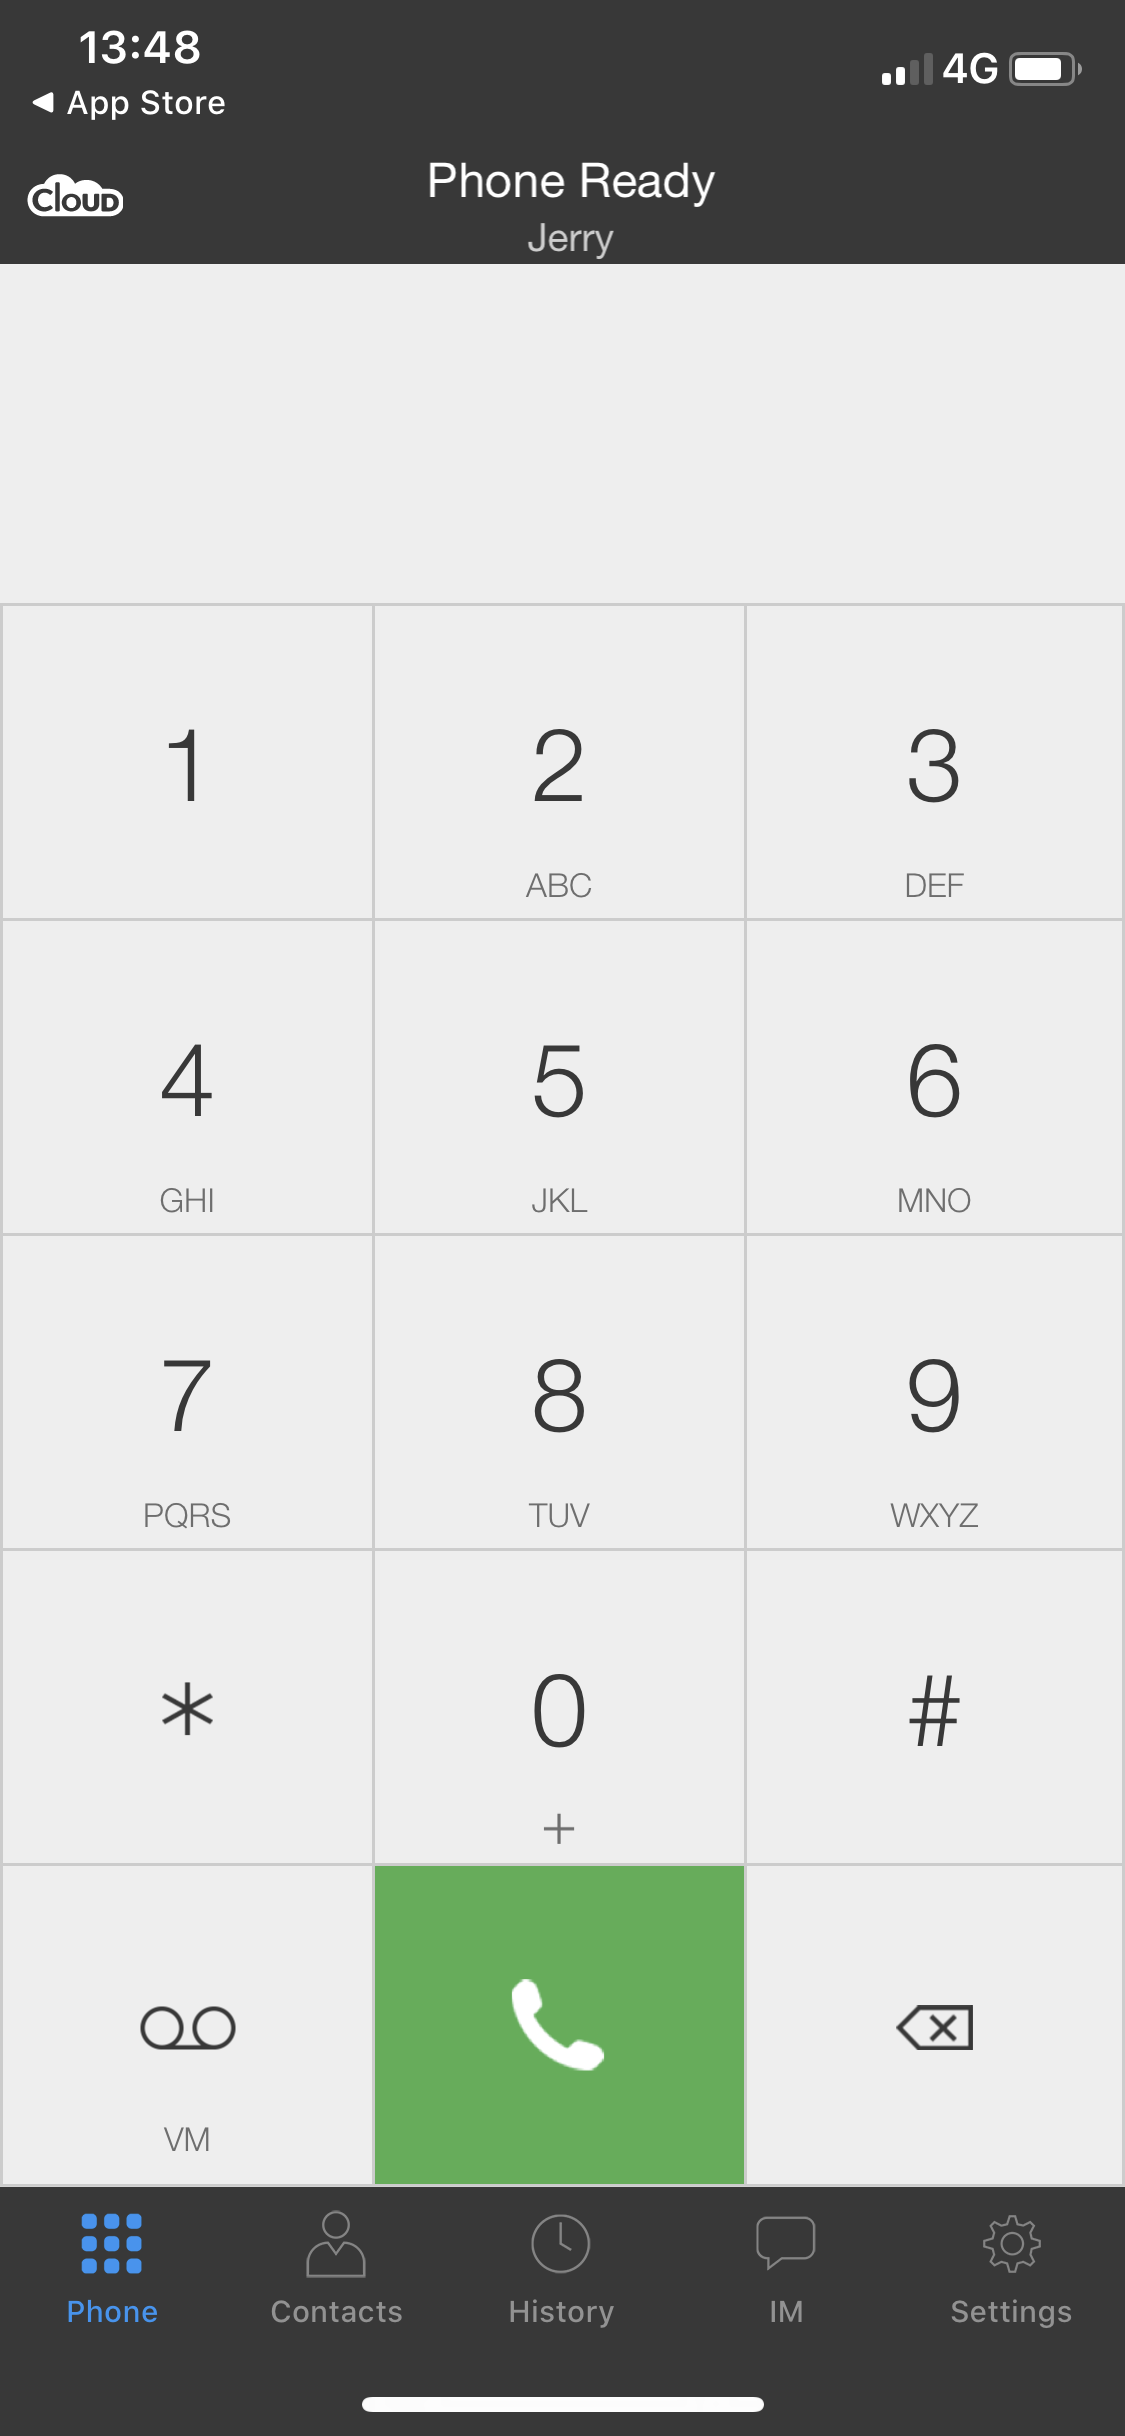
Making a Phone Call
-
Log In:
- Open the myCloudPBX app and log in using your username and password.
-
Dial a Number:
- Using the touchscreen, enter the number you wish to dial and press
 .
.
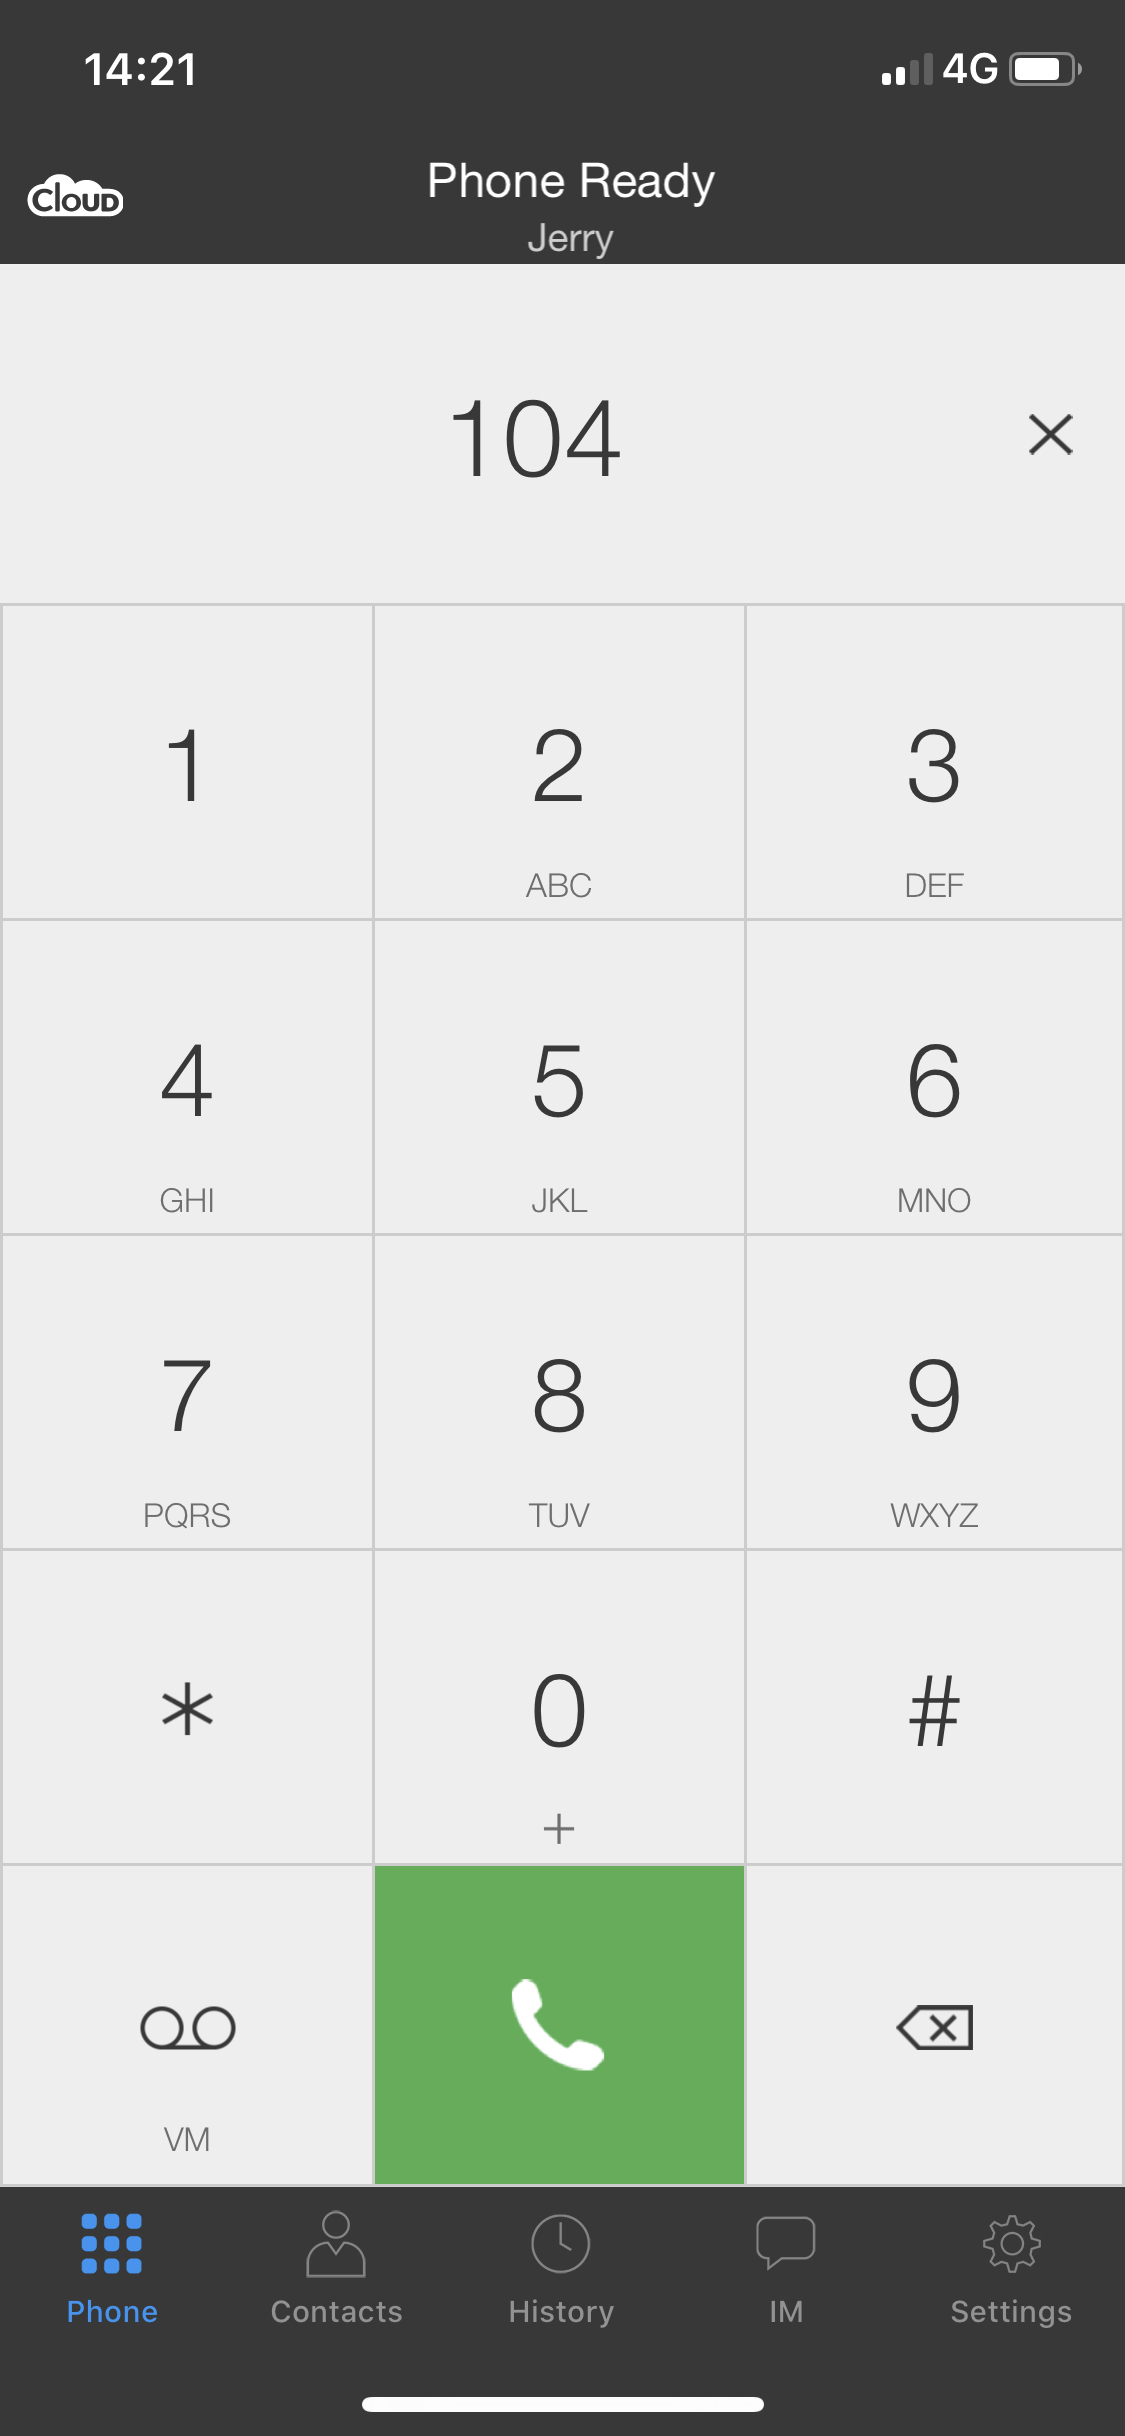
- Using the touchscreen, enter the number you wish to dial and press
-
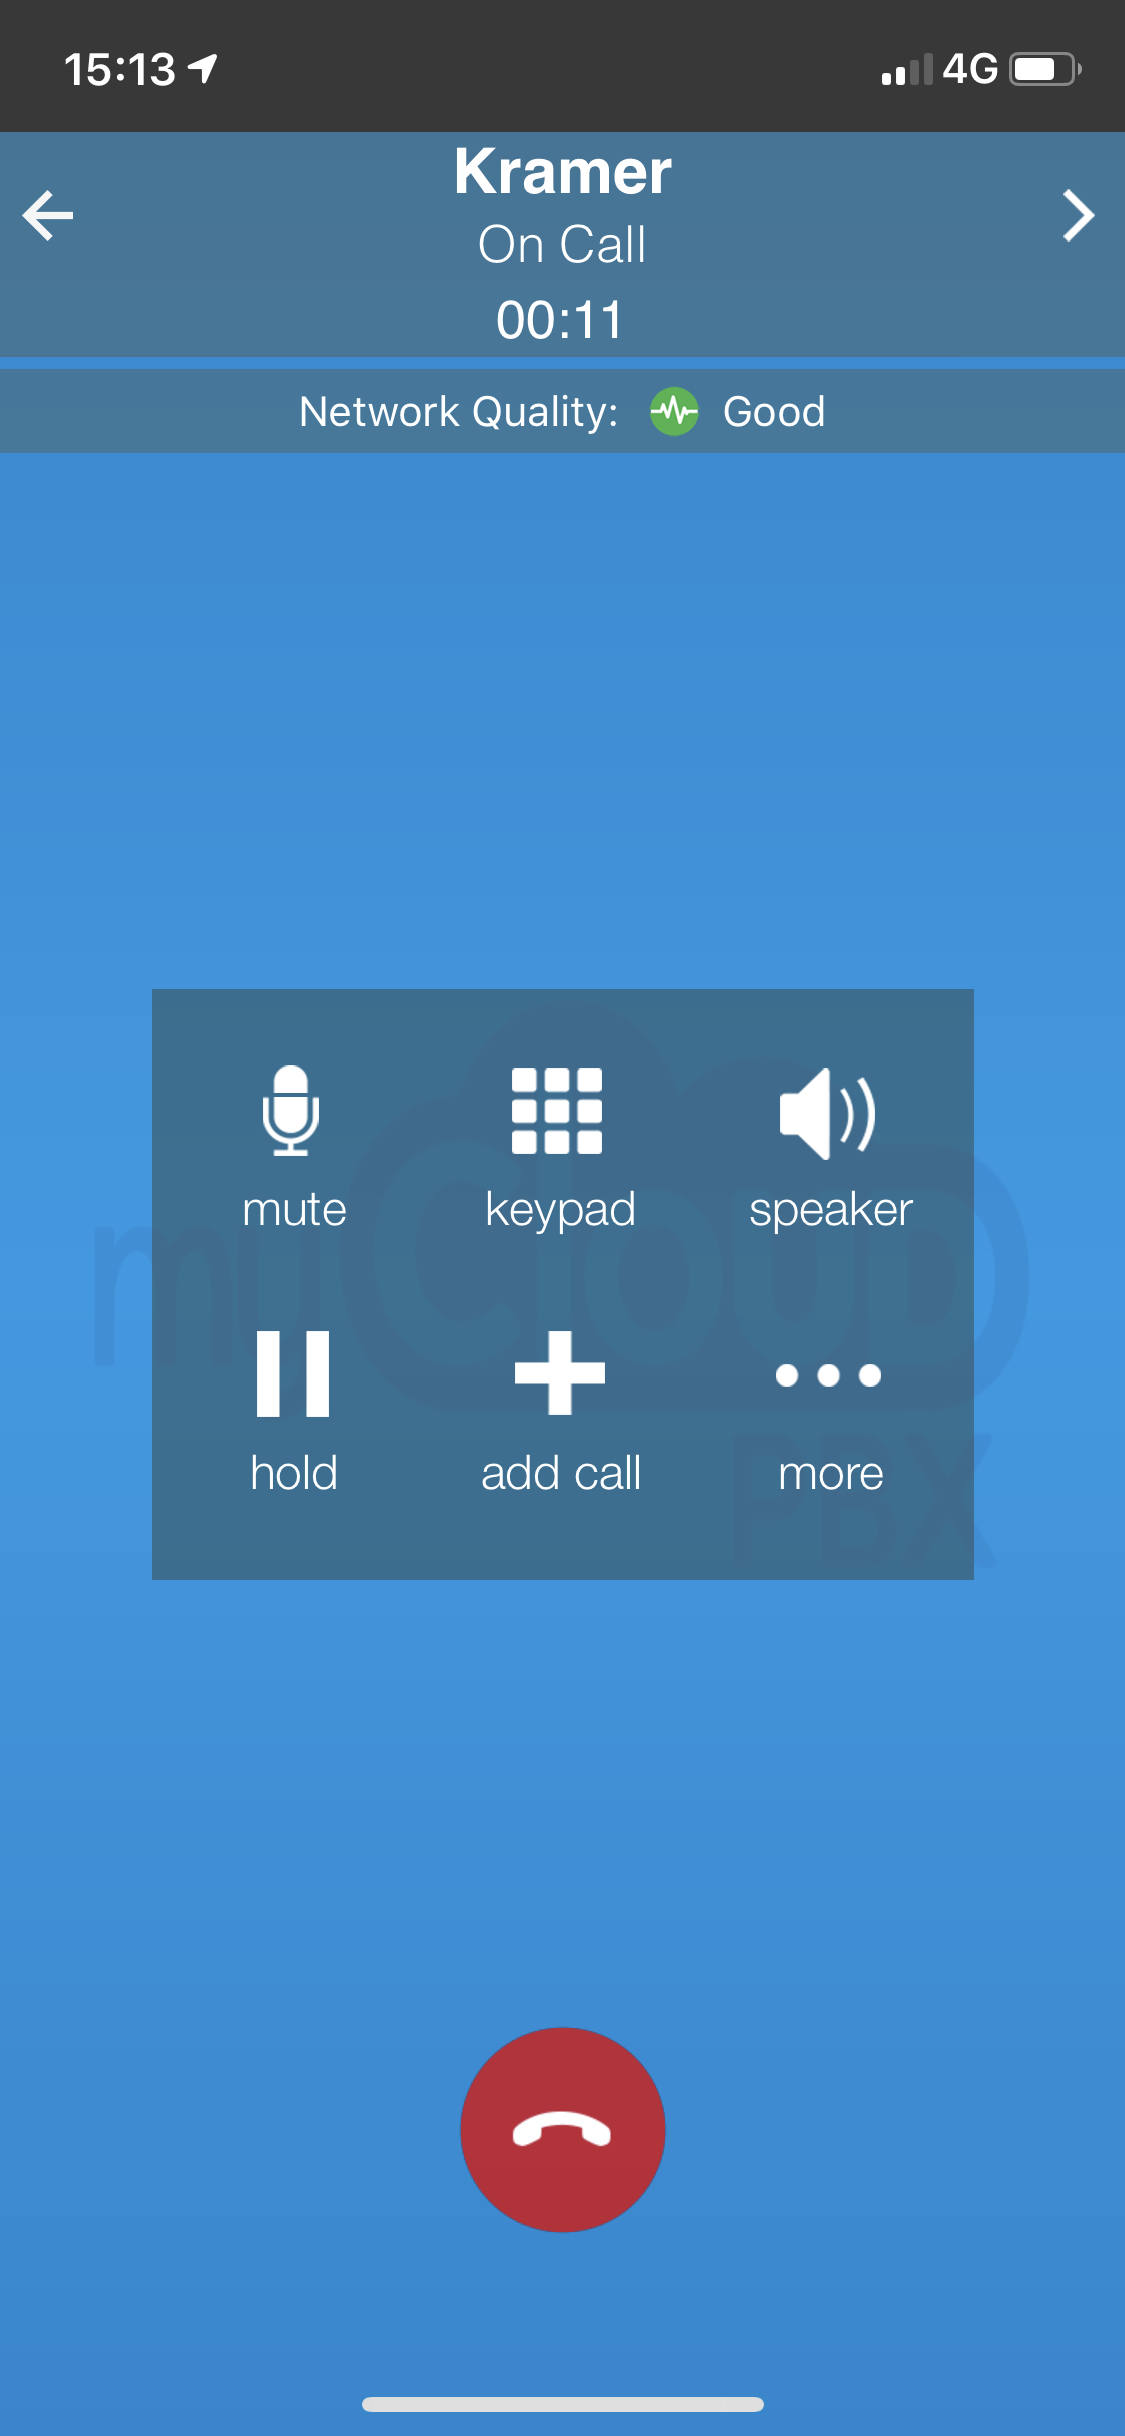
Call Options:
- Once the call connects, you have some additional options:
- To mute your microphone, press 'Mute'.
- To place the other person on hold, press 'Hold'.
- To enable speakerphone, press 'Speaker'.
- To hang up the call, press
 .
. - To input numbers while on a call, press 'Keypad'.

Accessing Voicemail
-
Access Voicemail:
- To access Voicemail, press
 or dial 777.
- To access Voicemail, press
-
Enter PIN:
- Press the 'Keypad Icon' to access the keypad, then enter your PIN when prompted.
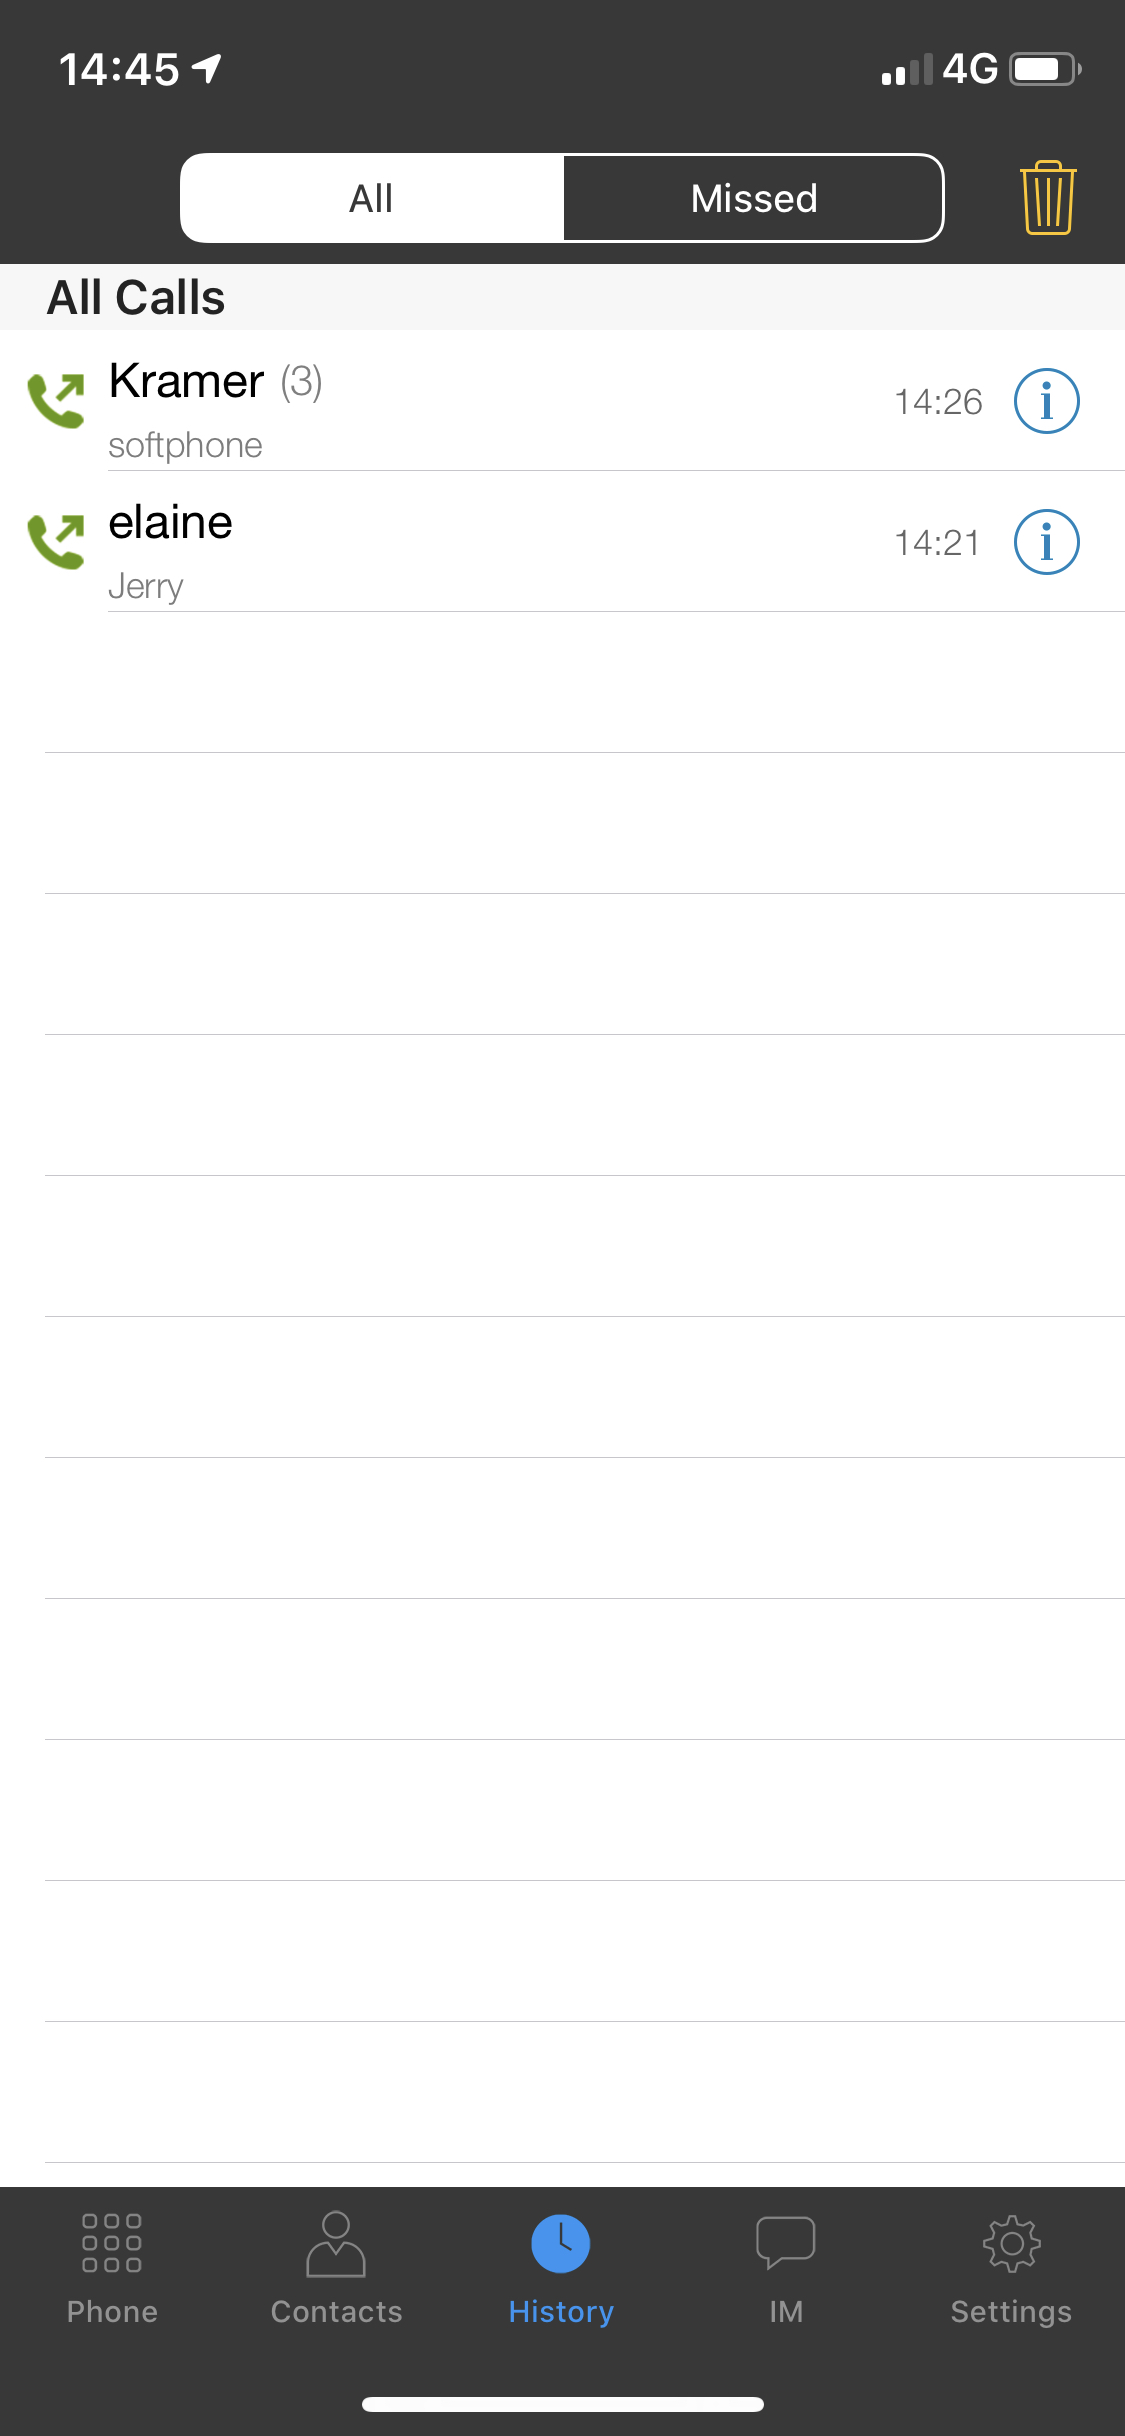
View Call History
-
View History:
- To view your call history, press the button at the bottom of the myCloudPBX Softphone's homescreen labelled 'History'.
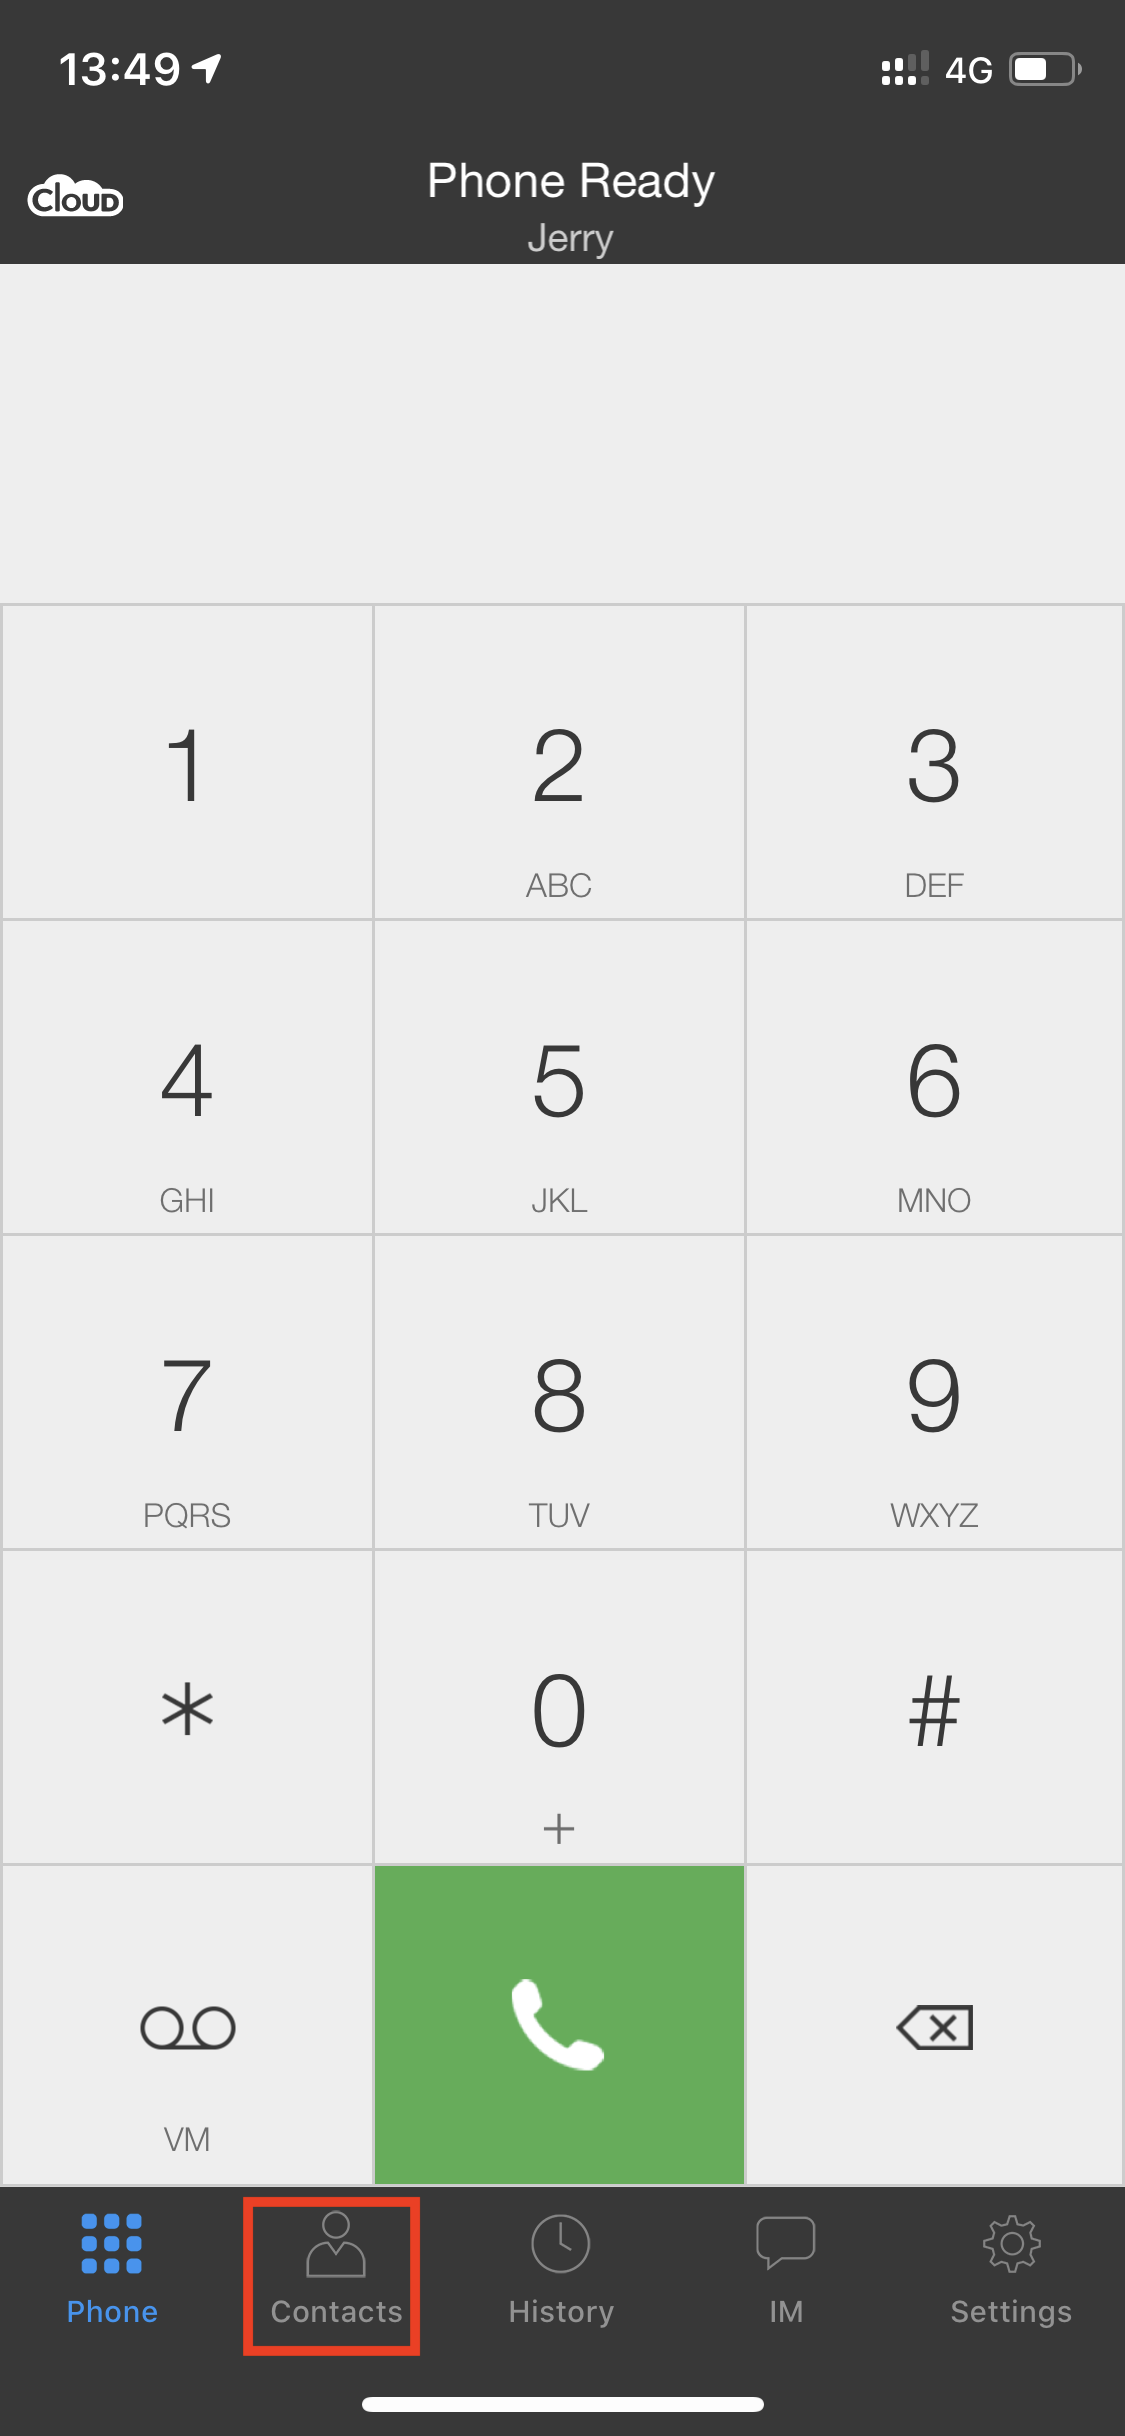
Adding Contacts
-
Open Contacts:
- From the main screen of the Softphone, press 'Contacts'.
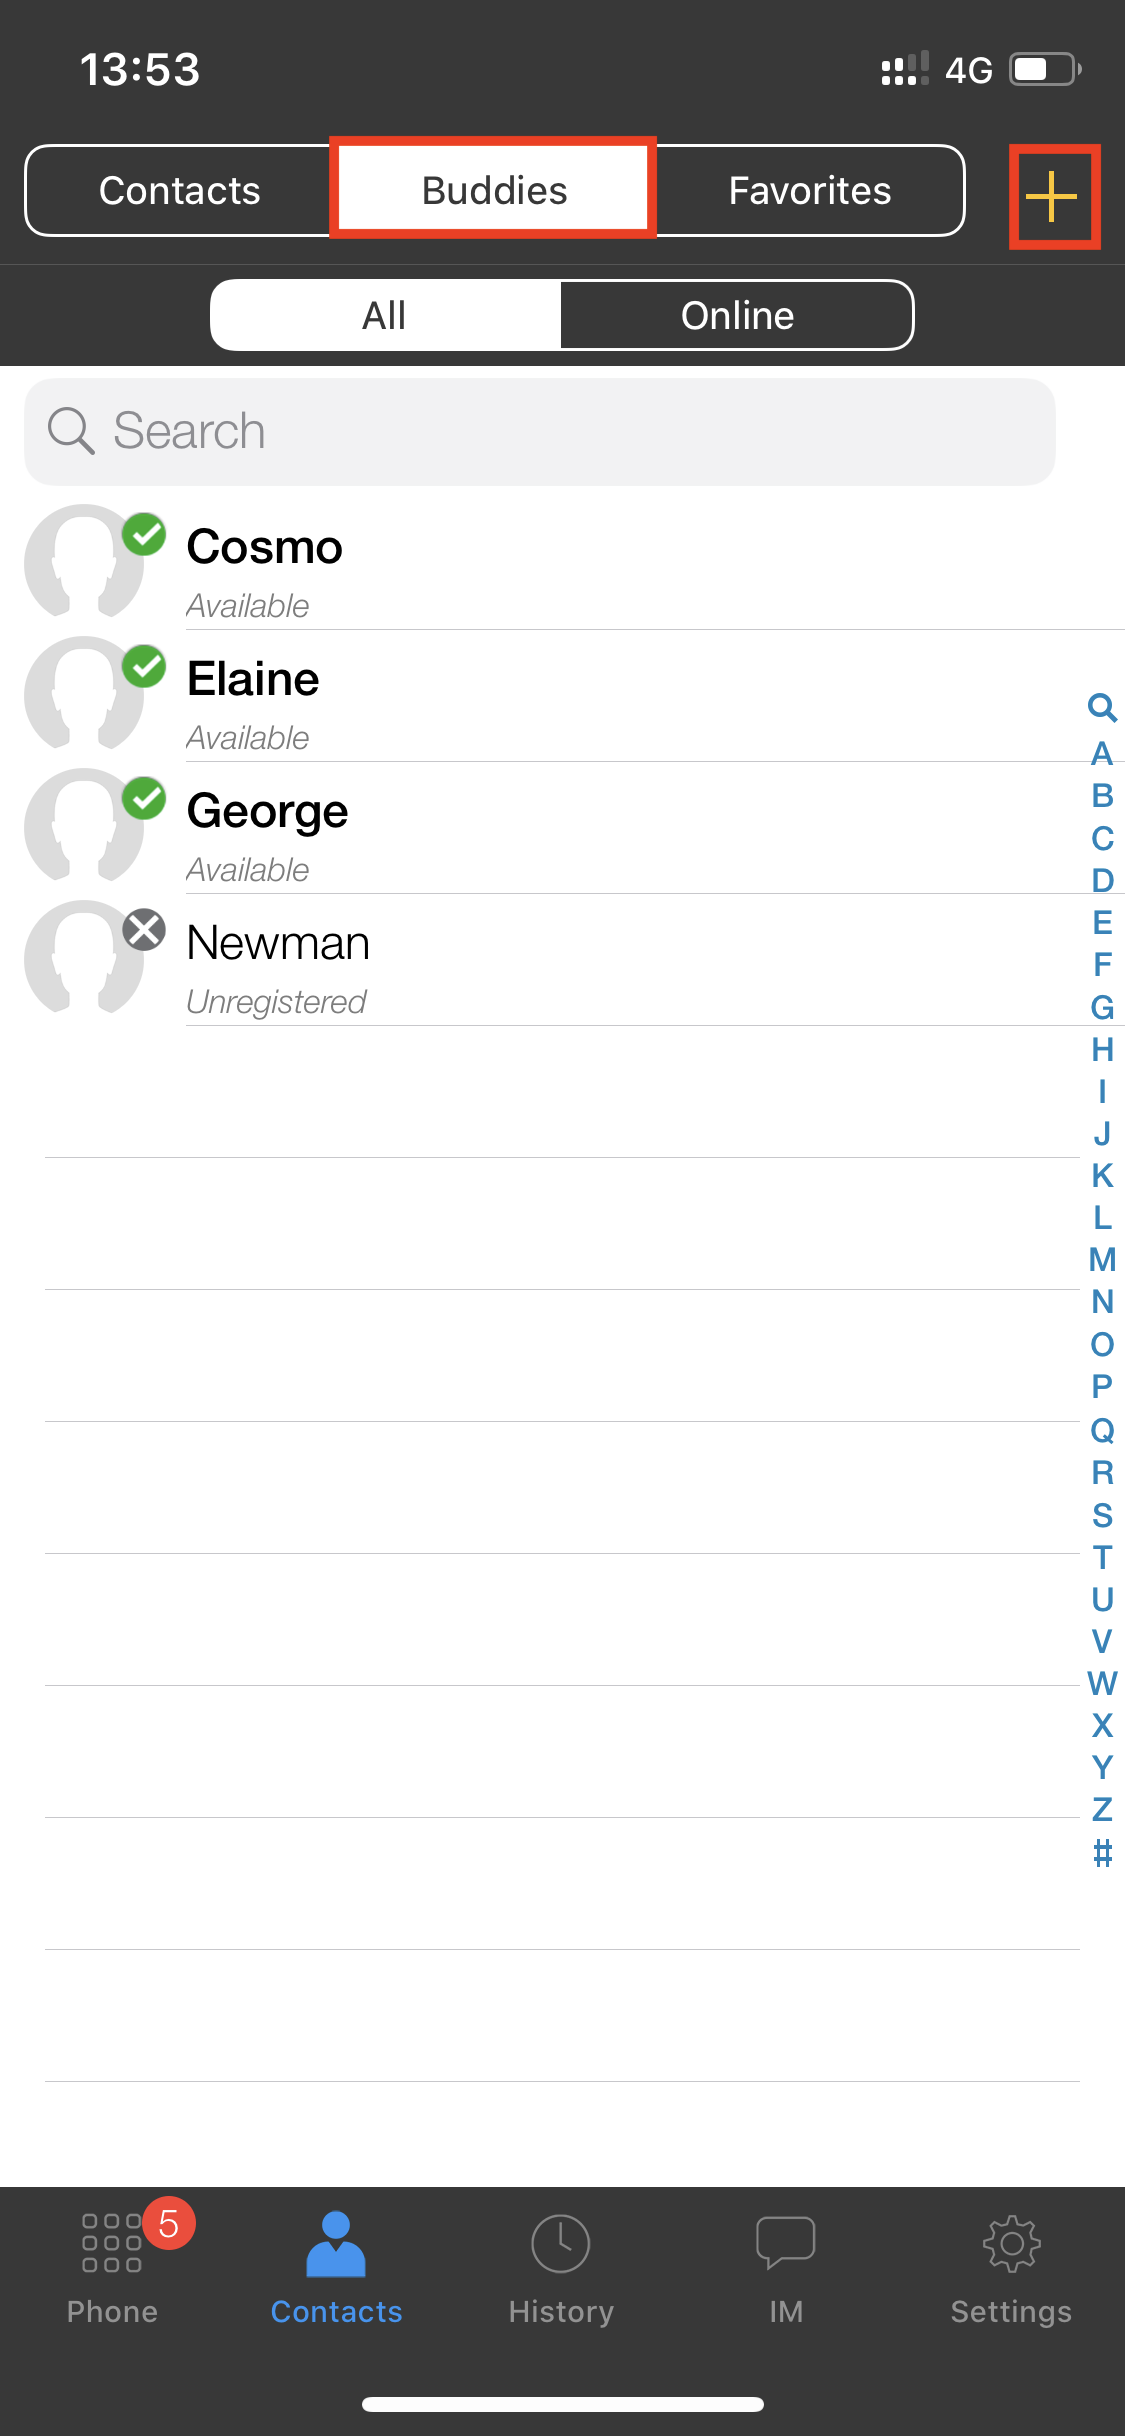
-
Add New Contact:
- From the top of the screen, select 'Buddies', then press the '+' button to add a new contact.
-
Enter Contact Information:
- Enter the relevant information about the contact.
- Scroll down to the section labelled 'softphone'. Enter the username for the person you wish to monitor.
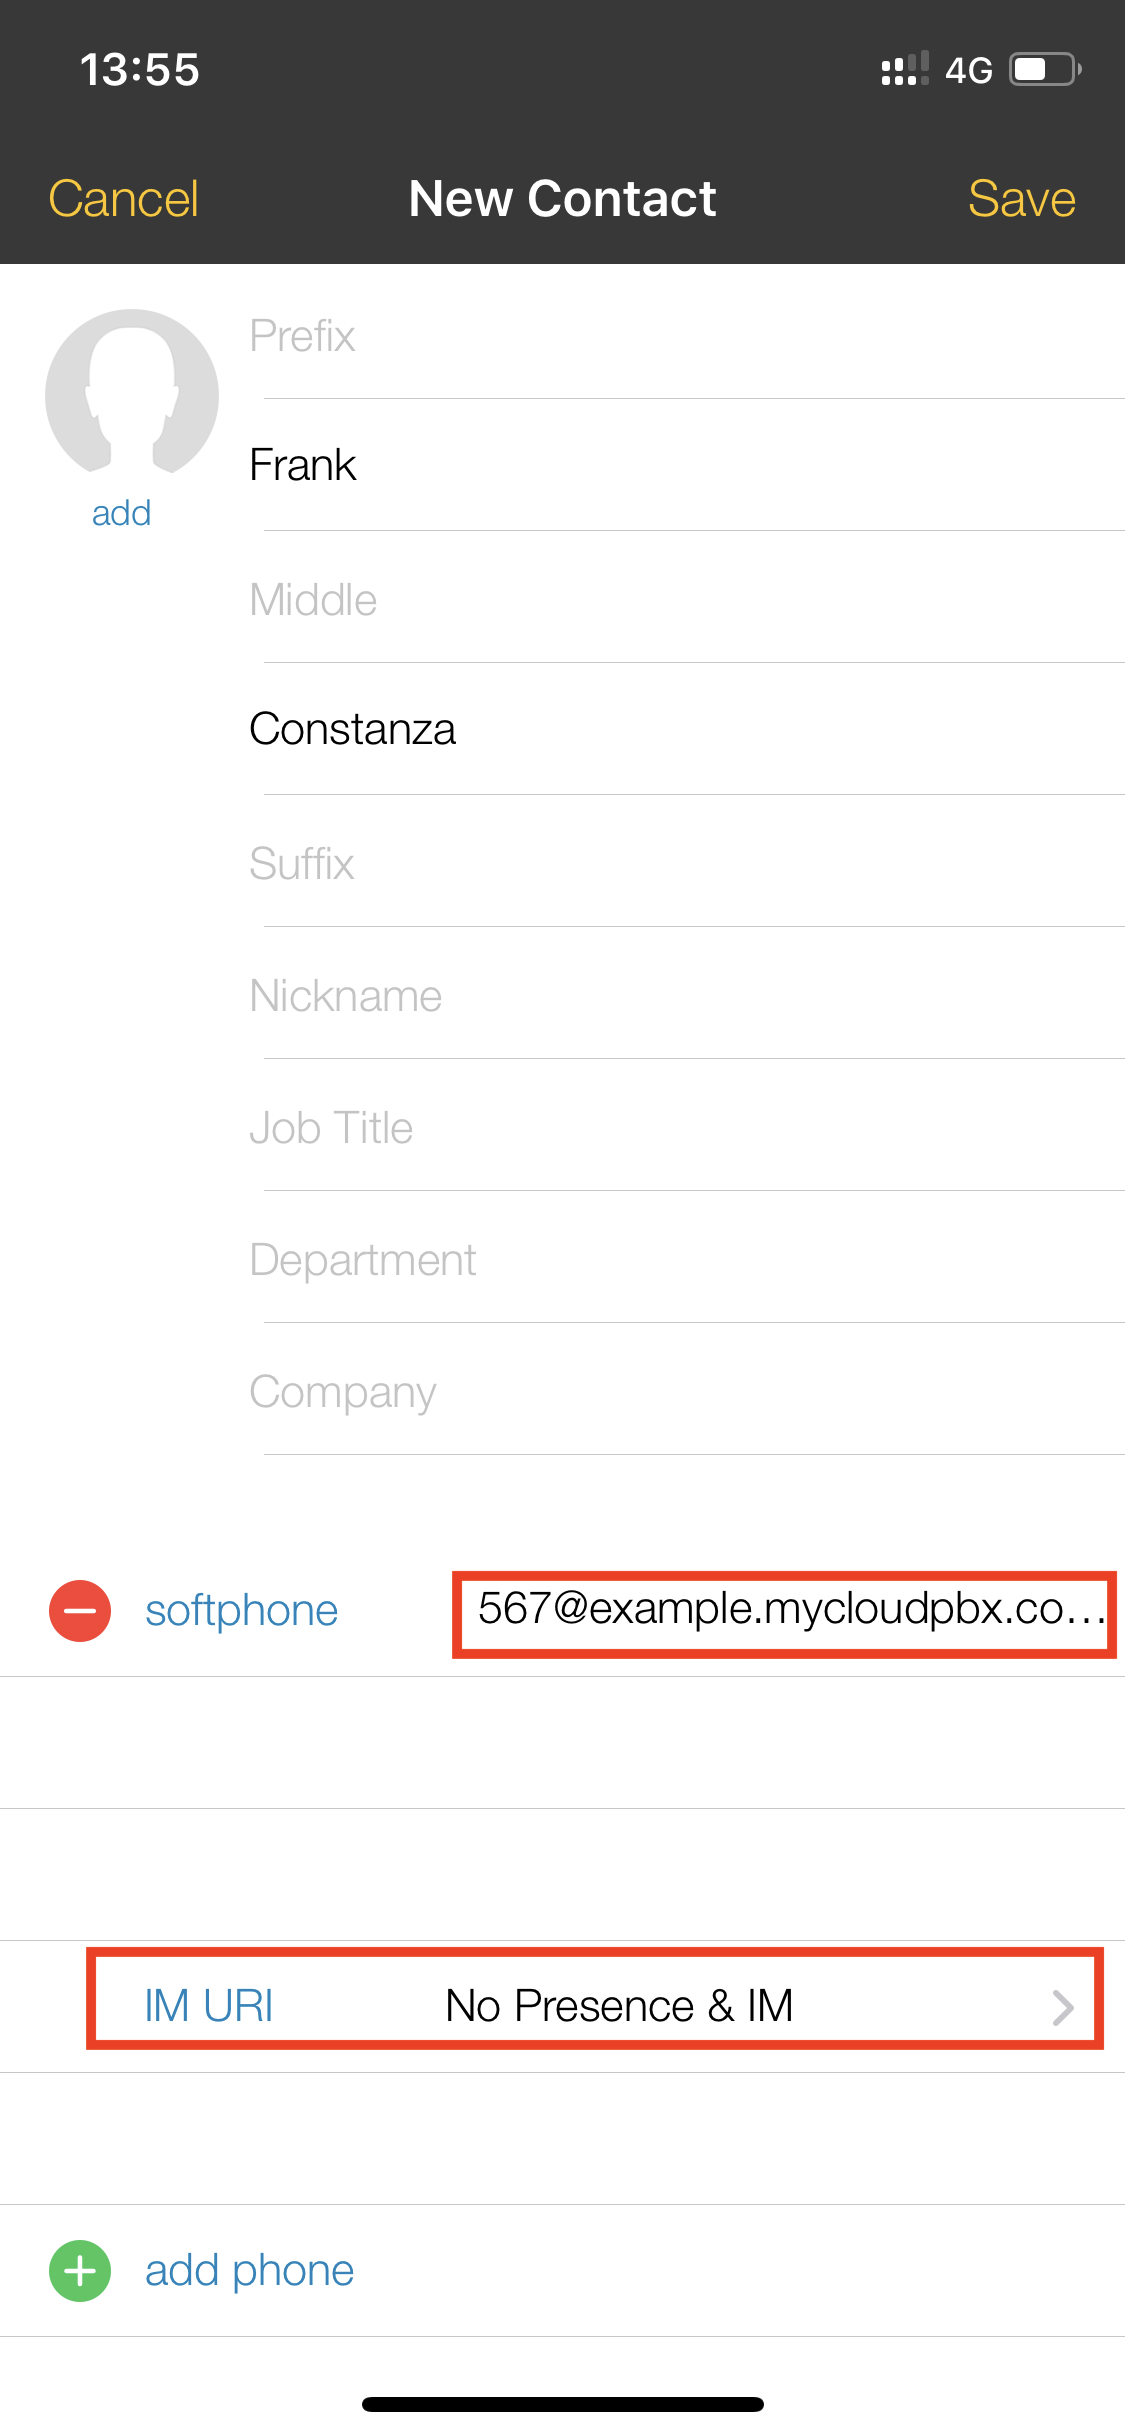
- This will be the same as their username for the myCloudPBX Softphone.
-
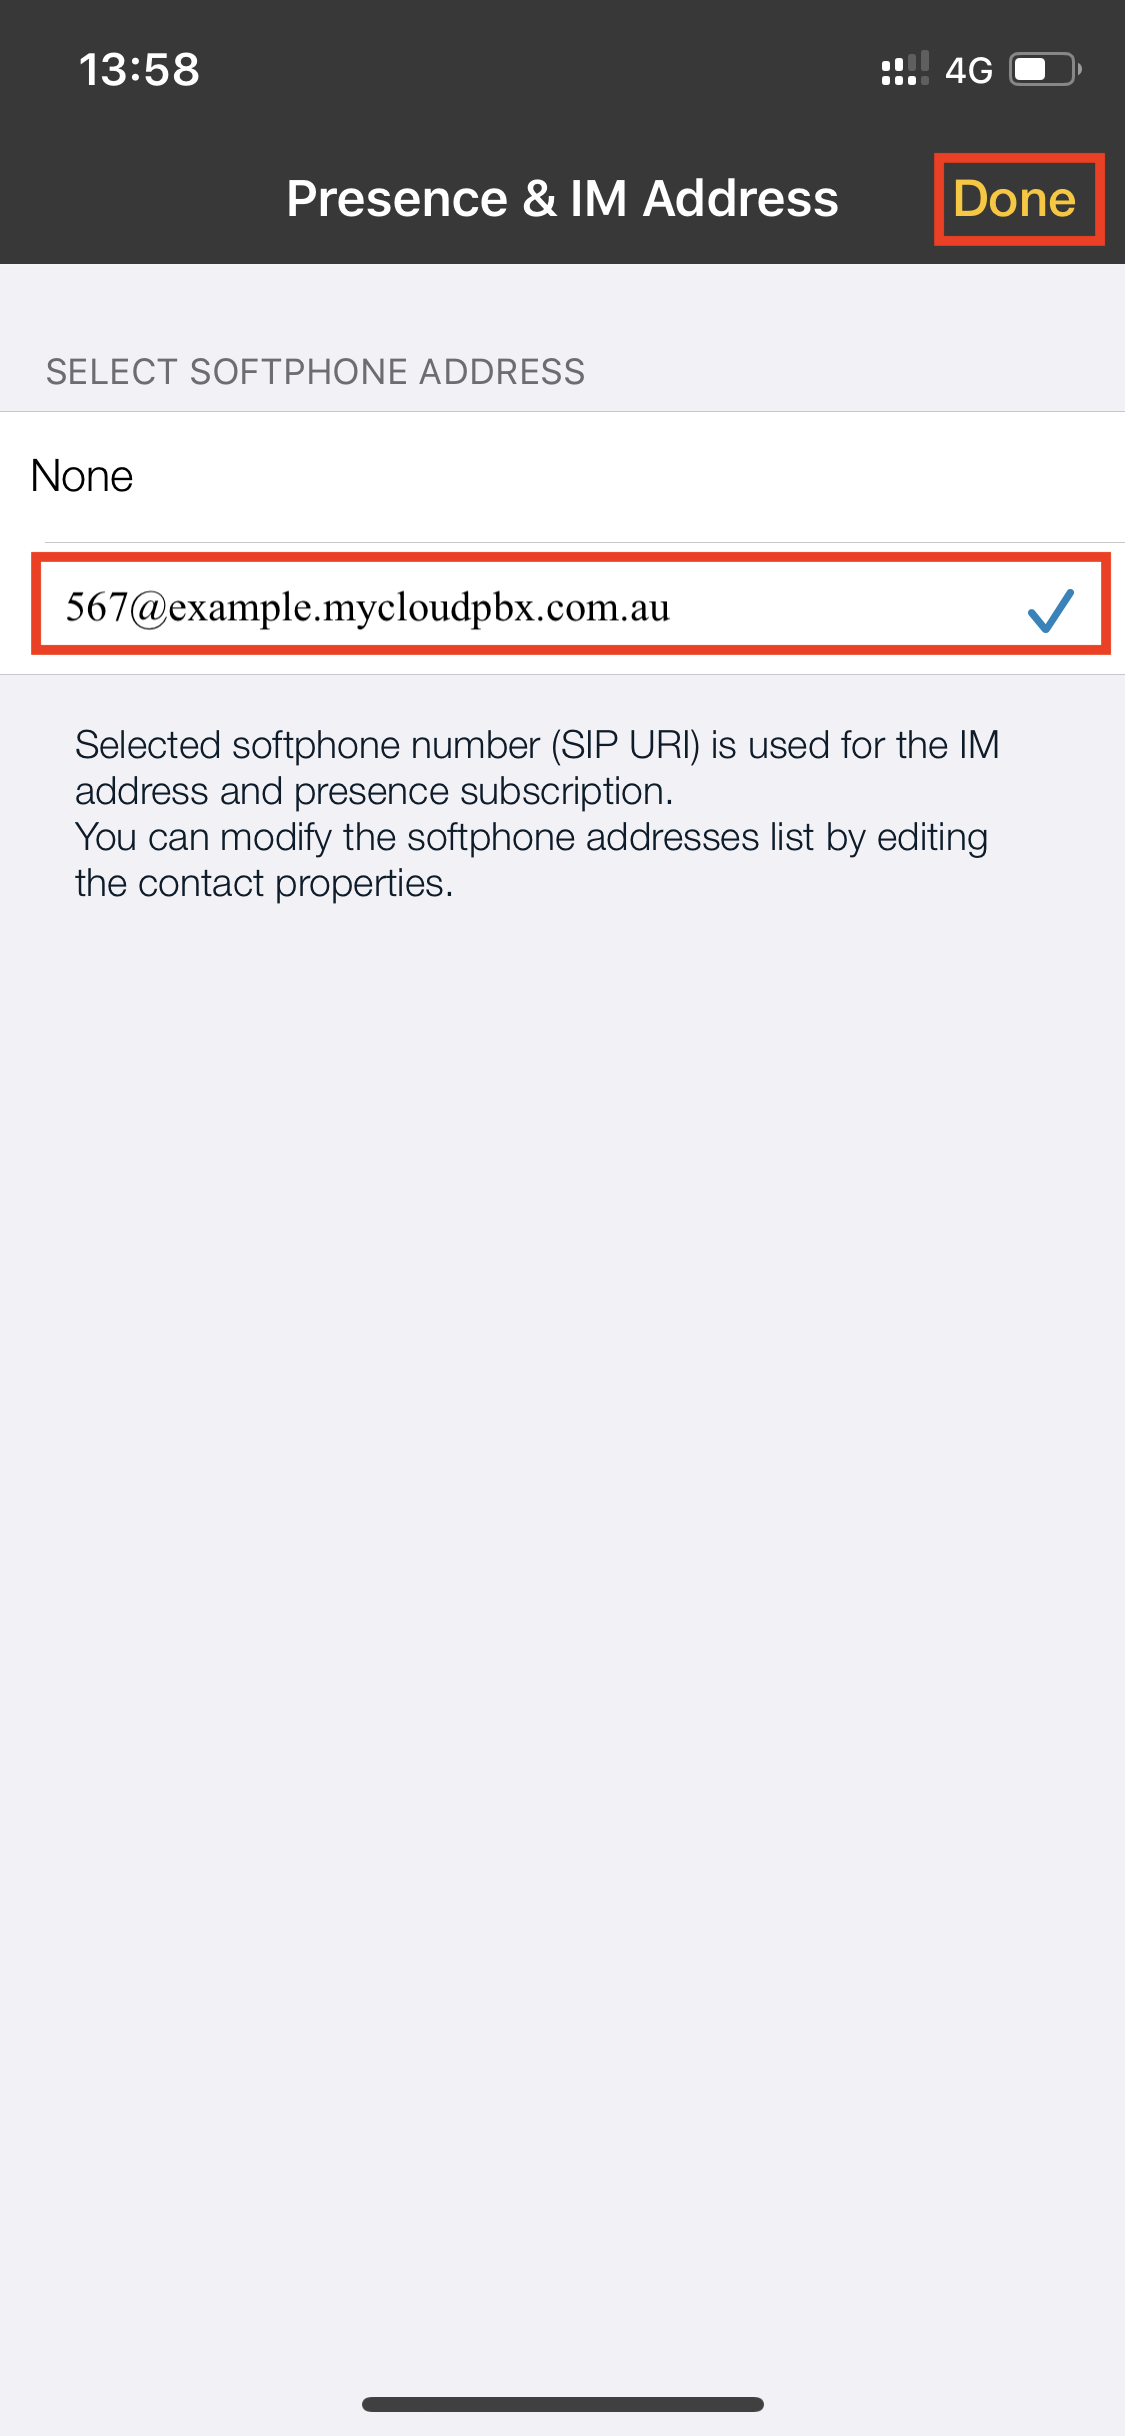
Select IM URI:
- Select the 'IM URI' option.
- Ensure that the user you wish to monitor is selected, then press 'Done'.
-
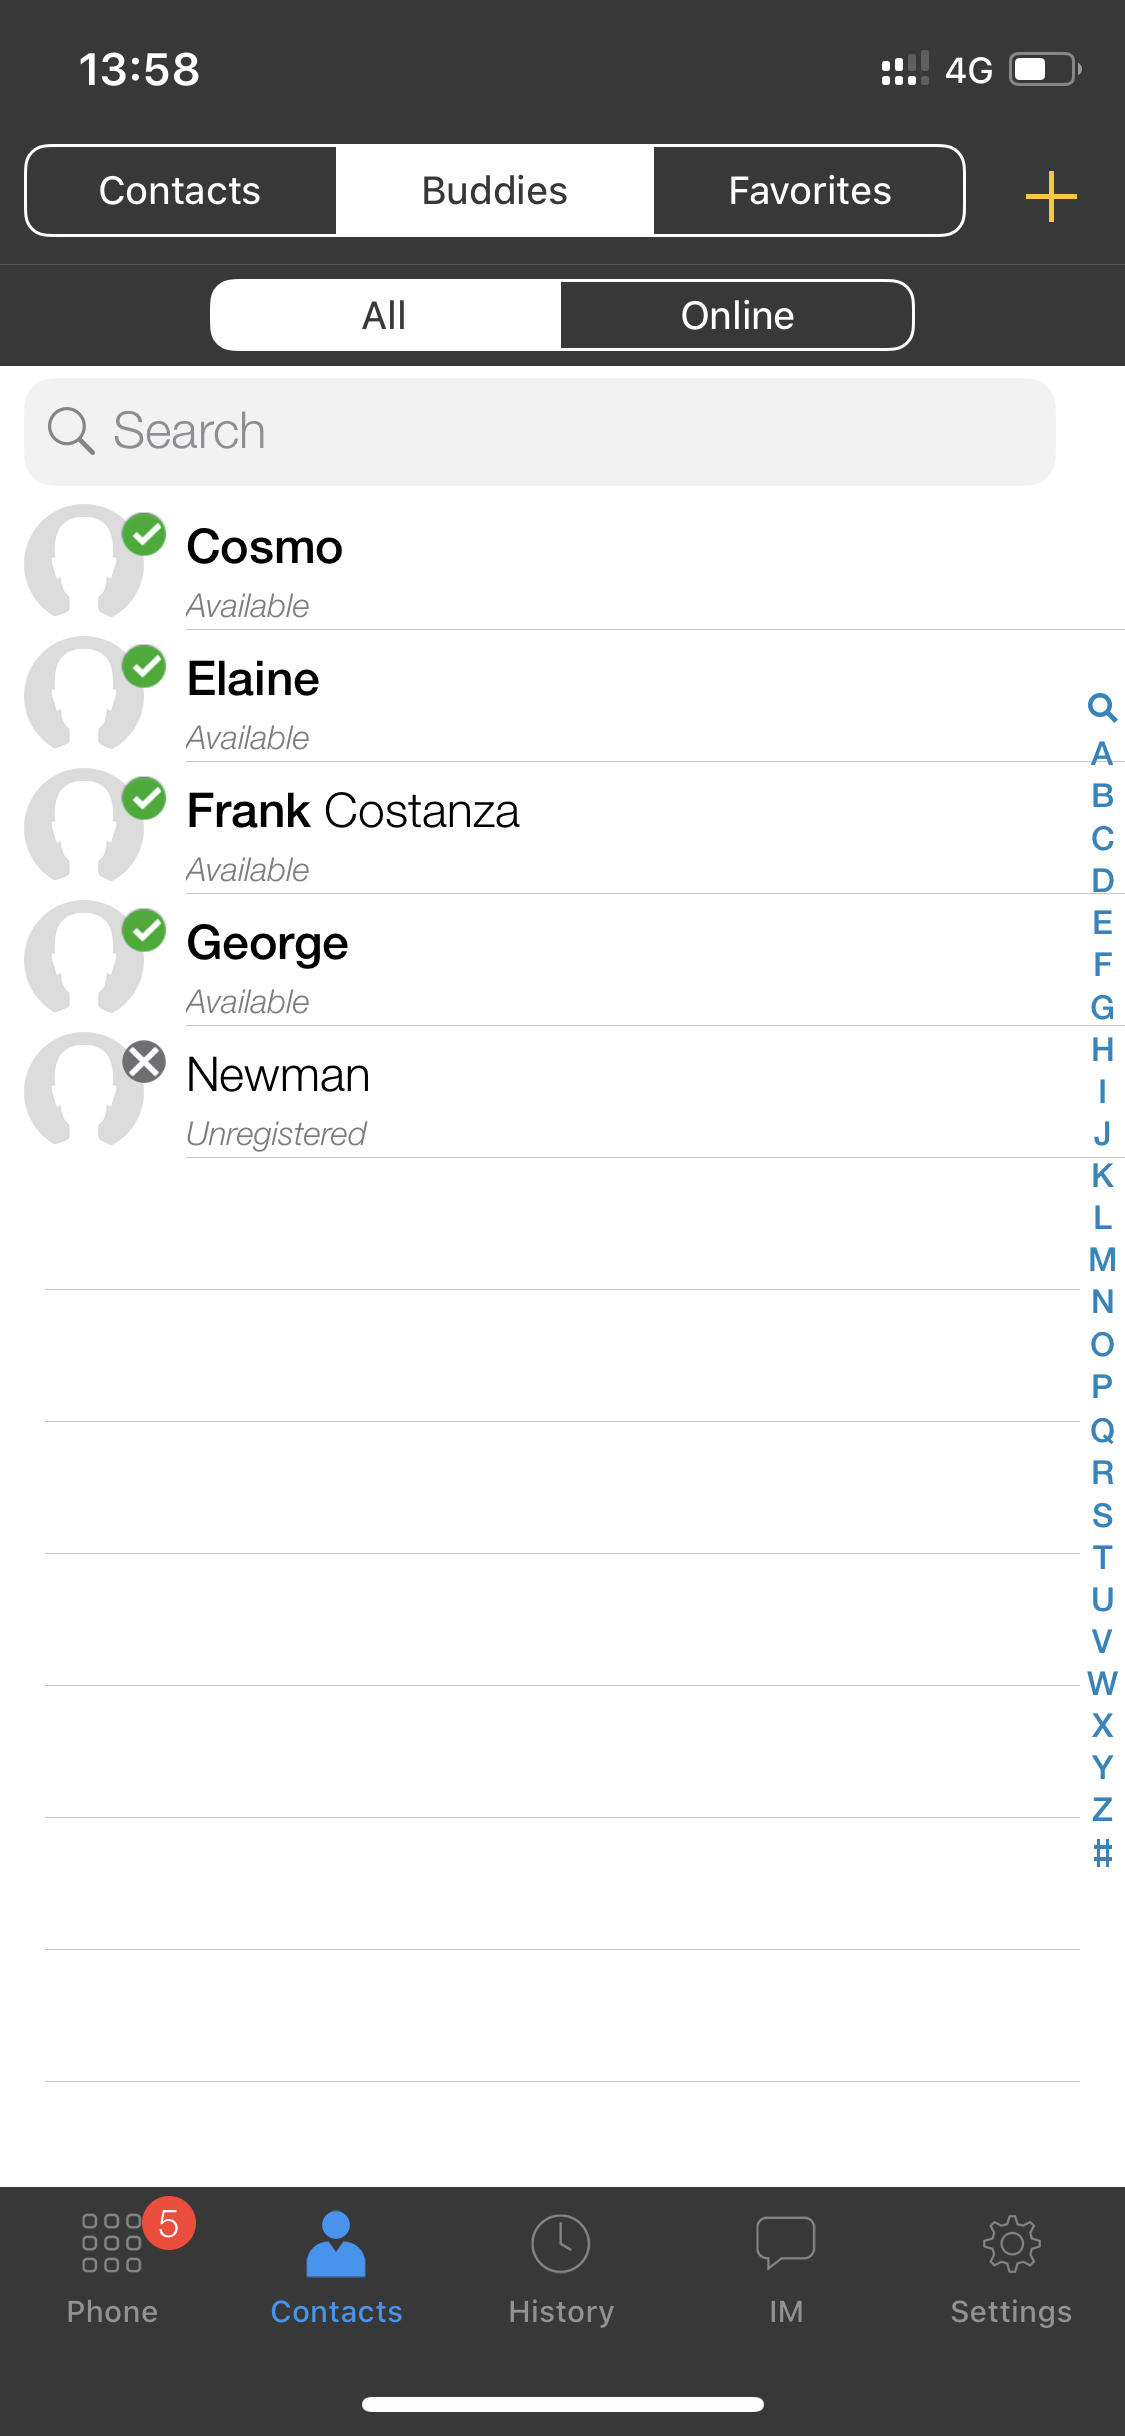
View On-Call Status:
- Finally, you can now see the current on-call status of all the users you have added.
Transferring Calls
Blind Transfer a Call
-
Initiate Transfer:
- When you 'Blind Transfer' a call, the call will immediately ring on the intended person's phone and will no longer be on yours.
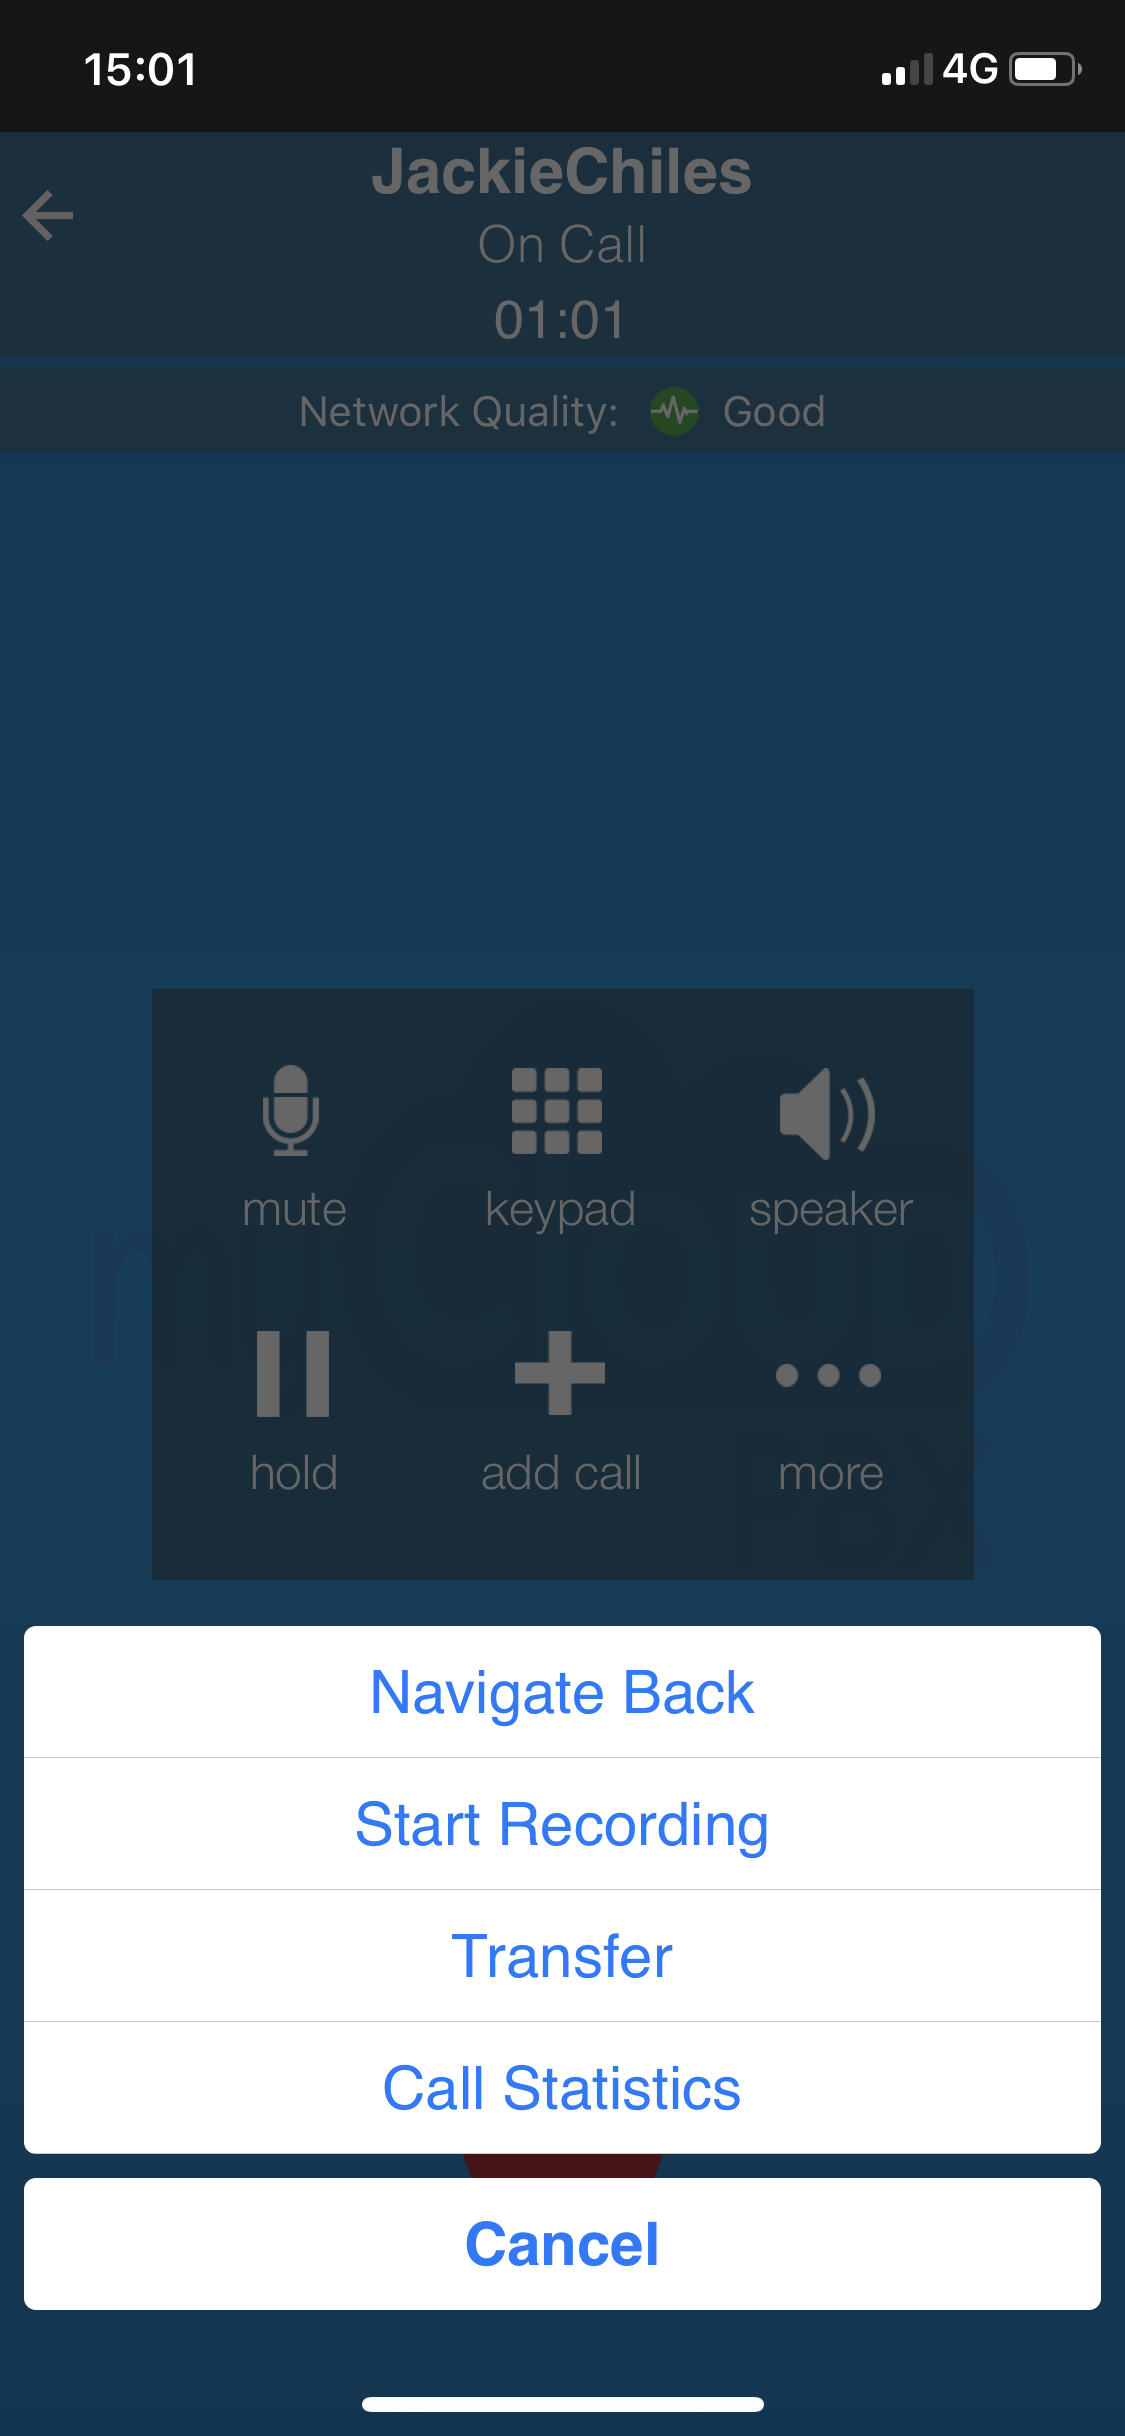
- While on the active phone call, press
 (More) and then press the 'Transfer' option as shown below.
-
Complete Transfer:
- Enter the number you wish to transfer the call to and press
 (Xfer) to complete the transfer.
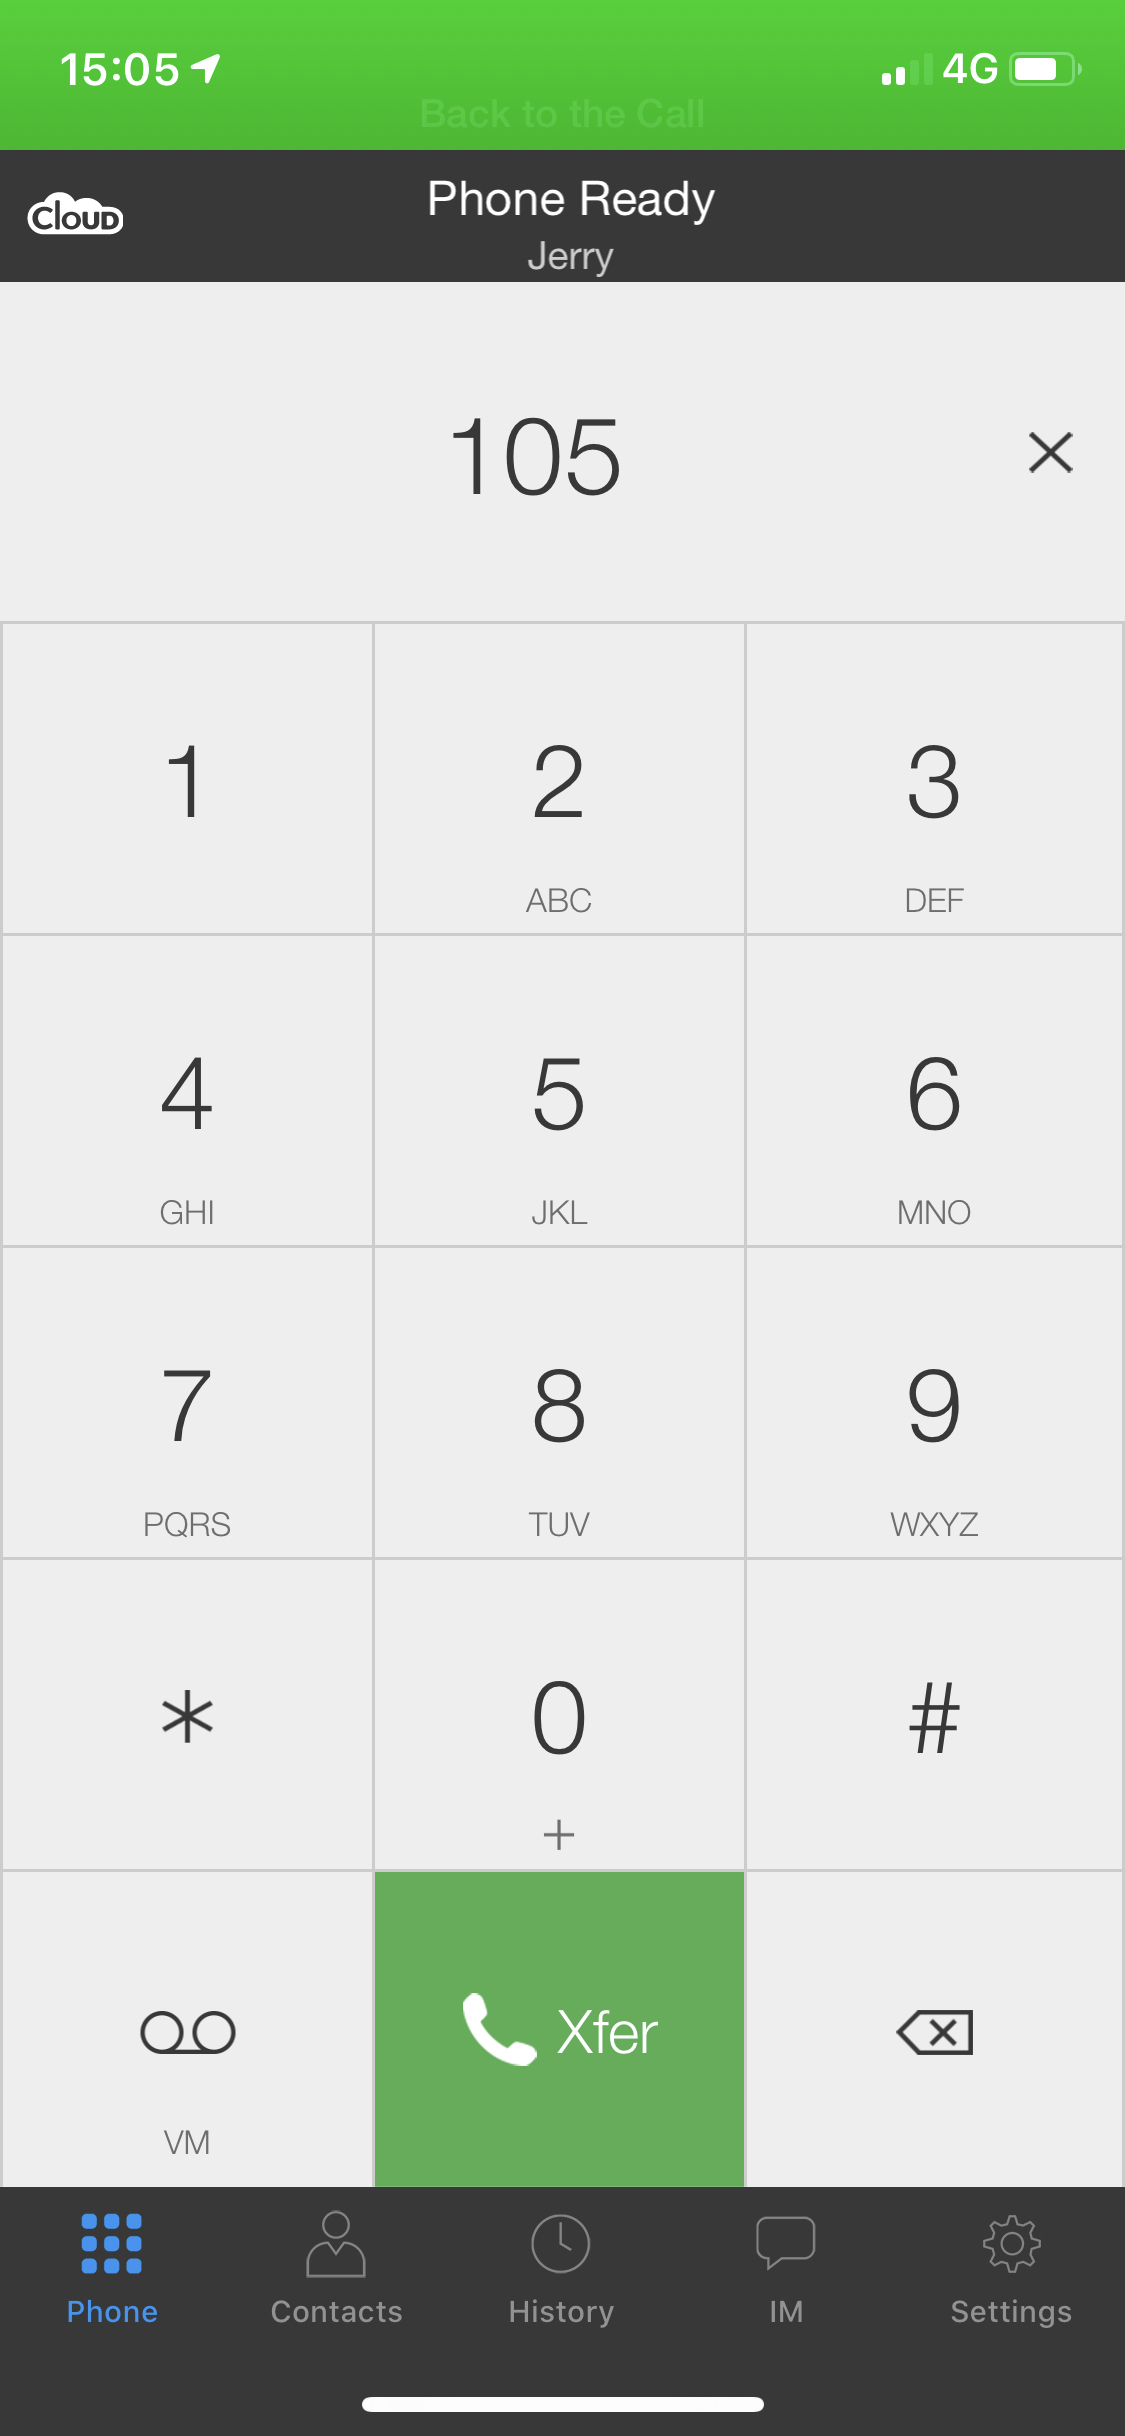
- Enter the number you wish to transfer the call to and press
The call has now been successfully transferred.
Attended Transfer a Call
-
Initiate Transfer:
- An 'Attended Transfer' allows you to 'introduce' the caller to the callee before handing the call over. This is the preferred method of transferring calls.
- While on an active call, press
 .
.
-
Dial Number:
- Using the touchscreen, enter the number you wish to dial and press .
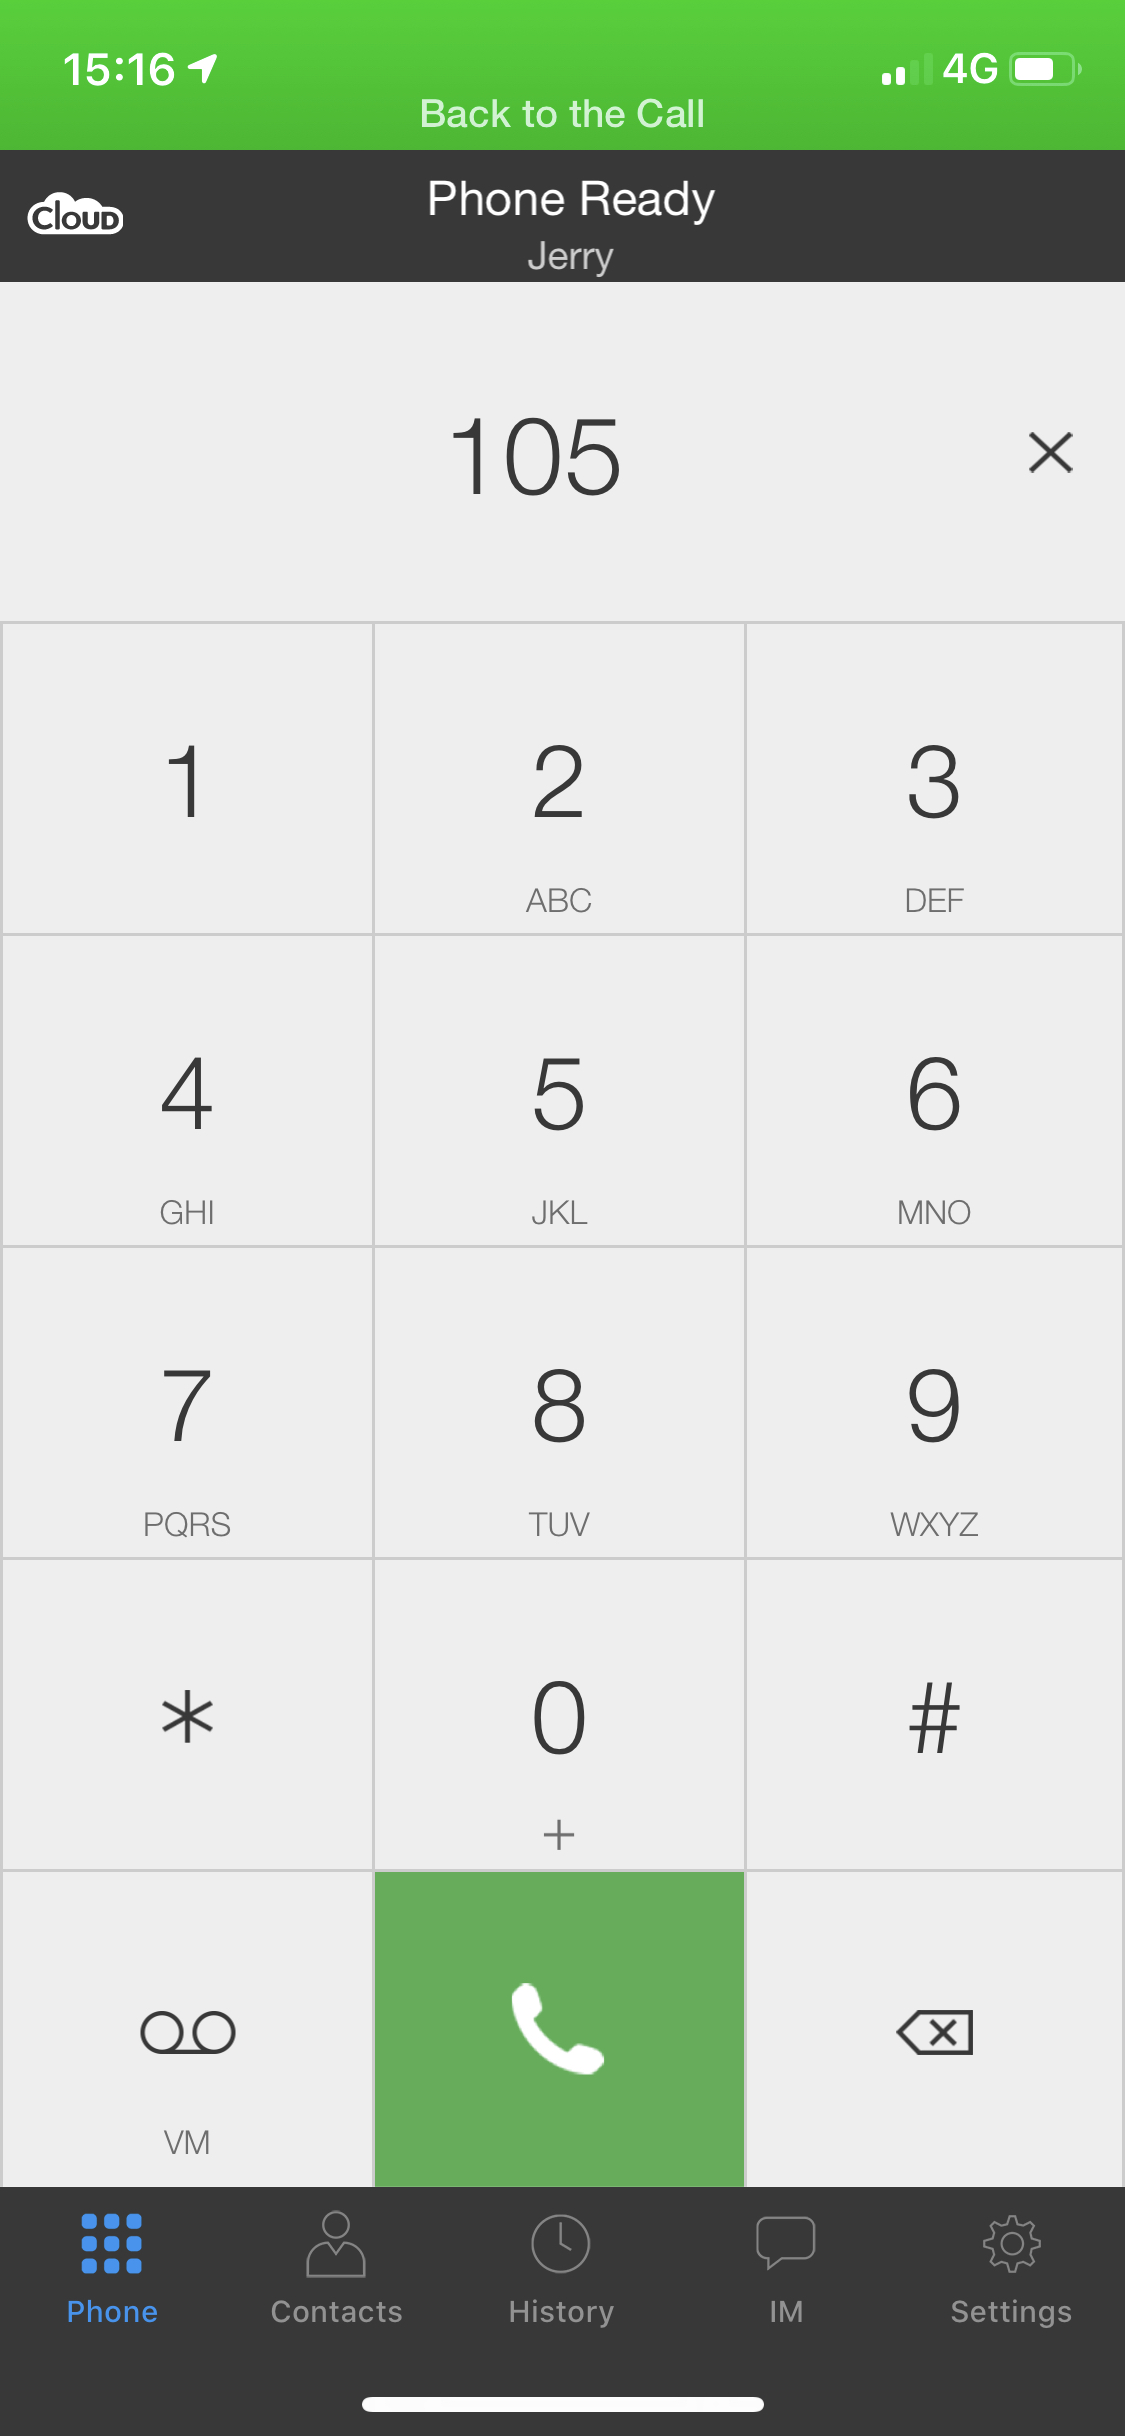
- Using the touchscreen, enter the number you wish to dial and press
-
Announce Caller:
- Once the phone is answered, you will be able to announce the caller to the callee before handing the call over.
- While on the active phone call, press (More) and choose the 'Transfer' option.
The call has now been successfully transferred.
Conference Calls
-
Initiate Conference Call:
- The myCloudPBX Softphone allows you to merge two callers together into a 3-way conference call.
- While on an active call, press .
-
Dial Second Number:
- Using the touchscreen, enter the number you wish to dial and press .
- Using the touchscreen, enter the number you wish to dial and press
-
Merge Calls:
- To merge the calls together, press
 .
.
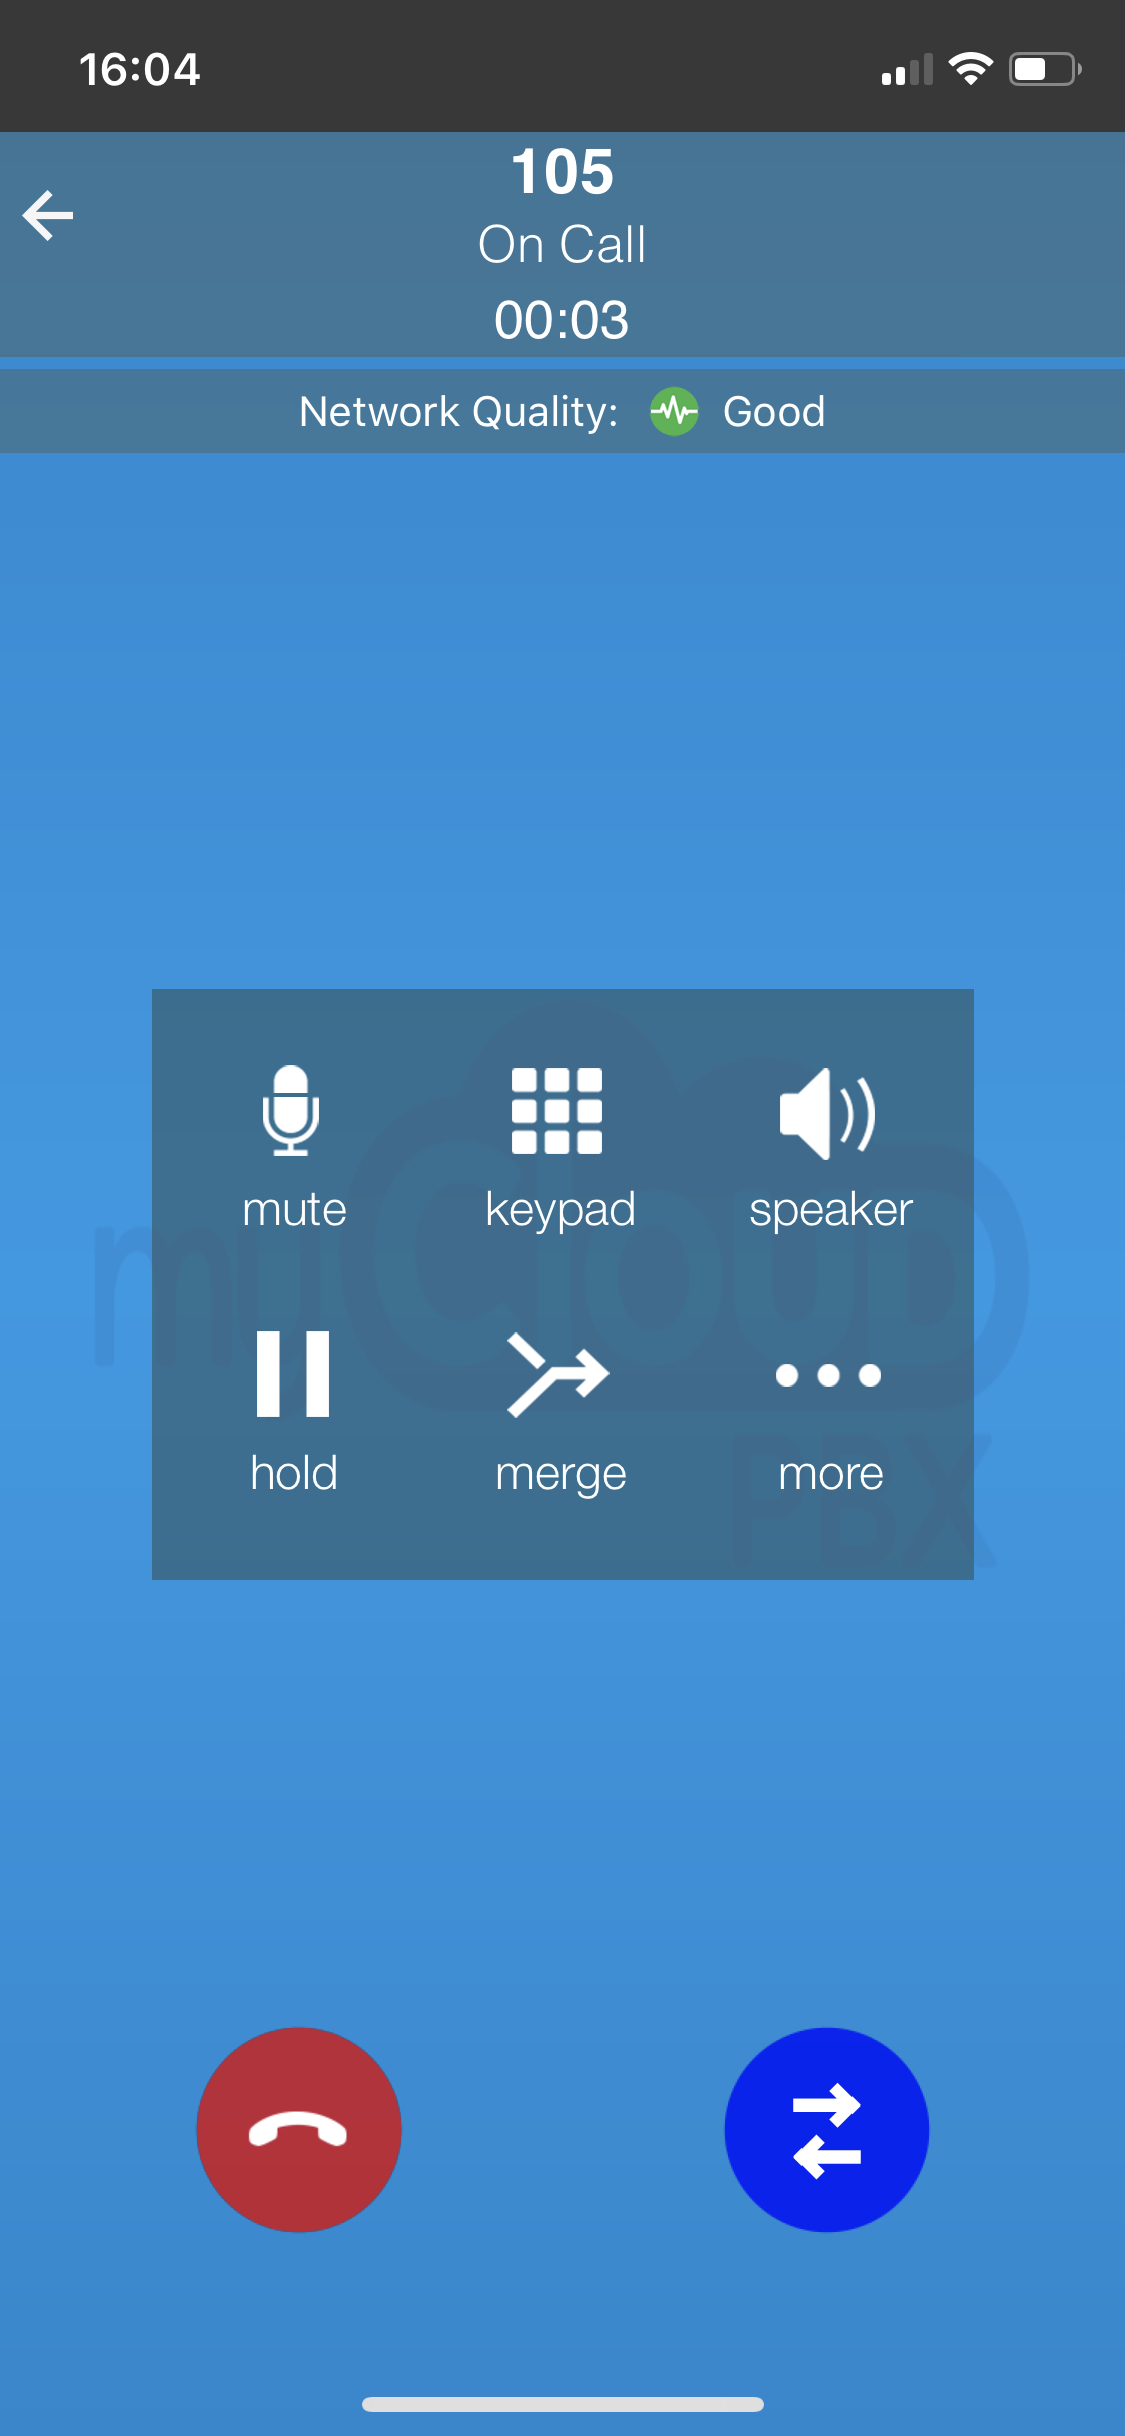
- To merge the calls together, press
The calls are now conferenced together.
-
Un-merge Calls:
- To un-merge the calls again, press
 .
.
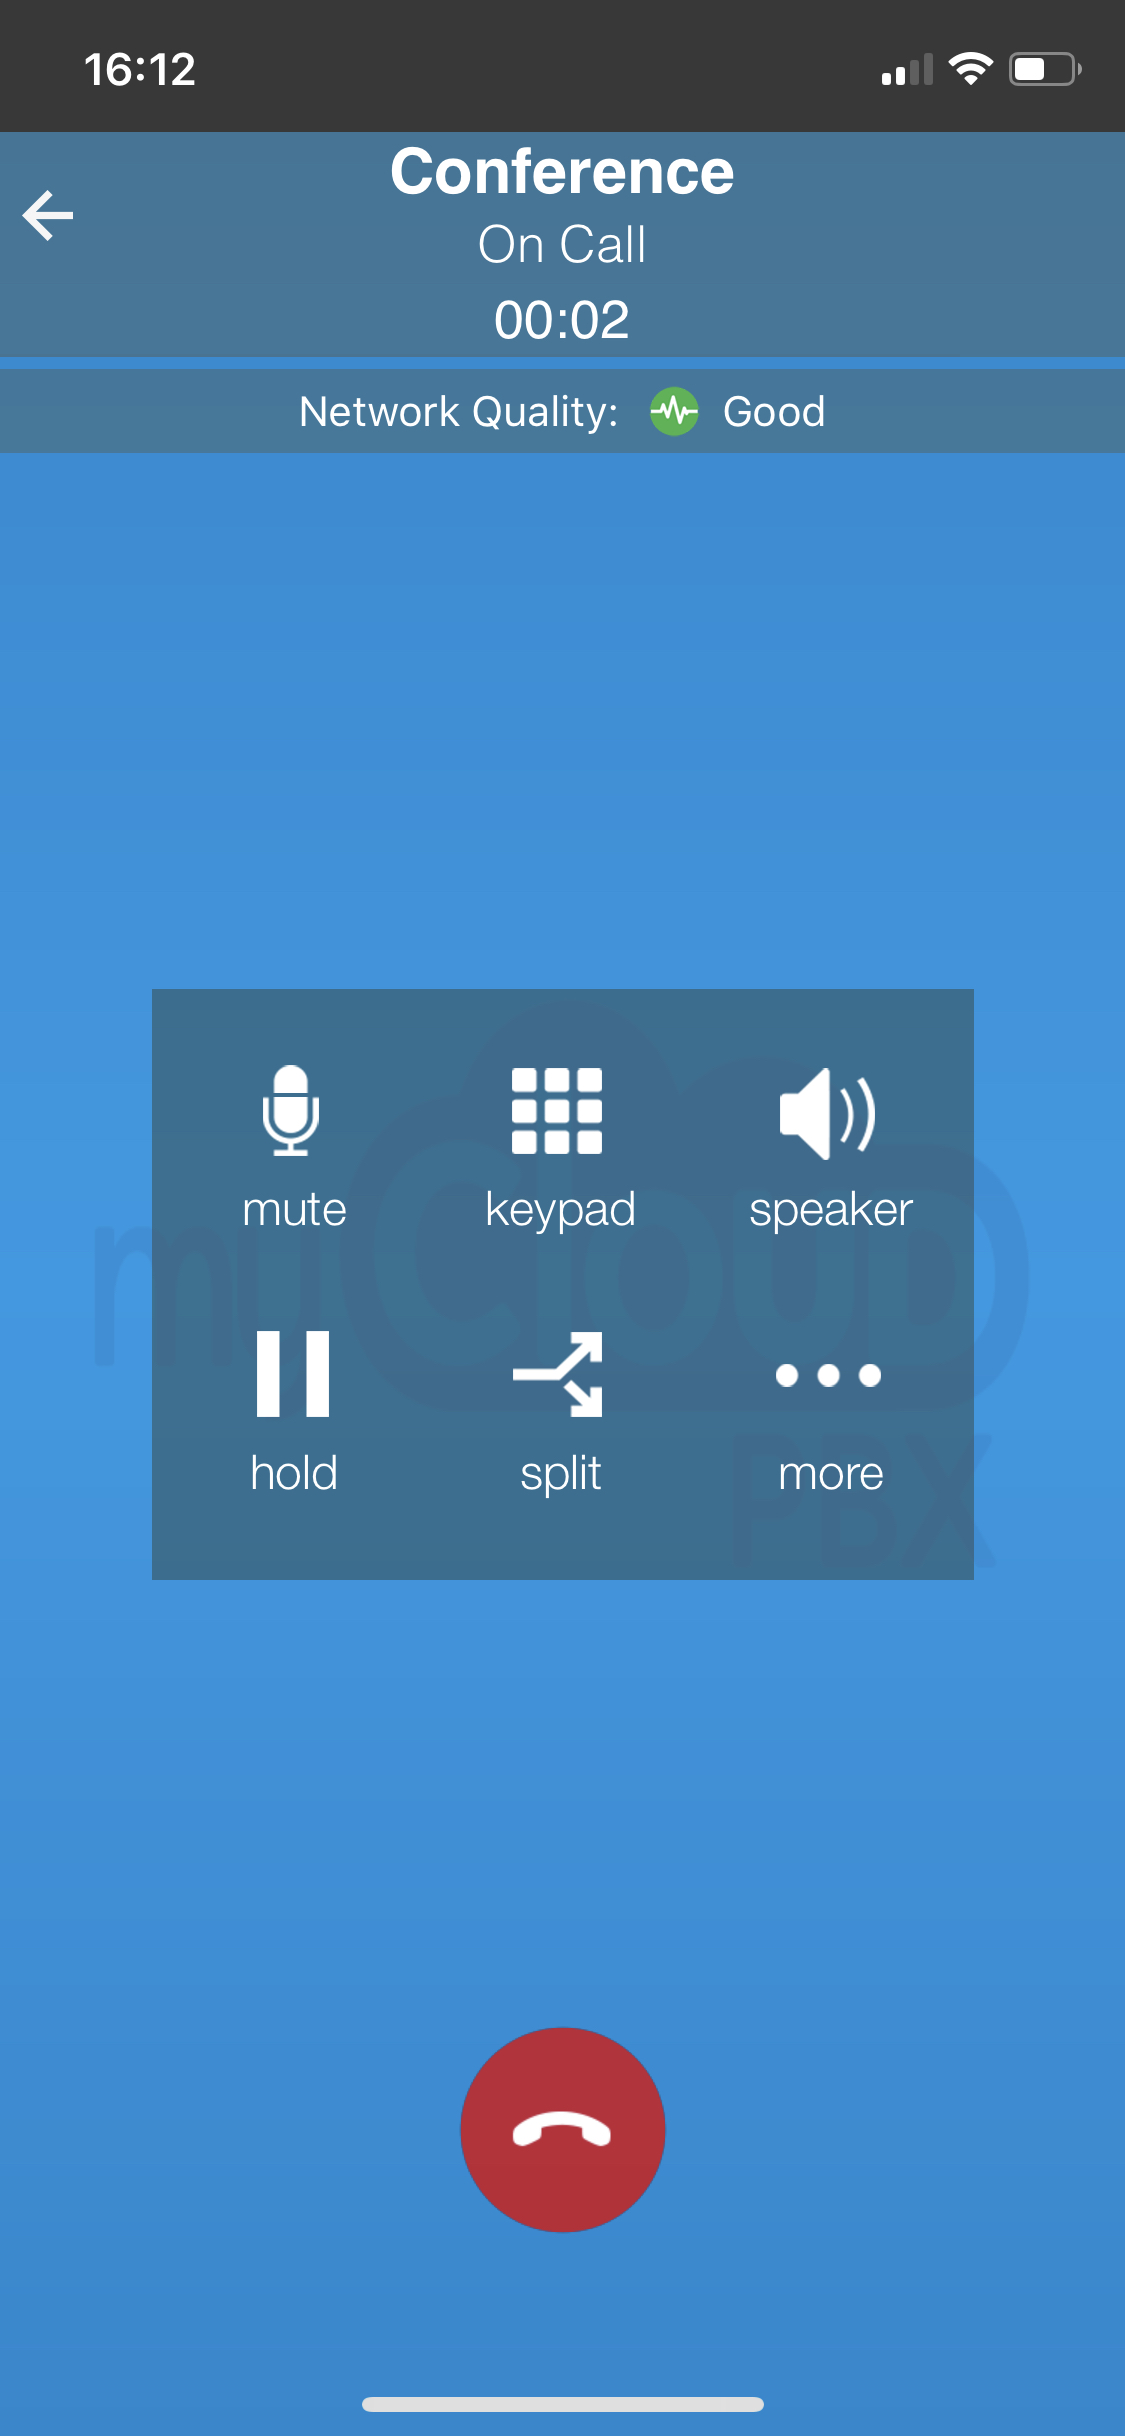
- To un-merge the calls again, press